If you’re caring for someone with a PEG tube at home, the cleaning routine can feel intimidating at first. But knowing how to clean a PEG tube at home properly is one of the most important things you can do to prevent infections and keep the site healthy. The good news is that with the right supplies and a consistent daily rhythm, it becomes as routine as brushing your teeth.
According to guidelines from the American Society for Parenteral and Enteral Nutrition (ASPEN) and manufacturer recommendations as of 2026, daily site care and tube flushing reduce infection rates significantly. Most patients experience no major complications when the routine is followed correctly. Let’s walk through exactly what to do, step by step.
Quick Answer
Clean the stoma daily with mild soap and water or sterile saline. Use a fresh gauze pad for each wipe. Pat dry.
Apply a barrier cream if needed. Cover with a non-stick dressing and secure with medical tape. Flush the tube with 30- 60 mL of lukewarm water before and after each use.
Call your healthcare provider if you see redness, pus, bleeding, or if the tube moves.
Why Getting PEG Tube Cleaning Right Matters
A PEG tube is a direct route into your body. The stoma, the hole where the tube exits, is a wound that can take a few weeks to heal fully. Even after it heals, it’s an opening where bacteria can enter.
Proper cleaning is your main defense against infection.
The stakes are real. Local infections at the stoma site are one of the most common complications of long-term PEG tube use. They can lead to pain, discharge, tube dislodgement, and in serious cases, sepsis.
That’s not meant to scare you; it’s meant to show why every cleaning matters. The routine itself is simple once you know it.
One study from the NIH found that consistent daily cleaning reduced peristomal infections by over 60% compared to irregular care. So the time you spend each morning is time well spent.
What You Need to Know Before You Start: Core Facts About PEG Tubes
PEG stands for percutaneous endoscopic gastrostomy. It’s a feeding tube placed through the abdominal wall directly into the stomach. The tube is typically made of silicone or polyurethane and has a retention device inside the stomach to keep it in place.
Key points about the tube itself
- French size: Tubes range from Fr14 to Fr28. Smaller sizes are often used for children. The size affects how much formula or medication can flow through.
- Balloon vs. bumper: Some tubes have an internal balloon that holds them in place. Others have a rigid bumper. Balloon tubes need periodic checking of water volume in the balloon (usually 5, 10 mL). Bumper tubes don’t need that, but they can cause more skin irritation if not rotated. Learn more: How to Clean a Feeding Tube.
- Low-profile button vs. standard tube: Low-profile buttons sit flush against the skin and use an extension set for feeding. Standard tubes have a long external portion that hangs out.
Healing timeline
- First 7- 10 days: The stoma is fresh. Do not rotate the tube during this time. Use sterile saline for cleaning.
- After 10 days: You can gently rotate the tube 90 degrees once a day to prevent skin breakdown and tract issues.
- Ongoing: Daily cleaning continues. The tract matures over a few weeks and becomes less fragile.
Make sure you know which type of tube your patient has. Check the discharge paperwork or ask the nurse. You can also look for markings on the tube itself; the brand and size are often printed right on the external portion.
Your Daily Cleaning Kit: Supplies You’ll Need at Home
You don’t need fancy medical equipment. Most of these items are available at a pharmacy or online. Keep everything in a clean container or caddy so you can grab it in one go.
| Supply | Purpose | Notes |
|---|---|---|
| Mild liquid soap (e.g., Dove, Ivory) | Cleaning the stoma | Avoid antibacterial soaps with triclosan — they can irritate skin |
| Sterile saline (0.9% sodium chloride) | Alternative to soap for first 7–10 days | You can make your own with 1 liter boiled water + 1 tsp salt, but sterile is safer |
| Clean gauze pads (2×2 or 4×4) | Wiping and drying | One for cleaning, one for drying — never reuse |
| Non-stick dressing pad | Covering the site | Prevents gauze from sticking to the stoma |
| Medical tape (paper tape or cloth) | Securing the dressing | Hypoallergenic is best for sensitive skin |
| Barrier cream or wipe | Protecting skin around the stoma | Zinc oxide or petroleum-based — only if recommended by your clinician |
| Clean gloves (non-sterile) | Hand protection | Optional but recommended for the caregiver |
| 60 mL catheter-tip syringe | Flushing the tube | Use a new one every 30 days per manufacturer specs |
| Room-temperature water (tap or distilled) | Flushing | Do not use hot water — it can damage the tube |
You may also need a peg tube cleaning brush for the inside of the tube if it gets clogged. That’s a separate step for maintenance, not daily cleaning. For now, focus on the outside.
Step-by-Step: How to Clean the Stoma and Change the Dressing
This is the core of the routine. Do it at the same time every day, usually in the morning before the first feeding.
- Wash your hands with soap and water for 20 seconds. Put on clean gloves if you have them.
- Remove the old dressing gently. If it’s stuck, moisten it with a little saline and wait a few seconds before peeling.
- Look at the site. Check for redness, swelling, bleeding, discharge, or any changes in how the tube sits. This is a moment to assess, not just clean.
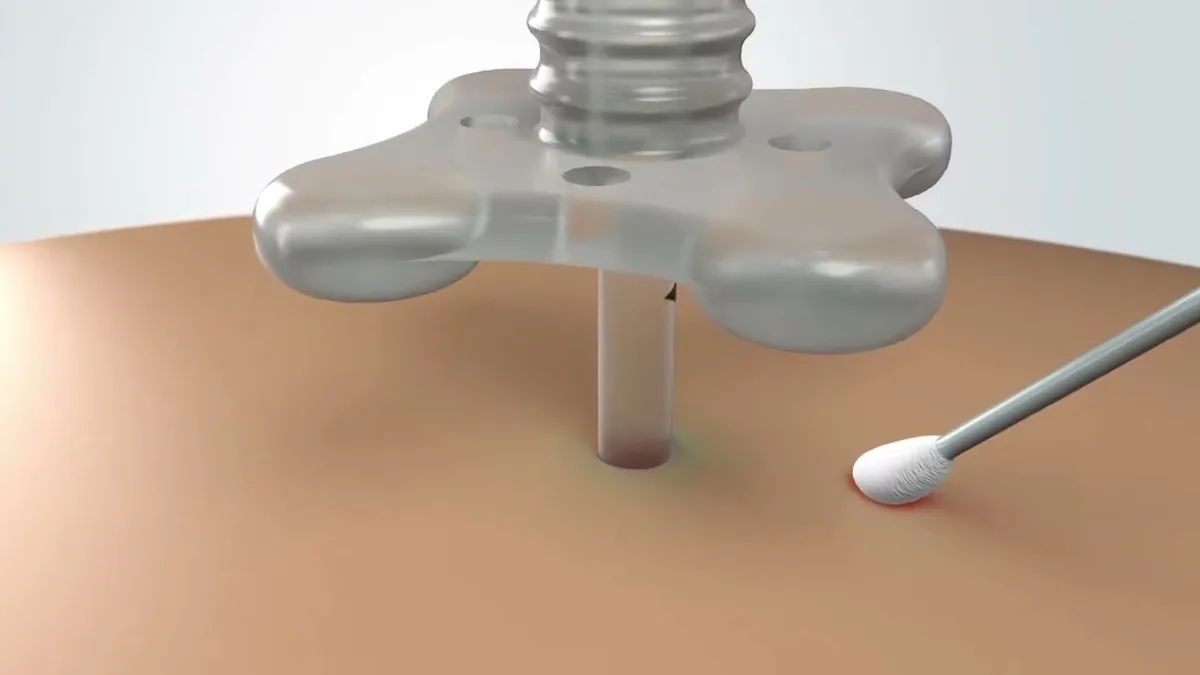
- Clean the stoma. Use a clean gauze pad with a small amount of mild soap and water (or sterile saline if it’s still early). Start at the stoma and wipe outward in a circular motion. Do not scrub or go back and forth; that can push bacteria into the wound.
- Use a second gauze pad with plain water to rinse the soap off. Again, wipe outward.
- Dry the site completely. Use a fresh dry gauze pad. Pat gently; don’t rub. Moisture under the dressing is a breeding ground for bacteria. Explore cleaning categories.
- Apply barrier cream if your clinician has recommended it. A thin layer is enough. Do not put cream inside the stoma, only on the surrounding skin.
- Place a non-stick dressing over the stoma. Cut a slit in the dressing to fit around the tube if needed.
- Secure with tape. Use two or four strips to hold the dressing in place. Make sure the tube itself isn’t pinched under the tape.
- Rotate the tube if you’re past the first 10 days. Gently turn it 90 degrees (a quarter turn) using clean fingers. This helps prevent the tube from sticking to the stomach wall and reduces granulation tissue.
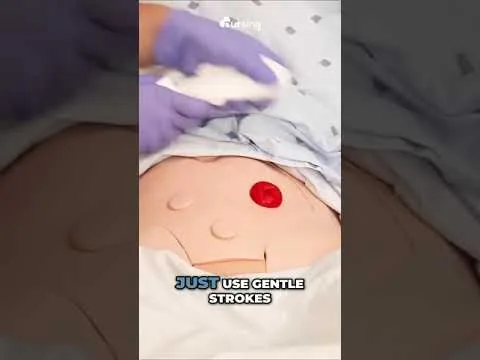
Image source: YouTube / NURSINGcom (YouTube thumbnail (fair-use with source credit))
If you notice any signs of infection, redness spreading more than a centimeter from the stoma, yellow or green pus, foul smell, or fever, stop the routine and call your home health nurse or doctor right away. Do not apply extra creams or antibiotics on your own.
How to Flush the Tube Properly (and Why It’s Part of Cleaning)
Flushing is not exactly “cleaning the site,” but it’s a critical part of overall PEG tube care. A clogged tube is a major headache and can lead to tube replacement. Flushing keeps the tube open and prevents formula or medication from drying inside.
When to flush
- Before and after each feeding
- Before and after each medication dose
- If you’re not using the tube for a while, flush at least once daily
How to flush
- Fill a 60 mL syringe with room-temperature water (tap or distilled, check your clinician’s preference).
- Connect the syringe to the feeding port of the tube. If the tube has a clamp, open it first.
- Push the water in slowly and steadily. It should flow without resistance. If you feel resistance, stop and try again; never force.
- After flushing, disconnect the syringe. Cap the tube if the patient is not being fed immediately.
What to use
- Water is the standard. Do not use carbonated beverages or juice; they can leave sugar residue that attracts bacteria.
- For patients on concentrated formulas or multiple medications, many clinicians recommend a 10- 20 mL flush with water between each medication to prevent clumping.
- If the tube does get clogged, a dedicated PEG tube cleaning brush can help dislodge blockages. Always follow the manufacturer’s instructions.
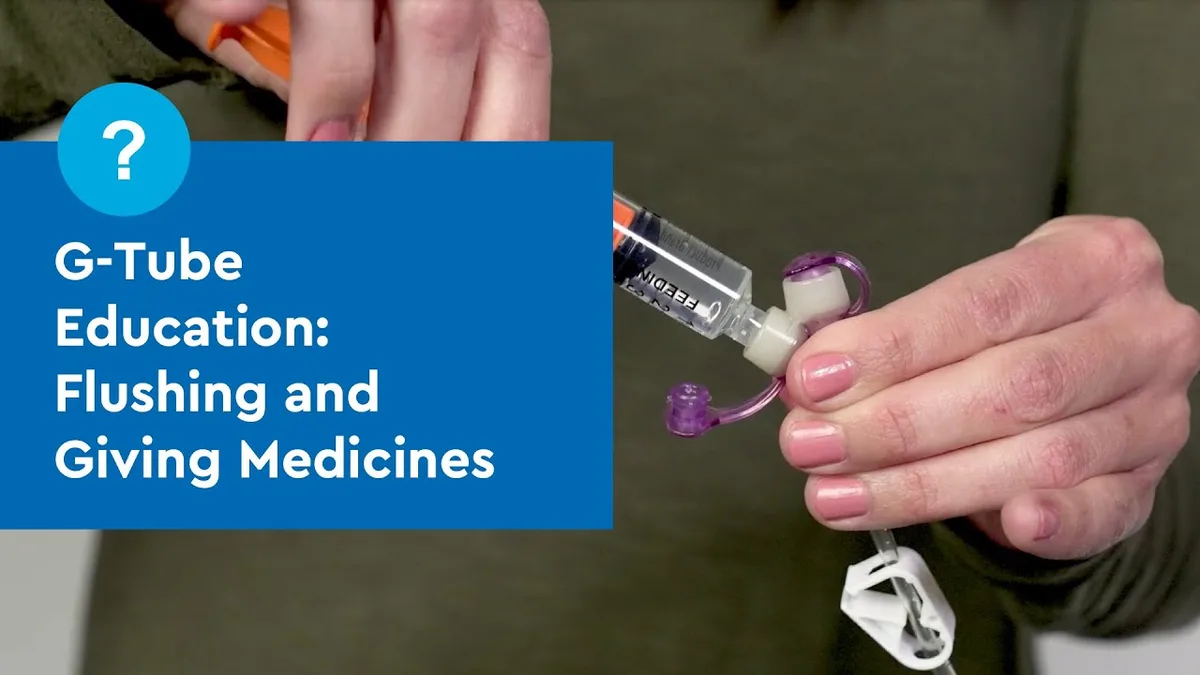
Image source: YouTube / Children’s Hospital Colorado (YouTube thumbnail (fair-use with source credit))
Pro tip
Always flush with the patient sitting upright or with the head of the bed elevated at least 30 degrees. Lying flat during flushing increases the risk of aspiration. And never use a syringe smaller than 30 mL for flushing; smaller syringes create too much pressure and can rupture the balloon or damage the tube. Understanding about the How to clean an NG Tube.
The flushing step takes less than two minutes. It’s quick, but skip it, and you might end up with a clog. That’s the kind of problem that could send you to the emergency room for a tube replacement.
A few seconds of prevention is worth it.