If you are staring at your carrier wondering if you can use an infant car seat without a base, the answer is yes. Almost every rear-facing infant seat sold today works perfectly fine with just a vehicle seatbelt. You do not need that heavy plastic dock to keep your baby safe on the road.
Under Federal Motor Vehicle Safety Standard 213 testing, manufacturers must certify their carriers for both base and baseless installation. That means skipping the base does not void your safety compliance. But getting the angle right takes extra attention.
Let us look at how this actually works in practice.
can you use an infant car seat without a base
Yes, you can install it without a base. Most infant carriers work directly with a seatbelt. The seatbelt threads through specific belt paths.
You must lock the belt tightly afterward. Always check your manual first.
What the Base Actually Does for Your Baby’s Safety
A car seat base is far more than a convenience click-in station. It solves three major physics problems during a crash. Understanding these helps you replicate that safety when you leave the base behind.
First, the base locks in the recline angle. Newborns lack the neck strength to hold their heads up. If the seat sits too upright, their chin drops to their chest.
This cuts off their airway entirely.
The base features an adjustable foot to guarantee a 30 to 45 degree angle. Without it, you rely solely on the slope of your vehicle seat. Aggregate reviews report this is where parents struggle most.
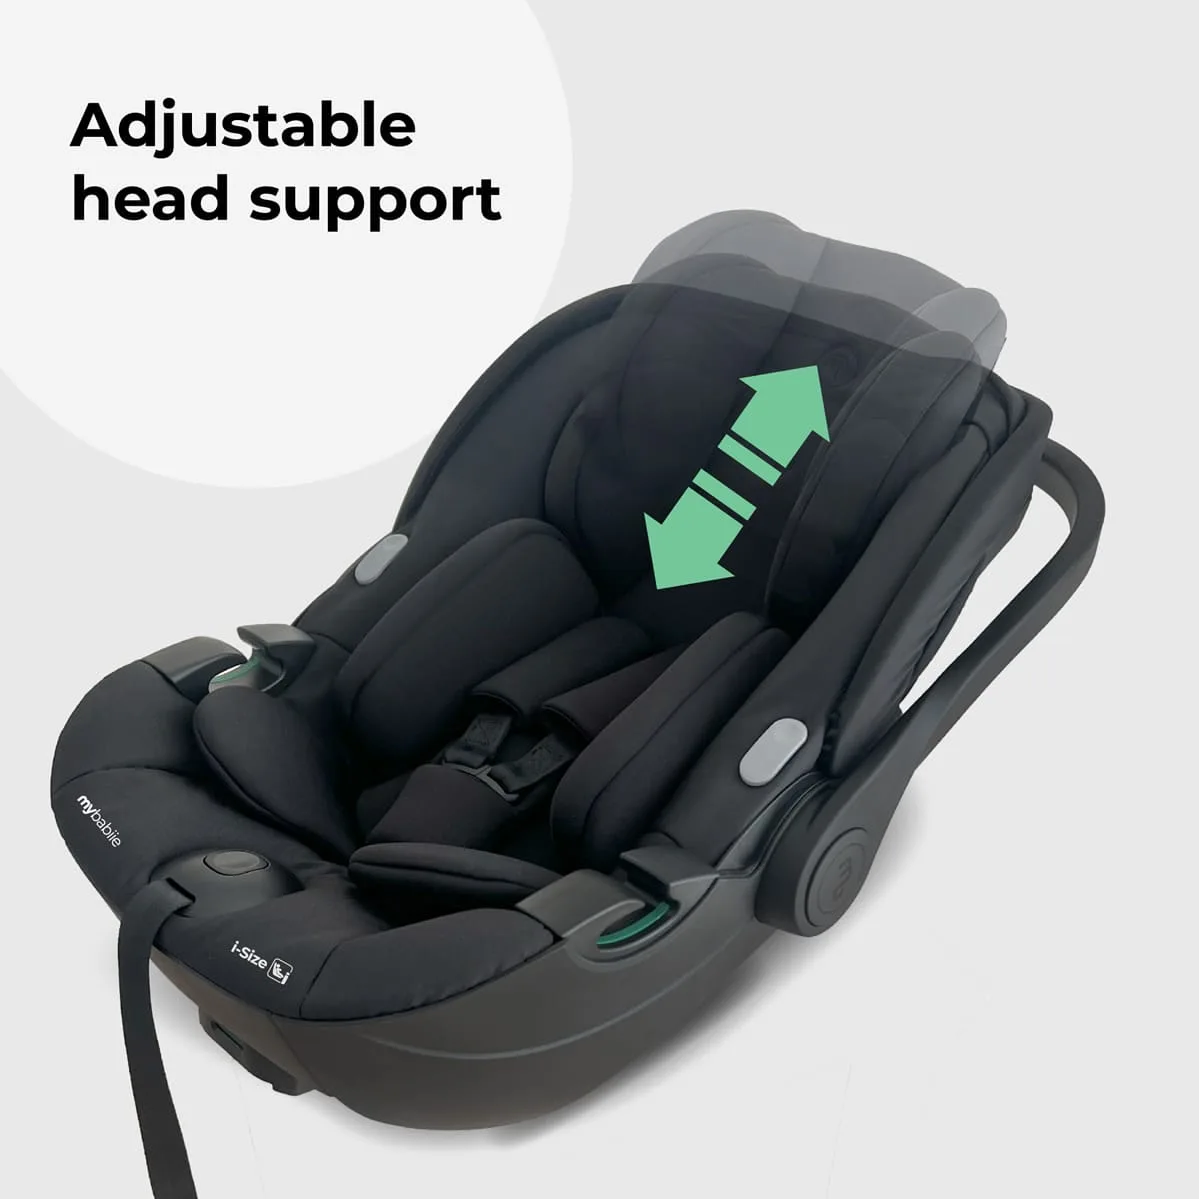
Image source: Web (Bing) / babylandfife.co.uk (Web image (fair-use with source credit))
Second, the base prevents rotation. In a frontal collision, everything moves forward violently. A firmly anchored base acts as a wedge against the vehicle cushion.
It stops the carrier from pivoting down toward the floorboard.
Third, it simplifies LATCH installation. Lower anchors generally produce a tighter fit faster than threading a seatbelt. When you skip the base, you lose those built-in metal connectors.
You have to manually recreate that tight fit using the vehicle's webbing.
If your child is approaching the weight limit for their current setup, understanding when they outgrow the carrier changes your installation strategy. Heavier babies compress vehicle cushions differently.
When Skipping the Base Is the Right Call
You should not make baseless installation your daily habit if you can avoid it. But certain situations demand it. In those moments, buckling the carrier directly is the safest choice available.
Rideshares and taxis top the list. You cannot predict what vehicle will arrive. Drivers will not wait while you wrestle with a heavy base.
Threading the seatbelt directly gets you moving safely.
Air travel is another scenario where the base stays home. The FAA recommends children under 40 pounds fly in approved restraint systems. Bases rarely fit in narrow aircraft rows anyway.
You strap the carrier directly into the airplane seat.
Carpooling or borrowing vehicles happens constantly. If your child rides with a grandparent for the afternoon, moving the seat via seatbelt beats letting them ride loose. If you frequently switch cars, buying a second base makes sense.
Otherwise, a direct install works.
Fitting multiple seats across a narrow back row often requires ditching bulky bases. Removing the base saves inches of critical space. For frequent flyers, pairing this method with compact strollers designed for newborns makes airport transit much easier.
Sometimes your primary vehicle simply isn't available. Knowing which vehicle interiors handle restraints best helps you plan ahead. Not all back seats offer ideal geometry for baseless installs.
How to Install an Infant Carrier With Just a Seatbelt
Installing an infant car seat without a base requires precision. Every brand routes the seatbelt slightly differently. Some paths go over the baby's legs.
Others route behind the back support.
Read your specific manufacturer manual before starting. Getting the routing wrong defeats the entire purpose of the restraint. Here is the standard process verified by child passenger safety technicians.
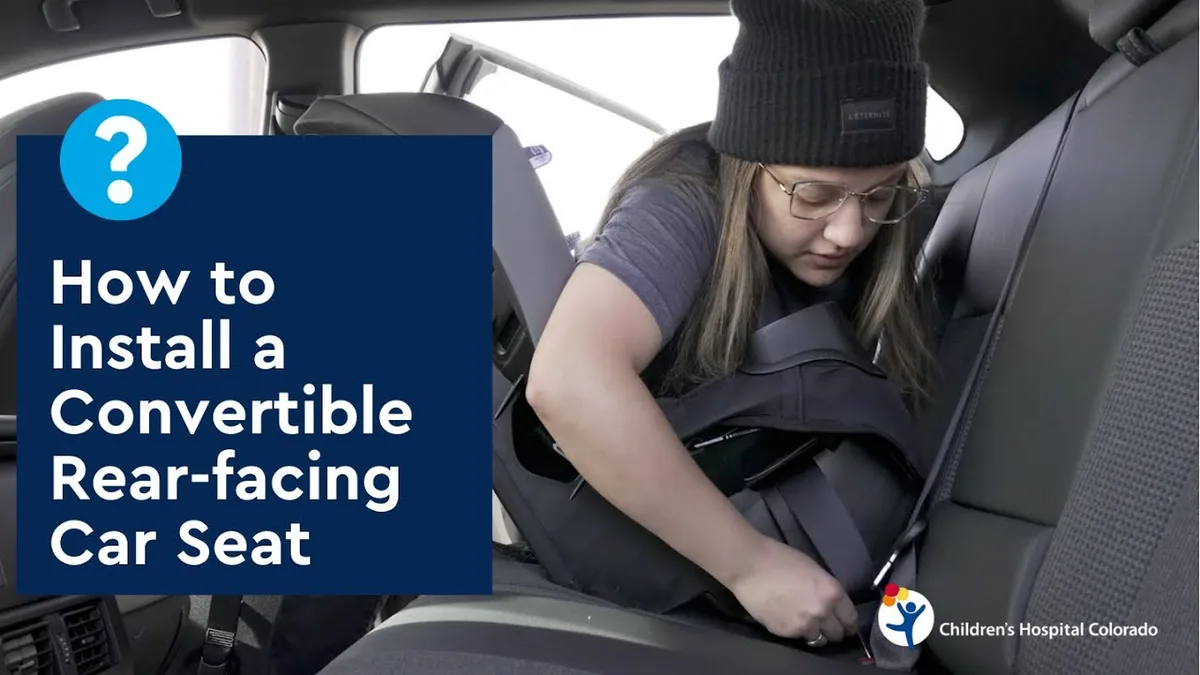
- Locate the belt path guides. Look for the color-coded channels on the carrier shell. They are usually marked blue for rear-facing use.
- Position the seat. Place the carrier on the vehicle seat facing the back window.
- Thread the seatbelt. Pull the vehicle belt fully out until it clicks. Route it through the correct guides.
- Buckle the belt. Click the latchplate securely into the buckle receiver.
- Press and pull. Push your body weight into the carrier. Compress the vehicle cushion while pulling the shoulder strap tight. Remove all slack.
- Lock the retractor. Let the belt retract slowly. You will hear it ratcheting. Ensure no more webbing pulls out.
- Perform the inch test. Grab the carrier exactly where the belt passes through. Tug it side to side and front to back. It must not move more than one inch.
- Verify the handle position. Many brands require the carry handle folded down toward the feet. This acts as a rebound bar. Check your manual.
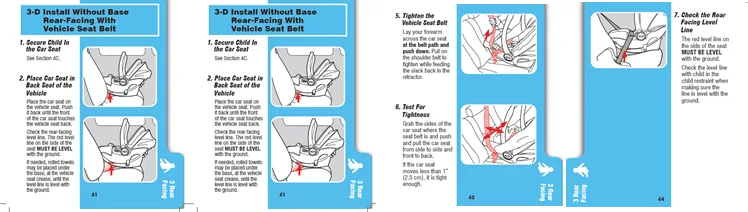
Image source: Web (Bing) / help.gracobaby.com (Web image (fair-use with source credit))
If your vehicle has older belts that won't lock automatically, you need a locking clip. This small metal piece clamps the webbing together near the latchplate. Per NHTSA guidelines, proper tension matters more than the method used to achieve it.
Once installed, double-check your harness straps. Ensuring proper positioning inside the seat keeps the infant secure during sudden stops. Loose internal straps defeat a tight external install.
The Recline and Rotation Risks Nobody Warns You About
Generic advice tells you to just buckle the seatbelt. It skips the physics that actually protect your child. Baseless installation introduces two major risks you must manage manually.
The biggest threat is incorrect recline. Vehicle seats slope downward toward the back. Car seat shells curve differently.
Combining them without a leveling base often leaves the carrier too upright.
For young infants, a steep angle causes positional asphyxia. Their heavy head falls forward and closes their airway. You must check the printed level line or bubble indicator on the shell.
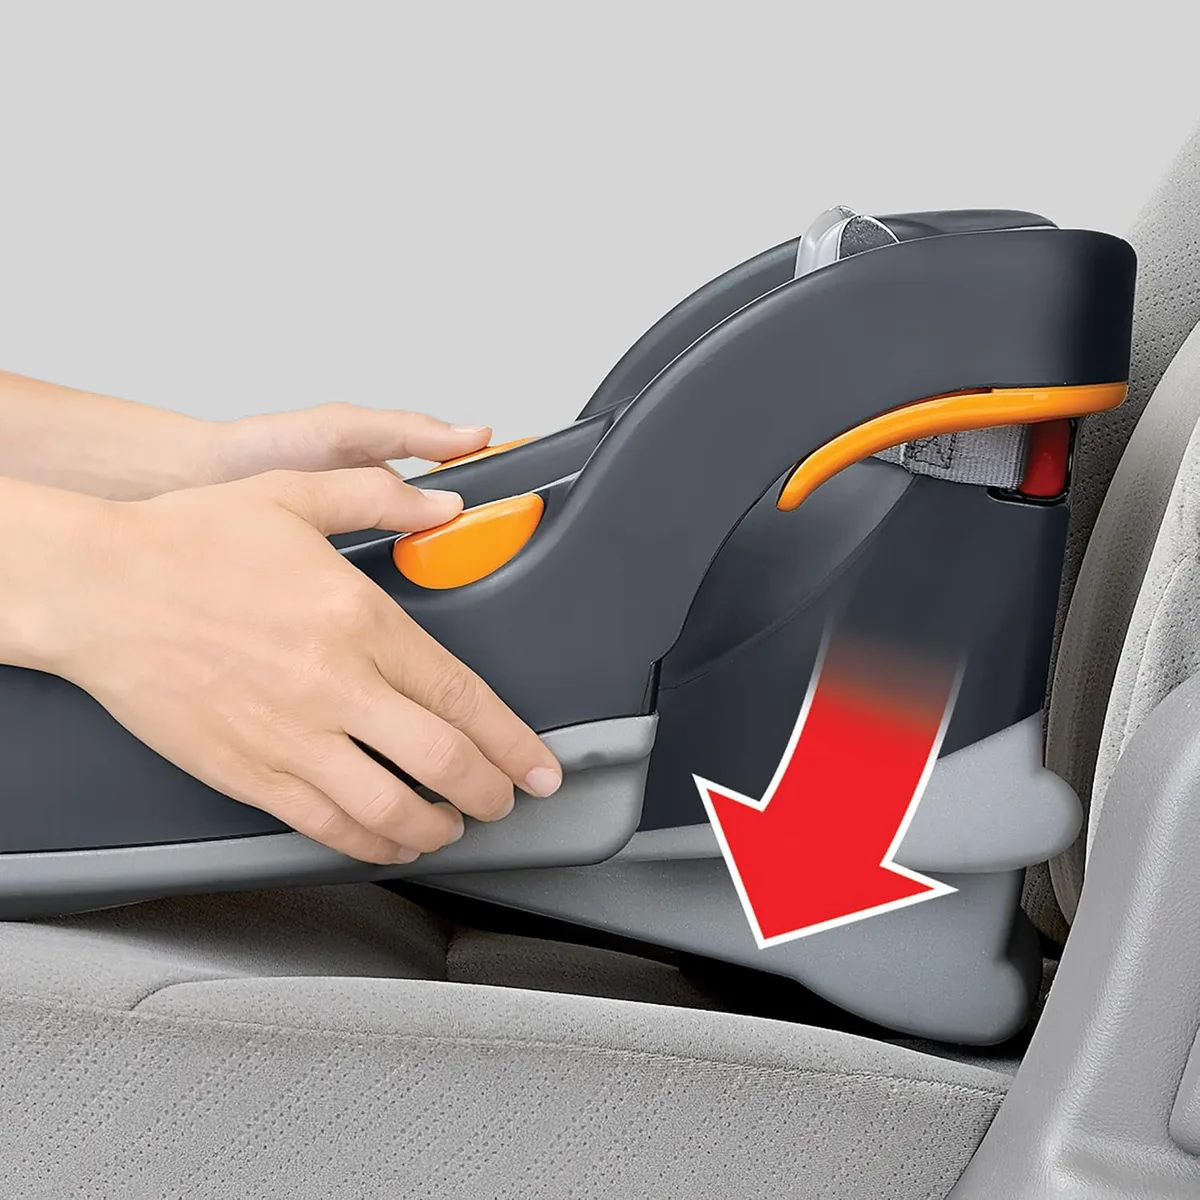
Image source: Web (Bing) / manuals.plus (Web image (fair-use with source credit))
If the indicator shows the seat is too upright, consult your manual. Some manufacturers allow a rolled towel under the base edge near the seat bight. Others strictly forbid any aftermarket leveling materials.
Never guess here.
Rotation is the second hidden risk. Without the base wedged tightly against the seatback, the carrier pivots downward in a crash. The carry handle position becomes critical for preventing this movement.
Many seats require the handle locked in the lowest position to act as an anti-rebound bar. Leaving it up in the carrying position fails FMVSS 213 crash dynamics. Manufacturer specifications indicate this varies wildly between brands.
Understanding how long infants remain in these carriers helps gauge risk. Older, heavier babies compress the foam differently. This alters the crash forces transferred to the vehicle seat.
Keeping the carrier clean also matters for safety. Dirt buildup in the belt path guides creates friction. That friction prevents the seatbelt from tightening fully.
Routine upkeep ensures the fabric and hardware stay functional.
Finally, verify your expiration date. Plastic degrades over time. An expired shell might shatter under crash forces regardless of how perfectly you routed the seatbelt.
Checking if your restraint has expired takes thirty seconds.
Base vs. No Base: A Quick Side-by-Side Breakdown
Choosing between the two setups depends entirely on your situation. Neither method is inherently safer if installed perfectly. But human error rates differ wildly between them.
Our research shows baseless installations have a higher failure rate. Threading a seatbelt correctly takes practice. Clicking a carrier into a pre-installed base removes most guesswork.
That simplicity matters when you are tired or rushing.
Here is how the two methods compare across daily use.
| Feature | With Base | Without Base |
|---|---|---|
| Setup Speed | Seconds to click in | Minutes to thread and tighten |
| Recline Accuracy | Adjustable foot built in | Relies on vehicle slope |
| Anti-Rotation | Wedged tightly against seatback | Depends on handle position |
| Best Scenario | Daily driving, primary vehicles | Taxis, flights, carpools |
| Error Risk | Lower | Higher |
| LATCH Usage | Standard for most models | Rarely available on carriers |
If you drive the same car every day, leave the base installed. It guarantees that 30 to 45 degree recline angle without constant adjustment. You just click the carrier in and go.
If you frequently switch vehicles, buying a second base makes sense. Hauling the heavy plastic dock around gets old fast. But it beats wrestling with unfamiliar seatbelts constantly.
For occasional rideshares, master the seatbelt method. Practice in your driveway before you actually need an Uber. Knowing which restraint styles suit travel best saves frustration at the curb.
Some parents eventually transition away from infant carriers entirely. If your baby is growing fast, exploring models designed for older infants eliminates the base question altogether. Convertible seats install directly every time.
Frequently Asked Questions
Can I use LATCH without the base?
No, you usually cannot. The LATCH straps attach directly to the base itself. They rarely connect to the infant carrier shell.
If you leave the base behind, you must use the vehicle seatbelt. Always check your specific manual to confirm.
Is it illegal to skip the base?
Skipping the base is completely legal. Federal safety standards require proper installation according to manufacturer instructions. The law does not mandate using the base specifically.
As long as the seatbelt install passes the inch test, you meet compliance requirements everywhere in the US.
What if my car only has lap belts?
Most infant carriers work with lap-only belts. The routing path differs from a shoulder belt setup. Lap belts lack locking retractors, so you will likely need a metal locking clip.
This small piece clamps the webbing tight near the buckle.
Do I need a locking clip for newer cars?
Vehicles built after 1996 typically feature switchable locking retractors. You pull the belt all the way out until it clicks. Then let it retract to lock it tight.
Older cars often require a locking clip instead. Check your vehicle owner manual to verify.
Where should the carry handle go during driving?
This varies strictly by brand. Some manufacturers require the handle folded down toward the feet. Others demand it locked straight up.
A few allow any position. Using the wrong handle position can cause the seat to fail crash testing standards. Read your manual.