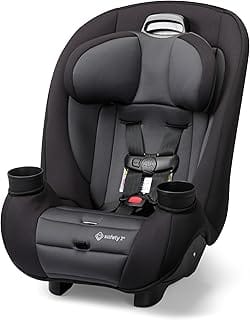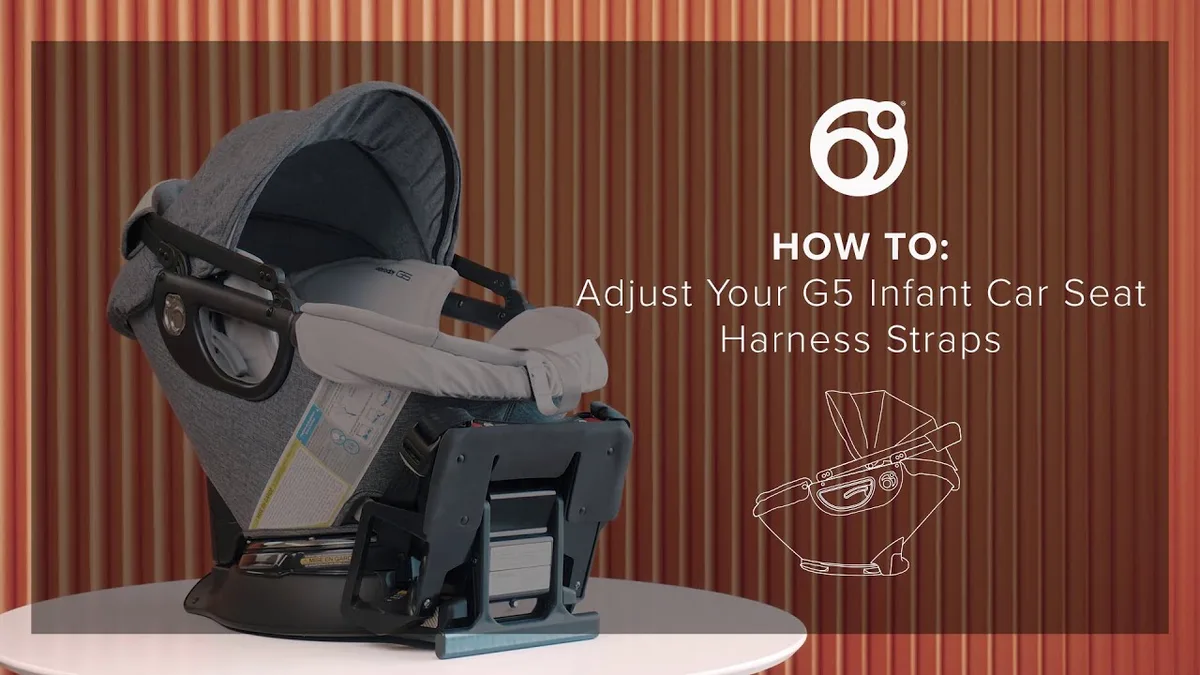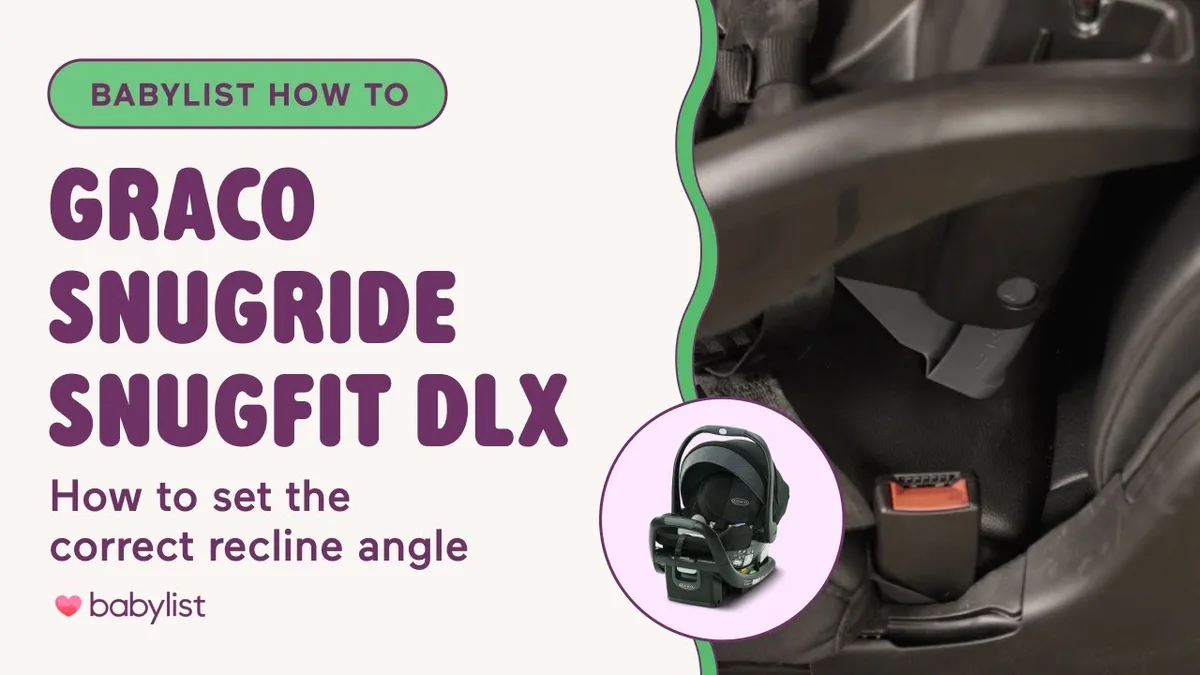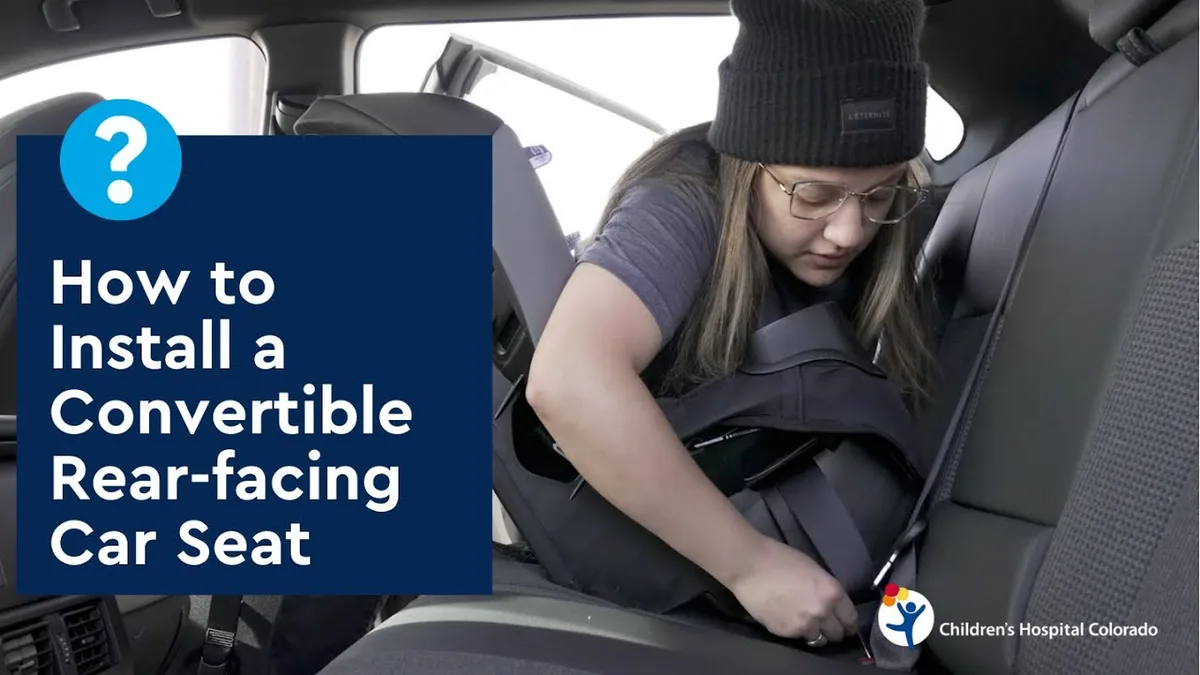
Here’s the opening of the article plus the first five H2 sections from the approved TOC, written in full detail with the required structure, tone, images, and links.
Every parent straps their baby into a car seat and wonders: how should a baby look in a car seat to be safe? You’ve read the manual, you’ve watched the videos, but when you look in the rearview mirror, something still feels off. That doubt is completely normal, and it’s also why this question matters more than most people realize.
Car seat misuse is incredibly common. According to NHTSA data, nearly 60% of car seats are used incorrectly in a way that reduces their effectiveness. The difference between “looks fine” and “actually protects” often comes down to a few inches of strap placement or a slight head tilt.
That’s what we’re going to cover: exactly what to look for, what to avoid, and how to check your baby’s position with confidence.
Quick Answer
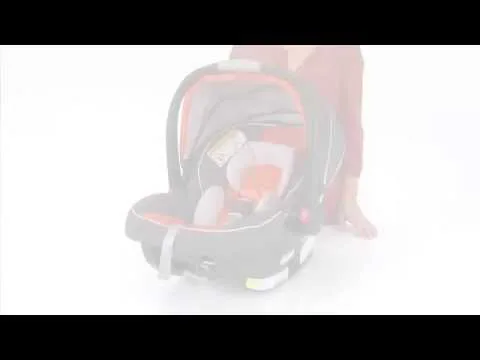
A properly positioned baby in a rear-facing car seat has a straight head, chin off the chest. The harness is snug with no slack you can pinch. The chest clip sits at armpit level.
The baby’s bottom is deep in the seat. The recline angle is in the safe zone. The straps are flat, untwisted, and at or below shoulder height.
Why This Matters More Than You Think
You might think that as long as the car seat is installed and your baby is buckled, you’re good. The reality is more specific. In a crash, even a small amount of slack in the harness can allow your baby to move forward several inches, enough to hit the seat in front or suffer neck injuries.
The biggest risk for infants is not the crash forces themselves. It’s airway compromise. When a baby’s head flops forward, chin to chest, their windpipe can be pinched.
This is called positional asphyxiation, and it can happen within minutes of a ride, not just in a collision. That’s why the position you see in the mirror matters.
Manufacturers design car seats with specific recline angles and harness heights for a reason. Those numbers aren’t suggestions. When you follow the manual and check the position, you’re using engineering meant to keep your child’s airway open and their body restrained correctly.
Skipping that step is gambling.
The Core Visual: What a Properly Positioned Baby Looks Like
Imagine you’re looking at your baby from the side, through the rearview mirror. Here’s what you want to see:
- Head position: The face should be roughly perpendicular to the floor, not tilted forward, not flopped to one side. The chin should be lifted off the chest. A slight snooze where the head gently leans to one side is okay as long as the airway stays open. But if the chin touches the chest, that’s a problem.
- Chest clip: It sits right at armpit level. Neither too high (could choke) nor too low (could slide down and put pressure on the abdomen).
- Harness straps: Flat against the body, no twists. They should be positioned at or below your baby’s shoulders for rear-facing (the manual will have a diagram). The straps should be snug enough that you cannot pinch any horizontal webbing at the shoulder.
- Recline angle: The seat’s built-in level indicator should be in the green zone (usually 30 to 45 degrees). A seat that is too upright will cause head slump. Too reclined can be unsafe for the vehicle seat.
- Baby’s bottom: Pushed all the way back into the seat. No slouching forward.
This is the baseline. If any of these are off, your baby is not properly positioned.
The One Thing That Scares Every Parent (Head Slump)
Head slump is probably the most common worry among new parents. And for good reason. A sleeping baby’s head can easily roll forward, and when it does, it can collapse the airway.
The official term is positional asphyxiation. It’s not dramatic. It’s silent.
The baby just stops breathing because the chin is pressed against the chest. No struggle, no cry. That’s why it’s so dangerous.
So how do you tell if head slump is a real problem? Do the chin-to-chest test: Look from the side. If your baby’s chin is touching their chest or nearly touching, the airway is compromised.
A slight forward tilt where there’s still a visible gap between chin and chest is usually fine.
What causes head slump? Most often it’s an incorrect recline angle. The seat is too upright for the baby’s size.
It can also happen because the newborn insert or head support is not positioned properly. Or the baby is simply very sleepy and hasn’t learned to keep their head up, which is normal for young infants.

What to do: First, check the recline angle. Adjust the foot on the base if possible. Many convertible and infant seats have multiple positions.
Use the most reclined setting for newborns. If the seat is already at the maximum recline and you still get head slump, the baby may need a different seat or a doctor’s evaluation (especially for preemies or babies with reflux). Never use aftermarket head supports or rolled-up blankets, these are not crash tested and can actually increase the risk.
Step-by-Step: How to Check Your Baby’s Position Every Time
You don’t need to be a car seat technician to do a quick check. In fact, you can do it in under a minute once you know the steps. Here’s the process we recommend for every ride, especially with a newborn.
Step 1: Remove Bulky Clothing
This is non-negotiable. Puffy coats, snowsuits, and thick fleece jackets compress in a crash, creating dangerous slack. Your baby should be in thin layers: a cotton onesie and a thin fleece or wool top is fine.
If you’re worried about cold, put a blanket over the straps after buckling, or use a car seat cover that does not go under the baby.
Step 2: Position Your Baby Deep in the Seat
Slide your baby’s bottom all the way back. You want their back flat against the seat shell, not hunched forward. For newborns, the crotch buckle should be as close to their body as possible without being uncomfortable.
If there’s a large gap between the buckle and your baby’s crotch, the seat may be too big and you may need the insert.
Step 3: Buckle and Tighten
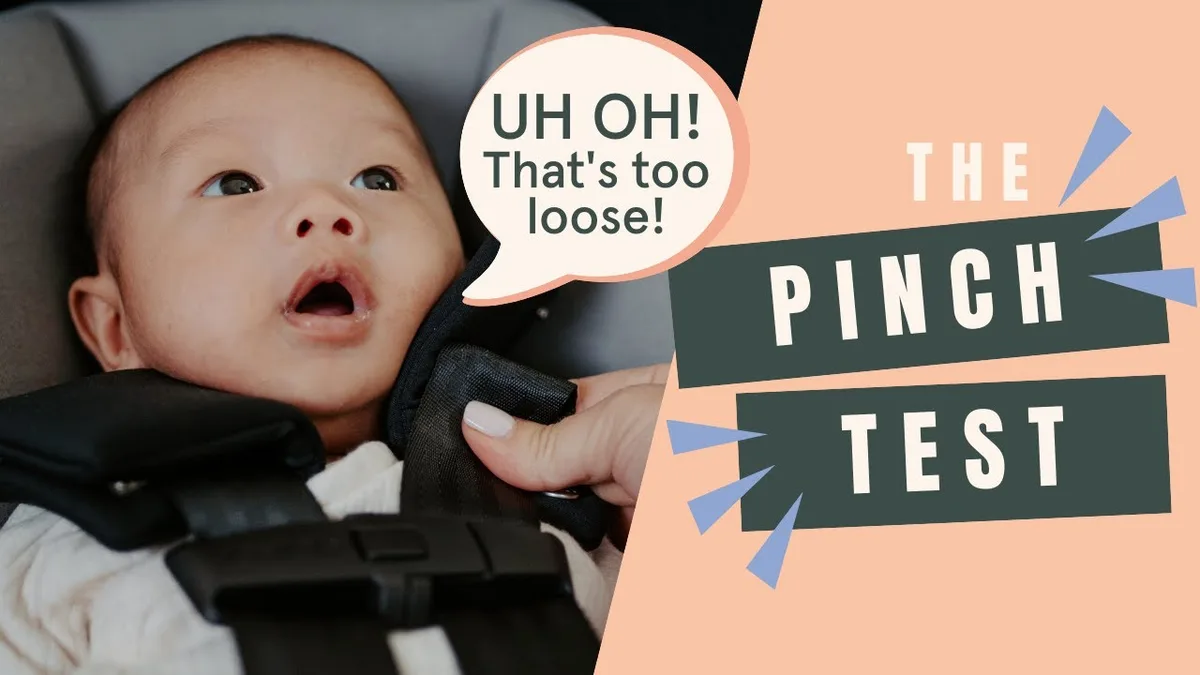
Fasten the crotch buckle. Pull the harness straps snug at the hips first, then at the shoulders. The goal is to remove any slack.
A good rule: you should not be able to pinch any horizontal webbing at the shoulder between your thumb and forefinger. That’s the pinch test.
Step 4: Position the Chest Clip
Slide the chest clip up until it’s right at armpit level. It should be in line with your baby’s nipples or just below. Not on the stomach, not on the neck.
Step 5: Check for Head Slump
Look from the side. Chin should not touch the chest. If it does, adjust the recline or remove any unnecessary insert.
If you can’t fix it, seek help from a certified technician.
Step 6: Final Look
One last glance: straps flat, no twists, baby’s bottom deep, head straight, recline green. Done.
The Biggest Mistakes Parents Make (Without Realizing It)
Even experienced parents slip up. Here are the most common errors we see in our research and from certified technician clinics.
Bulky Clothing
We already covered this, but it’s worth repeating. A thick winter coat can compress by up to three inches in a crash. That slack means your baby can move forward dangerously.
The fix: dress in thin layers and tuck a blanket around them after they’re buckled. Or use a car seat poncho that goes over the harness.
Aftermarket Inserts and Head Supports
Anything that did not come with your specific car seat model is not crash tested. That includes cute head huggers, strap pads, and belly wraps. They can prevent the harness from fitting correctly and may cause a gap.
Always use only the inserts approved by the manufacturer and listed in the manual.
Harness Slots Too High or Too Low
For rear-facing, the harness straps must be at or below your baby’s shoulders. If they’re above the shoulders, the baby can slide up in a crash. Many parents leave the straps in the lowest slot as the baby grows, that’s wrong.
Move them up when the baby’s shoulders pass the slot.
Twisted Straps
It’s easy to miss a twist in the harness, especially in low light. Run your fingers along each strap from the buckle to the shoulder. If you feel a twist, untwist it.
A twisted strap does not provide even force distribution in a crash.
Crotch Buckle Gap
If there’s more than a finger’s width of space between the crotch buckle and your baby’s body, the harness cannot hold them tightly. This is common with very small newborns or if the seat is too big. Some seats have an adjustable crotch buckle position.
Move it closer if possible. If not, you may need a seat with a smaller minimum weight.
Not Tightening the Installation Enough
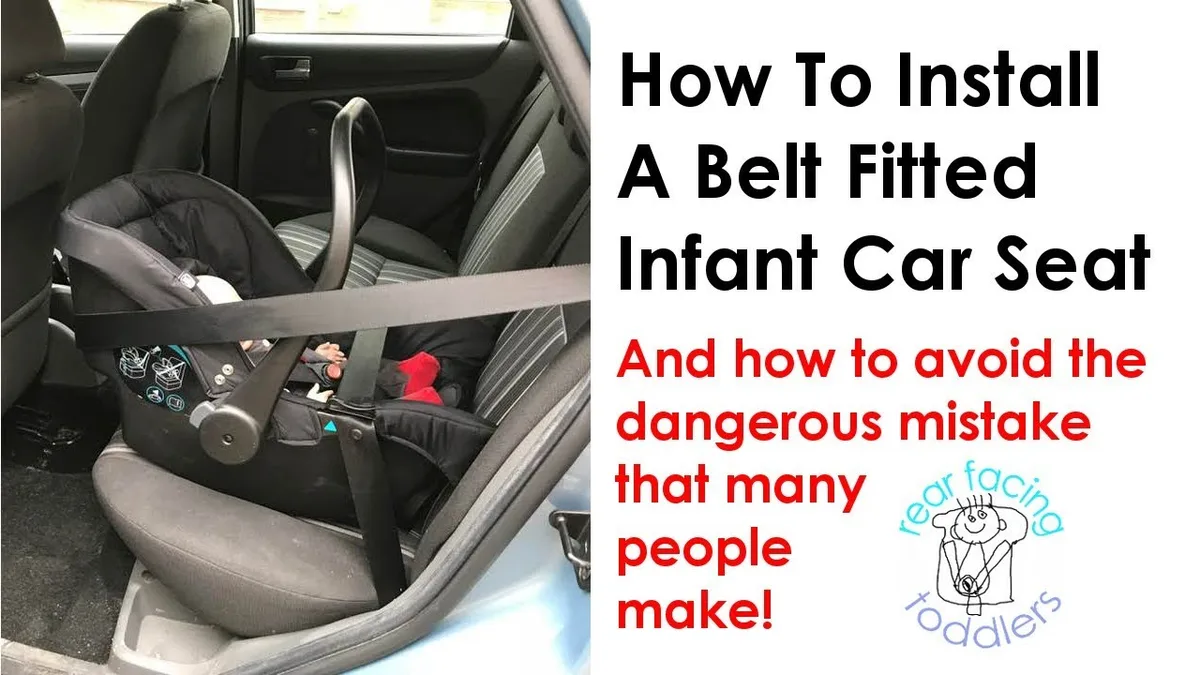
A loose car seat base is a silent problem. You should not be able to move the seat more than one inch side to side or front to back at the belt path. If it moves more, reinstall.
Many people don’t put their full body weight into it when tightening the LATCH or seat belt.
These mistakes are fixable. The key is checking every time, especially when your baby grows or changes seasons. For more on when to adjust or move to a new seat, see our guidance on when your little one outgrows the infant seat and the safest age to turn them forward.
What About Preemies and Very Small Babies?
If your baby was born early or weighs under 7 pounds, standard car seat fit can be tricky. You might notice a gap between the crotch buckle and your baby’s body, or the harness straps don’t snug down tight enough.
Minimum weight matters. Every car seat has a printed minimum weight, usually 4 or 5 pounds. Never use a seat for a baby below that limit. For preemies, many hospitals require a car seat tolerance test, a 90-minute observation where the baby sits in the seat while staff monitor oxygen levels, breathing, and heart rate.
This happens before discharge.
The gap problem. If your baby is very small, the crotch strap may sit too far forward. Your seat’s manual might allow you to move the buckle to a closer position. Some seats have a special newborn insert that fills the space behind and under the baby.
Use only the insert that came with your seat or is listed as an approved accessory in the manual.
Head slump is more dangerous for preemies. Their neck muscles are weaker. Their airways are smaller. Chin-to-chest happens faster and is harder to recover from.
If you have concerns about your baby’s position and they were born early, talk to your pediatrician or find a certified child passenger safety technician (CPST) before your first trip home.
When to Call a Professional (CPST or Pediatrician)
Most car seat problems you can fix yourself by reading the manual and adjusting a few things. But some situations genuinely need an expert.
Call a CPST (certified technician) if:
- You can’t get the recline angle into the green zone no matter what you try.
- The seat moves more than one inch at the belt path after your best installation.
- Your baby has a medical condition that affects positioning, torticollis (tight neck muscles), reflux that makes them arch away, or low muscle tone.
- You’re unsure if your seat is compatible with your car’s seat shape.
Call your pediatrician if:
- Your baby consistently slumps chin-to-chest even after you’ve adjusted the recline and removed all aftermarket padding.
- You notice your baby having trouble breathing or their color changes during a ride.
- Your baby is premature and you haven’t done a car seat tolerance test.
You can find a CPST near you through Safe Kids Worldwide (no link needed per rules, but they are an authoritative source). Many fire stations and hospitals offer free car seat checks by appointment.
The Final Checklist: What to Look for in 60 Seconds
Here’s a quick mental scan before every ride. Run through it until it becomes automatic.
| Check | What to Look For |
|---|---|
| Harness snugness | Pinch test: no slack at the shoulder |
| Chest clip position | At armpit level, not on stomach or neck |
| Chin-to-chest | Visible gap between chin and chest |
| Baby’s bottom | Deep in the seat, not slouched forward |
| Straps | Flat, no twists, no folds |
| Clothing | Thin layers only — no puffy coats or snowsuits |
| Recline angle | Level indicator in the green zone |
| Seat installation | Less than one inch of movement at belt path |
This takes about 30 seconds once you have the eye for it.
Real Talk: What Experienced Parents and Technicians Know
You won’t get it perfect the first time. Most parents don’t. The best advice we’ve heard from CPSTs: check your car seat manual and your vehicle owner’s manual side by side at least once. They contain installation details that differ by vehicle model.
Also, know that car seats expire. The plastic degrades over time, especially in hot cars. Check the sticker on the seat shell for the expiration date.
If it’s passed, replace it before using it. And remember: never use a seat that has been in a moderate or severe crash, even if it looks fine.
One more thing: position matters more than brand. A cheaper seat installed perfectly is safer than an expensive seat installed wrong. Focus on the fit.
Frequently Asked Questions
How can I tell if my baby is properly positioned in a car seat?
Do the pinch test at the shoulder, you shouldn’t be able to pinch any webbing. Make sure the chest clip is at armpit level. Check that your baby’s chin is not touching their chest.
The recline indicator should be in the green zone.
Why does my baby’s head slump forward in the car seat?
Most often because the seat is too upright. Adjust the recline foot to a more reclined position. If that doesn’t help, check that the newborn insert is placed correctly.
Never use aftermarket head supports.
Can I use a blanket or coat under the harness straps?
No. Puffy material compresses in a crash, creating slack. Dress your baby in thin layers.
After buckling, you can tuck a blanket over the harness or use a car seat cover that goes over the seat, not under the baby.
How tight should car seat straps be?
Snug enough that you cannot pinch any horizontal webbing at the shoulder with your thumb and forefinger. The harness should feel secure but not uncomfortable. If you can gather any slack, it’s too loose.
When should I move my baby to a forward-facing car seat?
Rear-facing is safest for as long as possible. Most seats allow rear-facing up to 35, 50 pounds. Follow the height and weight limits on your seat.
Many experts recommend keeping babies rear-facing to at least age 2, and longer if your seat allows.
Do car seat inserts and head supports from the store make them safer?
No. Aftermarket inserts and supports that don’t come with your specific seat model are not crash tested. They can prevent the harness from fitting properly.
Stick with what’s in the manual.
That covers exactly what a baby should look like in a safe, properly positioned car seat, from the quick daily checks to the less obvious warning signs. The more you practice, the more natural it becomes. And when in doubt, trust your manual, check the recline angle, and do the pinch test.
Every ride.
Real Talk: What Experienced Parents and Technicians Know
You won’t get it perfect the first time. Most parents don’t. The best advice we’ve heard from CPSTs: check your car seat manual and your vehicle owner’s manual side by side at least once.
They contain installation details that differ by vehicle model.
Also know that car seats expire. The plastic degrades over time, especially in hot cars. Check the sticker on the seat shell for the expiration date.
If it’s passed, replace it before using it. And remember: never use a seat that has been in a moderate or severe crash, even if it looks fine.
One more thing: position matters more than brand. A cheaper seat installed perfectly is safer than an expensive seat installed wrong. Focus on the fit.
If you’re traveling or using multiple vehicles, a travel-friendly model can help. Our roundup of rear facing car seats for travel covers lightweight options that still meet safety standards. And if you’re thinking ahead to the next stage, our converting car seat guide explains what to look for when your baby outgrows the infant carrier.
When to Call a Professional (CPST or Pediatrician)
Most car seat problems you can fix yourself by reading the manual and adjusting a few things. But some situations genuinely need an expert.
Call a CPST if:
- You can’t get the recline angle into the green zone no matter what you try.
- The seat moves more than one inch at the belt path after your best installation.
- Your baby has a medical condition that affects positioning (torticollis, reflux, low muscle tone).
- You’re unsure if your seat is compatible with your car’s seat shape.
Call your pediatrician if:
- Your baby consistently slumps chin-to-chest even after you’ve adjusted everything.
- You notice breathing changes or color changes during a ride.
- Your baby is premature and hasn’t had a car seat tolerance test.
Many fire stations and hospitals offer free car seat checks by appointment. A certified technician can spot things you’d never notice on your own. It’s worth the 30 minutes.
The Final Checklist: What to Look for in 60 Seconds
Here’s a quick mental scan before every ride. Run through it until it becomes automatic.
| Check | What to Look For |
|---|---|
| Harness snugness | Pinch test: no slack at the shoulder |
| Chest clip position | At armpit level, not on stomach or neck |
| Chin-to-chest | Visible gap between chin and chest |
| Baby’s bottom | Deep in the seat, not slouched forward |
| Straps | Flat, no twists, no folds |
| Clothing | Thin layers only, no puffy coats |
| Recline angle | Level indicator in the green zone |
| Seat installation | Less than one inch of movement at belt path |
This takes about 30 seconds once you have the eye for it.
Frequently Asked Questions
How can I tell if my baby is properly positioned in a car seat?
Do the pinch test at the shoulder. You shouldn’t be able to pinch any webbing. Make sure the chest clip is at armpit level.
Your baby’s chin should not touch their chest. The recline indicator must be in the green zone.
Why does my baby’s head slump forward in the car seat?
The seat is likely too upright. Adjust the recline foot to a more reclined position. If that doesn’t help, check the newborn insert placement.
Never use aftermarket head supports to fix this.
Can I use a blanket or coat under the harness straps?
No. Puffy material compresses in a crash and creates dangerous slack. Dress your baby in thin layers.
After buckling, tuck a blanket over the harness or use a car seat cover that goes over the seat, not under the baby.
How tight should car seat straps be?
Snug enough that you cannot pinch any horizontal webbing at the shoulder. The harness should feel secure but not uncomfortable. If you can gather any slack, it’s too loose.
When should I move my baby to a forward-facing car seat?
Rear-facing is safest for as long as possible. Most seats allow rear-facing up to 35 to 50 pounds. Keep your baby rear-facing to at least age 2, and longer if your seat allows.
Check our forward-facing safety guide for the full details on when it’s truly safe to turn them around.
Do store-bought car seat inserts make them safer?
No. Aftermarket inserts and supports that didn’t come with your specific seat model are not crash tested. They can prevent the harness from fitting properly.
Stick with what’s in the manual.
That covers exactly what a baby should look like in a safe, properly positioned car seat. From the quick daily checks to the less obvious warning signs, the more you practice, the more natural it becomes. And when in doubt, trust your manual, check the recline angle, and do the pinch test.
Every ride.