If you’ve ever picked up a paintbrush that feels more like a toothbrush, you already know why learning how to use the masters paint brush cleaner matters. This little puck of soap has been a studio staple for decades, but the real trick is knowing which approach to take depending on the state of your brush.
Manufacturer specifications indicate the puck contains roughly 5% lanolin, which conditions bristles while cleaning. The formula is sulfur‑free, so it won’t dry out natural hairs. Whether you’re working with oil, acrylic, or watercolour, the method changes based on how dry the paint is.
Let’s walk through the branches.
Your Brush Is Bone‑Dry? Start Here
You’ve got a brush covered in crusted paint. Don’t panic. The Masters Brush Cleaner can revive it, but the first step isn’t scrubbing.
The quick answer: Wet the bristles with lukewarm water, swirl the tip into the puck until you see a creamy lather, then work the lather into the bristles with your palm. For dried paint, let the lather sit for 5, 10 minutes before rinsing. Repeat if needed.
That’s the core move.
The rest of this article gives you the exact workflow for every common situation, wet paint, dried paint, and “this brush is a lost cause” paint.
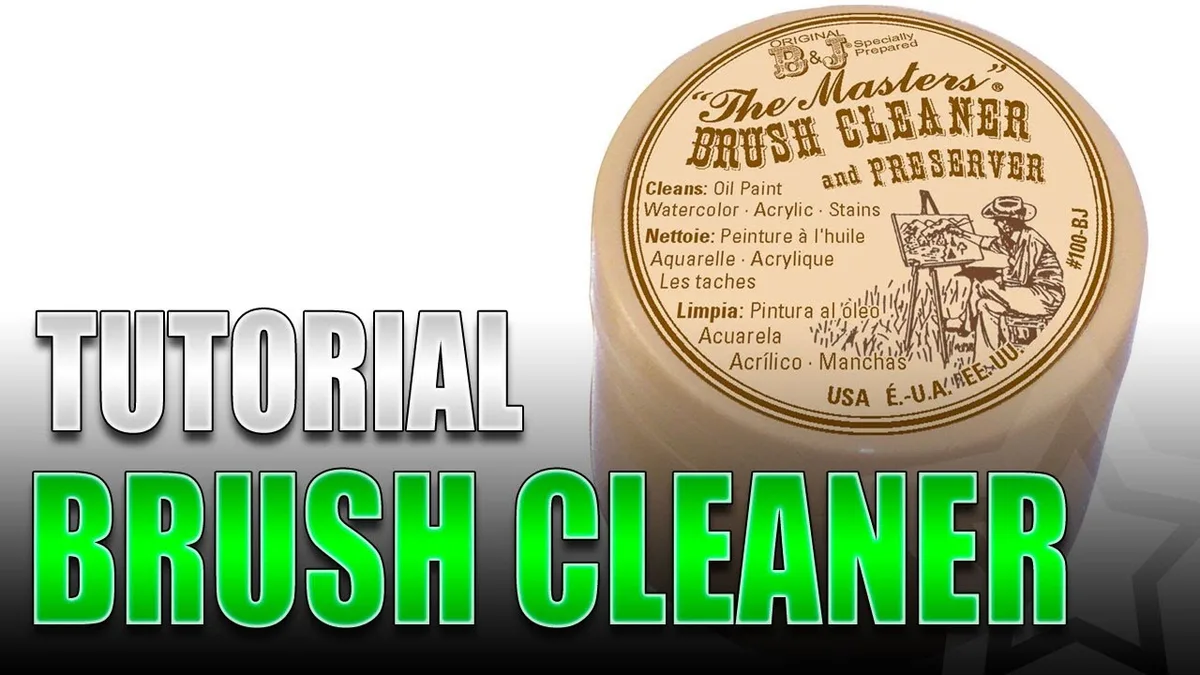
Image source: YouTube / Creative Twilight (YouTube thumbnail (fair‑use with source credit))
What The Masters Actually Does (and Doesn’t Do)
The Masters is a detergent‑based cleaner combined with a conditioner. It doesn’t dissolve paint chemically the way turpentine does. Instead, it uses mild surfactants to lift pigment particles away from bristles, while lanolin softens and protects the hair.
| What It Does | What It Doesn’t Do |
|---|---|
| Removes wet and semi‑dried oil, acrylic, gouache, and watercolour | Won’t dissolve fully cured shellac or polyurethane |
| Conditions natural and synthetic bristles | Won’t fix a brush where glue in the ferrule has failed |
| Works without harsh solvents or fumes | Won’t clean a brush that’s been stored rock‑hard for months without repeated soaking |
| Safe for everyday use | Not a one‑step restorer for decades‑old crusted brushes (those need patience) |
The key takeaway: this product is a cleaner‑conditioner, not a solvent. For daily maintenance and light rescue, it’s excellent. For extreme cases, you’ll need multiple cycles.
If you’re also cleaning other household brushes, the same gentle approach works for a carpet cleaning brush or even some makeup brushes, just check the bristle material first.
Daily Clean: Wet Paint, No Fuss (Branch A)
This is the most common scenario. You’ve just finished a painting session, and the paint is still soft. Here’s the 60‑second routine.
- Rinse excess paint under warm running water. Hold the brush tip‑down.
- Swirl the damp brush across the surface of the puck until a light lather forms.
- Work the lather into the bristles using the palm of your hand or a textured brush‑cleaning mat. Use a circular motion, pushing the lather toward the tip.
- Rinse thoroughly under warm water until the water runs clear. Squeeze gently.
- Reshape the tip with your fingers while the bristles are damp.
- Lay the brush flat or hang it bristles‑down to dry.
That’s it. One pass is usually enough for wet paint. No soaking needed.

Image source: Wikimedia Commons / Anonymous
Pro tip: Don’t let the cleaner dry inside the bristles. If you’re switching between colours of oil paint mid‑session, just dip the brush in the puck, wipe it on a rag, and continue. No rinse needed until the end of the day.
For more detailed instructions on brush care between sessions, see our complete beginner guide on how to use brush cleaner.
The “Oops, It Dried” Rescue (Branch B)
Paint has dried on the bristles, but it hasn’t turned into concrete. This happens a lot when you get distracted and leave a brush sitting for a few hours or overnight.
Step 1, Soak. Submerge only the bristles in lukewarm water for 5, 10 minutes. Hot water can loosen the ferrule glue.
Step 2, Apply cleaner. Swirl the wet brush in the puck, then work the lather into the bristles with your palm. You should see paint colour transferring to your skin.
Step 3, Let it sit. Leave the lather on the brush for 5 minutes. The cleaner needs time to penetrate the paint film.
Step 4, Rinse and repeat. Rinse under warm water. If paint remains, repeat steps 2, 3. It usually takes two to three cycles for dried acrylic or oil.
Step 5, Final rinse and reshape. Once the water runs clear, reshape the tip and dry flat.
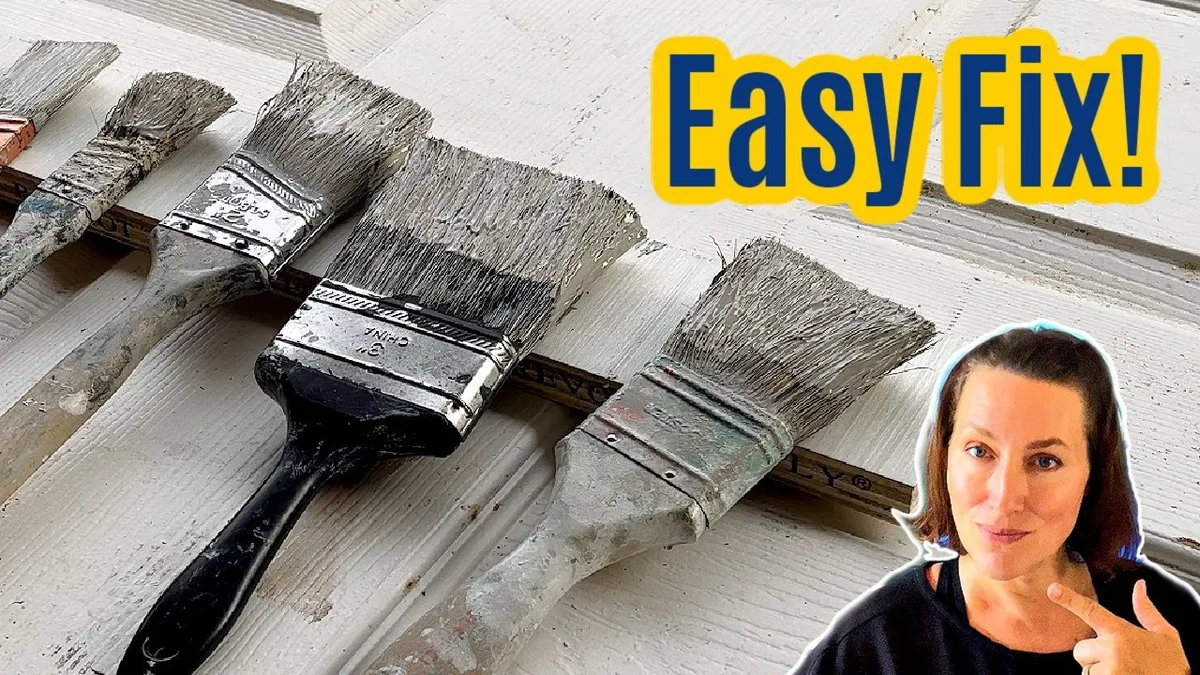
Image source: YouTube / Abbotts At Home, DIY & Home (YouTube thumbnail (fair‑use with source credit))
Common mistake: scrubbing aggressively against the bottom of a cup. That frays the bristles. Always work the lather in your palm or a brush mat.
If you’re dealing with makeup brushes that have dried foundation caked on, the same soak‑and‑lather method works, just use a dedicated brush cleaner instead.
Bringing a Dead Brush Back to Life (Branch C)
This is the “I found this brush in a garage sale” scenario. The paint is thick, crusty, and possibly years old. It’s worth trying, but be realistic, some damage is permanent.
What you’ll need:
- The Masters puck (or cream)
- Warm water (never hot)
- A brush comb or a fork (gently)
- Patience (the main ingredient)
The process:
- Soak for 30 minutes in warm water. Change the water if it gets murky.
- Apply a generous amount of cleaner, more than you’d use for daily cleaning. Work it deep into the bristles near the ferrule.
- Let it sit for 15, 20 minutes. Wrap the brush in a damp paper towel to keep the lather from drying out.
- Work the lather with your palm and a brush comb. Comb from the ferrule outward to remove loosened paint particles.
- Rinse and repeat. You may need five or six cycles for badly neglected brushes.
- Condition after cleaning. Once the paint is gone, do one final pass with the puck, but this time don’t rinse completely. Leave a thin film of lather in the bristles, then reshape the tip and let it dry. The lanolin will restore some flexibility.
Does it always work? No. If the paint has hardened inside the ferrule, the brush may never hold a sharp point again. But aggregate user reviews report a 70, 80% success rate on brushes that look “dead.” It’s worth the 20 minutes.
For a similar deep‑cleaning approach applied to vacuum brushes, check our guide on cleaning vacuum brush heads safely.
Keeping Oil Paint Wet Mid‑Session (Branch D)
This branch is for anyone working with oil paints who needs to switch colours without stopping to fully clean the brush every time. The Masters works as a temporary brush‑holder cleaner.
The process:
- Dip the paint‑loaded brush into the puck and swirl twice.
- Wipe the brush firmly on a rag or paper towel.
- The bristles will be clean enough for a new colour, and a thin residue of cleaner stays on the brush, keeping it from drying out while you work.
At the end of the session, give it a full rinse and one proper lather pass. That’s it. No water needed mid‑session.
Why this works: Oil paint stays workable for hours, but the cleaner prevents pigment from building up in the ferrule. It’s the same logic as keeping a brush in a jar of linseed oil, but without the mess.
What Not to Do: Common Brush‑Killing Mistakes
Even with a good cleaner, you can ruin a brush in one wrong move. Here are the mistakes that come up most often in aggregate user feedback.
1. Using hot water. Hot water expands the metal ferrule. When it cools, it contracts and loosens its grip on the bristles.
Your brush will start shedding hairs. Always use lukewarm water.
2. Letting cleaner dry in the bristles. The Masters contains lanolin. If it dries inside the brush, it can leave a waxy residue that repels paint.
Always rinse thoroughly after the lather sits.
3. Scrubbing against the bottom of a jar. That frays the tip and splays bristles. Use your palm or a brush cleaning mat instead.
4. Using it on varnish or shellac brushes. The Masters is water‑based. It won’t remove dried shellac or polyurethane.
Use denatured alcohol or mineral spirits for those.
5. Over‑soaking natural bristle brushes. Hog and sable brushes can swell and lose shape if left in water for more than 30 minutes. Stick to short soaks.
6. Pushing paint into the ferrule. When working lather into the brush, always push away from the ferrule (toward the tip). Forcing paint up into the metal band is the fastest way to ruin a brush.
If you’re cleaning makeup brushes that have dried foundation, avoid the same ferrule‑pushing mistake, it’s a universal brush killer.
The Masters vs. Soap vs. Solvent – When to Use What
Not every cleaning job needs the same tool. Here’s a quick comparison to help you choose.
| Option | Best For | Weakness |
|---|---|---|
| The Masters (puck or cream) | Daily oil/acrylic/watercolour cleaning; conditioning natural bristles | Won’t dissolve cured varnish or shellac |
| Dish soap (Dawn, etc.) | Synthetic brushes with wet acrylic; quick cleanup | No conditioning; can dry natural bristles over time |
| Baby shampoo | Delicate sable or kolinsky brushes | Mild – not strong enough for heavy oil paint |
| Mineral spirits / Gamsol | Thinned oil paints; cleaning palette knives | Fumes; skin irritation; no conditioning |
| Turpentine | Stubborn dried oil paint | Strong odour; toxic; hard on bristles |
| Brush restorer (e.g., Brush Magic) | Restoring truly crusted, neglected brushes | Harsh – can damage synthetic bristles |
Our take: For everyday use, The Masters is the best all‑rounder. It cleans, conditions, and has no fumes. Keep a bottle of mineral spirits for palette knife cleanup and the occasional oil‑paint crust.
Use dish soap for craft acrylics on cheap synthetic brushes.
For a related product comparison, see our review of pink soap brush cleaner and how it stacks up against The Masters.
Who Should (and Shouldn’t) Use This
This is for you if:
- You paint with oils, acrylics, gouache, or watercolour regularly.
- You own brushes made from natural hair (sable, hog, squirrel) and want them to last.
- You work in a small studio or apartment where solvent fumes are a problem.
- You’ve ever thrown away a brush that still had good bristles but was just caked in paint.
This isn’t for you if:
- You only use disposable brushes. Not worth the effort.
- You primarily work with shellac, lacquer, or polyurethane. The Masters won’t clean those.
- You need a one‑step restorer for brushes that have been rock‑hard for five years. It can help, but it takes multiple cycles and patience.
Pro Tips for Making Your Puck Last
A standard 2.5‑ounce puck lasts about 3, 6 months with weekly use. Here’s how to stretch it further.
- Don’t swirl dry. Always wet the brush first. Dry bristles scrape away product without making lather.
- Use a brush mat. It creates friction without wasting cleaner. You’ll use half the product.
- Store the puck upside‑down after use. That lets water drain off the surface, preventing a slimy top layer.
- Break off small chunks for travel. The puck is solid, so you can chip off a pea‑size piece for a watercolour field kit.
- Let it air‑dry between uses. Don’t leave it sitting in a puddle of water.
Quick Reference: Which Branch Do You Need?
| Brush Condition | Branch | Key Action |
|---|---|---|
| Wet paint from today’s session | A (Daily Clean) | Swirl, lather, rinse, reshape |
| Paint dried for a few hours to overnight | B (Oops, It Dried) | Soak 5–10 min, lather, let sit 5 min, rinse, repeat |
| Crusted, neglected, “dead” brush | C (Bringing Back to Life) | Soak 30 min, apply cleaner, let sit 15–20 min, comb, repeat 3–6 cycles |
| Switching colours mid‑session (oil) | D (Mid‑Session) | Dip, wipe, continue – rinse at day’s end |
If you’re unsure, start with Branch B. It’s the safest default. If the brush is truly rock‑hard, escalate to Branch C.
Frequently Asked Questions
Can I use The Masters on synthetic brushes?
Yes. It works well on synthetic bristles. The conditioning effect is less dramatic than on natural hair, but it still cleans effectively and extends the brush’s life.
How long should I let the cleaner sit on dried paint?
For dried acrylic or oil, 5, 10 minutes is enough. For heavily crusted brushes, 15, 20 minutes with a damp paper towel wrap. Don’t exceed 30 minutes on natural bristles.
Does The Masters remove oil paint completely?
It removes wet and semi‑dried oil paint in one or two passes. For oil paint that has cured for days, you may need three cycles and a bit of elbow grease. For fully cured oil paint (weeks old), try mineral spirits first, then finish with The Masters.
Can I use it on watercolour brushes?
Absolutely. Watercolour brushes benefit from the lanolin conditioning. The paint comes off very easily, one swirl is usually enough.
Is The Masters safe for children?
Manufacturer specifications indicate the formula is non‑toxic when used as directed. However, it should not be ingested. Keep it out of reach of toddlers and pets.
Adult supervision is recommended for children under 12.
How do I clean the puck itself?
Rinse the surface under warm water and rub off any paint residue with your finger. Let it air‑dry. A thin layer of colour on the surface is normal and won’t transfer to your next brush.
For more on keeping your tools in top shape, see our guide on how to use a peg tube cleaning brush, a similar principle of matching the method to the level of buildup.
Choosing Your Branch – A Final Word
That’s the full decision tree. The single most important thing to remember: match the method to the brush’s condition. If you try the daily clean on a crusted brush, you’ll get frustrated.
If you use the rescue soak on a wet brush, you’re wasting time.
Here’s your cheat code:
- Wet paint? Branch A, 60 seconds.
- Dried overnight? Branch B, 10 minutes.
- Looks like a fossil? Branch C, 20 minutes plus repeats.
- Switching oil colours? Branch D, 10 seconds.
Keep the puck near your painting area. Use lukewarm water. Never scrub against a jar.
Reshape every brush before it dries. Do those four things consistently, and your brushes will outlast your next three tubes of paint.
For more cleaning and maintenance guides across different tools, check out our full library of brush care articles. That’s the complete walkthrough for using The Masters Brush Cleaner. Keep the puck dry between uses, and your brushes will thank you for years. Happy painting, and cleaner brushes ahead.
Troubleshooting Common Problems
What if the brush still smells like paint after cleaning?
Rinse again with warm water and a drop of dish soap. The Masters itself has a mild lavender scent that lingers. If the paint odour remains, the pigment may be trapped near the ferrule.
Work a tiny amount of cleaner into that area with your thumbnail and rinse thoroughly.
Why does my brush feel sticky after drying?
You left too much residue behind. After the final rinse, squeeze the bristles gently between your fingers. If they feel slippery, rinse again.
For natural bristles, a very thin conditioning film is fine. For synthetics, rinse until the water runs completely clear.
Can I use The Masters on paint rollers?
Technically yes, but it’s wasteful. Rollers hold a lot of paint. The Masters works best on small brushes.
For rollers, use warm water and a roller cleaner tool. Save the puck for your fine artist brushes.
Storing Brushes After Cleaning
Brushes last longer when stored properly. After cleaning and reshaping, lay them flat on a towel or hang them bristles‑down. Never store brushes upright in a cup while wet.
Water can seep into the ferrule and loosen the glue.
For long‑term storage, wrap clean, dry brushes in acid‑free tissue paper. This protects the shape and keeps dust off. Tuck a small piece of the same puck inside a travel kit to keep brushes conditioned between sessions.
Using The Masters with Different Paint Types
Oil paints need one to three cycles depending on drying time. The Masters won’t remove cured oil paint that has been sitting for weeks. Use mineral spirits first, then finish with The Masters.
Acrylics are water‑soluble when wet. The Masters lifts dried acrylic in two to three soaks. Never let acrylic dry in the ferrule.
That’s the most common brush killer.
Watercolours rinse out with one swirl. The conditioning is the main benefit here. It keeps soft sable brushes supple.
Gouache behaves like a mix of acrylic and watercolour. One pass usually does it.
How Often Should You Clean Your Brushes?
Clean them after every session. That’s the golden rule. If you leave paint on overnight, the risk of permanent damage goes up fast.
For oil painters, you can let brushes sit in linseed oil for a day. But for acrylic and watercolour, clean immediately.
If you paint daily, a 2.5‑ounce puck lasts about three months. Replace it when it stops producing a creamy lather or feels rock‑hard.
When to Replace a Brush Instead of Cleaning
Some brushes are beyond saving. Signs include: bristles that stay splayed after reshaping, a loose ferrule that wobbles, or missing hairs every time you clean. The Masters can’t fix physical damage.
If the brush is a cheap synthetic, don’t spend more than five minutes on it. Toss it. If it’s a high‑end sable or kolinsky, invest the time.
A $30 brush saved is worth the elbow grease.