Yes, an electric kettle can technically heat milk, but the real question is whether it should happen without a mess, a burnt smell, or a ruined appliance. Most people who try it once, end up scraping scorched milk off the heating element and wondering why the foam erupted before the milk even felt hot. Can Electric Kettle Boil Milk is a deceptively simple query, because the answer depends on your kettle’s design, your patience for cleanup, and your tolerance for risk. Let’s break it down with the exact conditions that make it work, and the ones that keep it a bad idea.
Manufacturer specifications indicate that most standard kettles are designed to heat water to 212.9°F (100.5°C) before triggering an auto shut-off. Milk’s boiling point sits just a fraction higher, which sounds convenient, but the protein structure changes everything. If you’ve ever had milk suddenly climb the sides of a saucepan, you’re already familiar with the physics.
Below, we’ll walk through the decision branches so you know whether your specific kettle can handle the job, or whether you should stick to the microwave.
Quick Answer
Yes, an electric kettle can heat milk. It will not give you a proper rolling boil. It risks scorching and a violent boil-over.
Cleanup is often a headache. A stovetop or microwave is easier.
The hidden heating element is the problem. Milk’s proteins stick to hot surfaces. They burn before the liquid catches up.
You end up with a brown film on the base. The kettle may also be damaged.
How Milk Boils Differently Than Water
Milk is mostly water, but that 12% of solids changes every rule you know about boiling. Proteins like casein and whey denature as soon as they hit about 160°F (71°C). That’s not boiling yet, but the structure is already shifting.
As the temperature climbs, a skin forms on the surface. That skin traps steam underneath it. The pressure builds invisibly until the surface finally breaks.
By then, the milk has superheated past its actual boiling point. The result is a sudden, violent eruption that climbs the kettle’s walls and spills over before you can react.
Here’s the key fact: the boiling point of milk is about 212.9°F (100.5°C). Your kettle’s thermostat is usually calibrated to shut off at water’s boiling point. In theory, the timing works out.
In practice, the milk’s protein foam starts rising well before the internal temperature reaches that number. Your kettle sees the foam, but it keeps heating because the water temperature hasn’t triggered the shut-off yet.
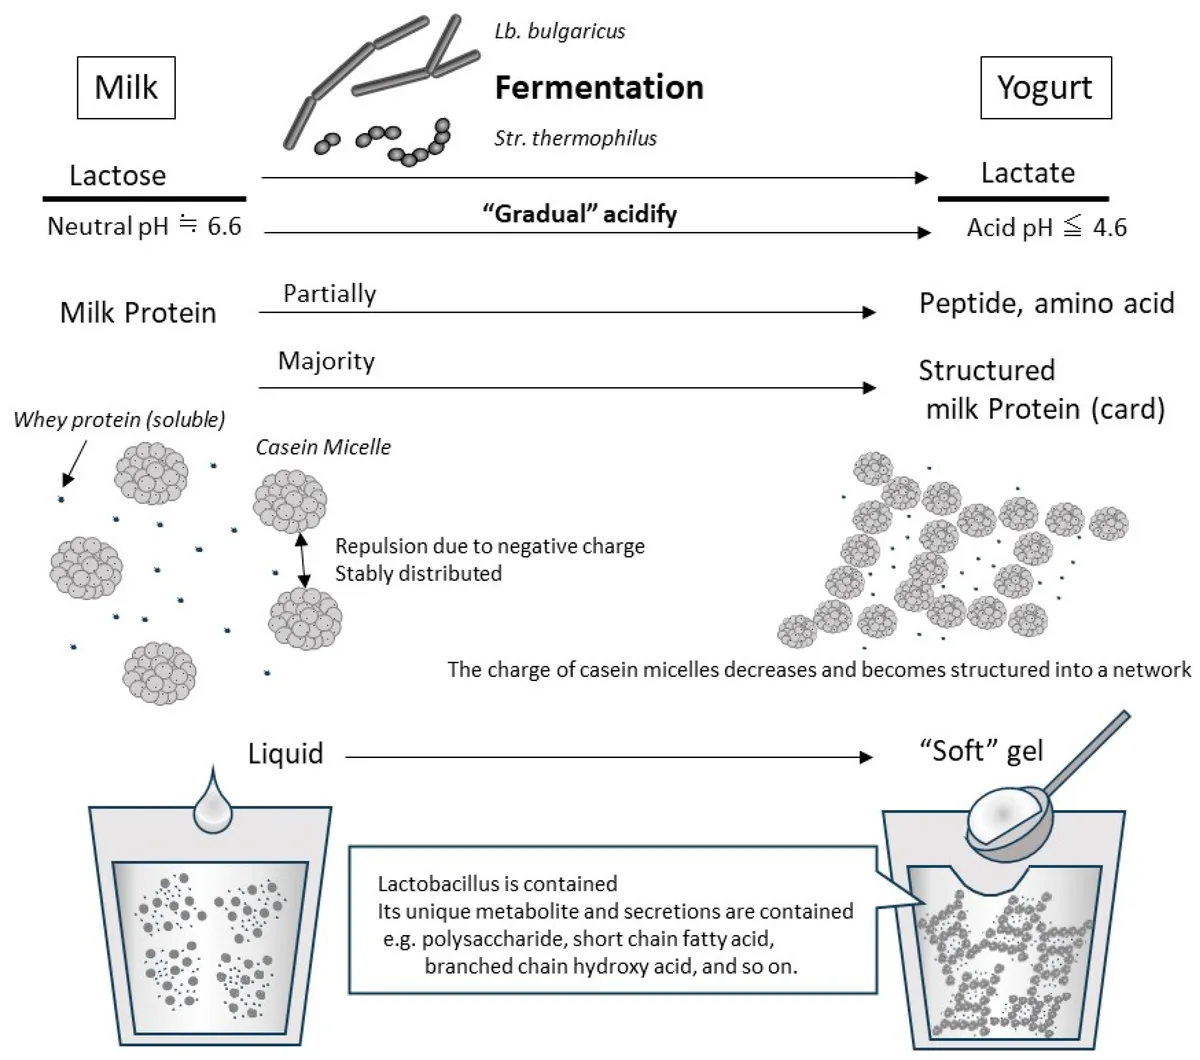
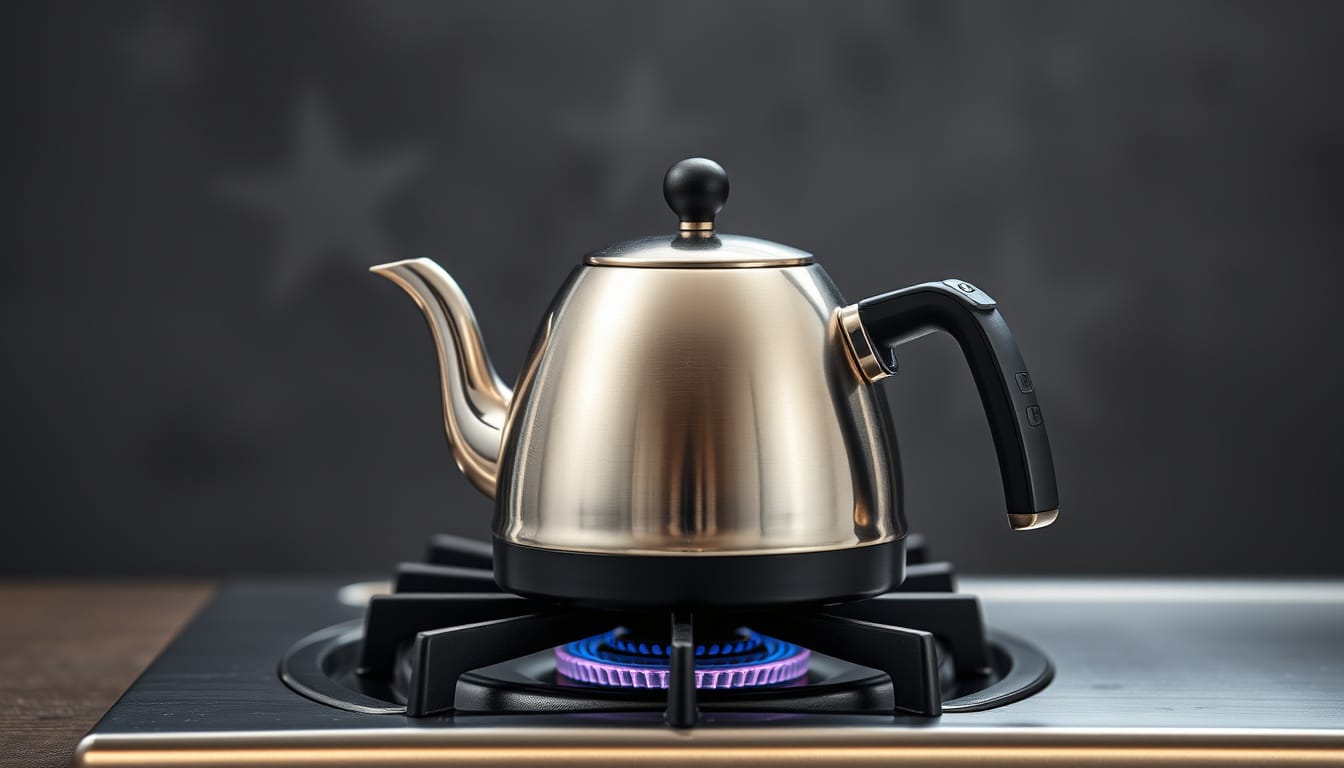
Image source: Bing (Web (fair-use with source credit))
The thermal mass also differs. Water distributes heat evenly and bubbles continuously as it boils. Milk, by contrast, has a higher viscosity.
It doesn’t circulate the same way, so hot spots form on the kettle’s base. Those hot spots scorch the milk before the rest of the liquid even feels warm.
The takeaway? If you treat milk like water, you’re guaranteed a mess. The workflow has to be different.
Check Your Kettle Before You Even Pour
Not all kettles are equals when it comes to milk. The interior material and heating element design dictate how much risk you’re taking on. This is where the decision tree branches.
If you have a glass kettle, you at least have the advantage of seeing what’s happening. You can watch the micro-bubbles form and react before the boil-over. The downside?
Glass conducts heat poorly, which means hot spots are worse. The base can scorch while the upper layers stay cool.
Stainless steel kettles are the most forgiving. They distribute heat more evenly, and if you do scorch the milk, they’re easier to clean without absorbing the smell. The seam where the base meets the wall is the weak point.
Milk proteins love to wedge into that crevice and burn on.
Plastic interiors are entirely off the table. The milk’s proteins and fats will leave a residue that soaks into the plastic’s micro-pores. Even after rigorous cleaning, a burnt milk smell can linger for weeks.
You’ll end up tasting yesterday’s mistake in tomorrow’s tea.
The longest lever is the heating element type. Older kettles with exposed coils at the bottom are the worst possible choice. Milk will cling to the hot wire and instantly scorch.
Modern kettles with concealed, flat bases are safer, but still not ideal.
Here’s the simplest test. Check the wattage. A standard 120-volt kettle runs between 1500W and 1800W.
On the lower end, heating is gentler and less likely to cause sudden eruptions. Higher wattage boils faster, which sounds great, but speed is your enemy with milk. The faster the temperature rises, the more violently the proteins denature and foam.
Per manufacturer specifications, most auto shut-off mechanisms are calibrated for water’s boiling point, not milk’s behavior. The foam can trip the sensor early or. Worse, it can push milk into the spout and down the sides, making its way toward the electrical base.
That’s not just a mess, it’s a safety hazard.
| Kettle Interior | Heat Distribution | Cleanup Ease | Smell Retention | Milk Safe? |
|---|---|---|---|---|
| Stainless steel | Even | Easy | Low | Best choice |
| Borosilicate glass | Moderate | Moderate | Low | Workable |
| Plastic | Uneven | Difficult | High | Avoid entirely |
If you want to understand the fundamentals of how these appliances work, check out the basics of electric kettle operation before you pour anything in.
The Step-by-Step Workflow: How To Heat Milk Safely
If you’ve decided to proceed, the process isn’t complicated. It just requires attention. Here’s the workflow that consistently works without wrecking your kettle or your countertop.
Step 1: Clean the kettle base. Any leftover mineral scale or residue creates a nucleation point for scorching. Run a quick water-only boil first if you haven’t cleaned in a while. Rinse thoroughly and shake out all excess water.
Dry the interior with a paper towel.
Step 2: Pour cold milk, not warm. Cold milk heats more uniformly because it starts at the same temperature throughout. Warm milk has already begun to separate proteins at the surface, inviting an earlier eruption. The milk should also never fill more than one-third of the kettle’s capacity.
The foam needs headroom. At half full, you’re asking for an overflow.
Step 3: Turn on the kettle and wait. Do not walk away. The entire process takes 90 seconds to 3 minutes depending on wattage. Stay at the counter.
Step 4: Watch for micro-bubbles. Small bubbles will start clinging to the side walls around 120°F to 140°F (49°C to 60°C). This is your warning flap. The moment you see steam rising steadily from the spout, shut the kettle off manually.
Do not wait for the auto shut-off. It triggers too late for milk.
Step 5: Power-cycle before it erupts. The trick is to switch the kettle off at 150°F to 160°F (65°C to 71°C). That’s below boiling, but well above the temperature needed for coffee or tea. If you got the timing right, there will be no foam, no eruption, and no burnt protein.

Image source: Web (Bing) / webcommu.net (Web image (fair-use with source credit))
If you want a single cup, you might be tempted to use a gooseneck model for precision. That works, but the precision you get from a gooseneck’s narrow spout is wasted on milk. It just makes pouring easier at the end.
Step 6: Pour immediately. Don’t leave the milk sitting in the kettle. Residual heat continues to cook it. Transfer it to your mug, french press, or waiting cup within 30 seconds of shutting off.
Step 7: Rinse immediately with hot water. Cold water causes proteins to stick even harder. Hot rinse first, then a light scrub if needed. Never let milk dry in the kettle.
Once it dries, it bakes on like enamel.
Signs It’s Working (And Signs It’s About To Boil Over)
The difference between success and a bubbly disaster comes down to reading the visual cues. Milk gives you several warning signs before the full eruption. You just have to know what to look for.
The good signs are a slow, gentle rise in temperature with no surface movement. The milk should stay calm and silent below 140°F. A few tiny bubbles along the outer edge are normal.
Steam should be light and intermittent, not a heavy rolling plume.
The first warning appears around 150°F to 160°F. The milk begins to expand slightly in volume. The surface tightens, almost like a film stretching over the top.
You might see faint wisps of steam, but no bubbling yet.
The critical sign is a sudden swelling at the center or edges. Milk doesn’t bubble like water. It foams.
That foam rises quickly, doubling in volume within seconds. If you see even the thinnest layer of froth forming, you have about 8 to 10 seconds before it reaches the spout.
There’s also the sound. Heating milk produces a low hiss, not the rattle of boiling water. When the hiss starts intensifying, the temperature is climbing past 170°F.
The froth follows within moments.
Watch the steam output carefully. A steady, thick plume means the milk is past 180°F and approaching the danger zone. Shut off the kettle the moment the plume becomes continuous.
If you want to reheat the milk, let it rest for 30 seconds, then cycle the power again. This gentle power-cycling is the key to even heating.
If you’re doing this for coffee or tea, you don’t need the milk anywhere near boiling anyway. The ideal range is 140°F to 160°F, depending on your drink. Holding it in that zone keeps the natural sweetness intact without scalding the proteins.
And for a faster morning routine, understanding how long your kettle takes to boil plain water helps you plan around your milk heating separately.