You know that sinking feeling. The one where you open the back door and realize your baby’s car seat has become a crime scene. Spit-up in the harness slots.
Cracker crumbs ground into the padding. Maybe something worse. And you’re standing there thinking, Can I just hose this whole thing down?
Don’t. That’s exactly how you accidentally ruin a perfectly good car seat.
Learning how to clean baby car seats the right way matters more than you’d think. Get it wrong and you can weaken the harness webbing, corrode the buckle mechanism, or shrink the padding until it no longer fits properly. Per federal safety standard FMVSS 213, every component has to work exactly as designed in a crash.
A bleach-soaked strap or a detergent-clogged buckle won’t hold up. Let’s walk through what actually works, what doesn’t, and how to get that seat looking clean without compromising safety.
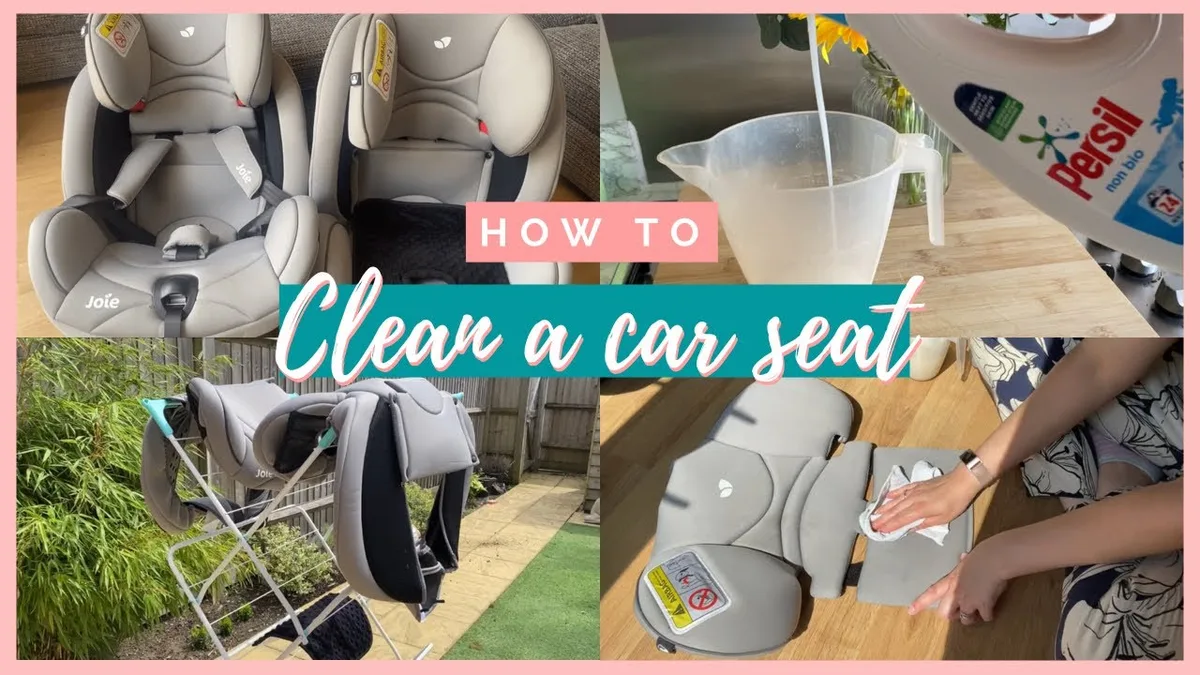
Image source: YouTube / Mummy Cleans (YouTube thumbnail (fair-use with source credit))
Quick Answer
Clean baby car seats with cold water and a few drops of mild baby detergent. Hand wash only. Never use bleach, vinegar, or fabric softener.
Remove the cover if it’s designed to come off. Wipe the harness straps with a damp cloth. Never soak them.
Air dry everything completely. Reinstall carefully. That’s the whole process in a nutshell.
Why Cleaning a Baby Car Seat Is Different From Everything Else in Your House
You can toss a bib in the washing machine. You can spray upholstery cleaner on the couch. You can even scrub a high chair with bleach spray and call it done.
None of that applies here.
A car seat is a safety device first and a piece of baby gear second. Every strap, buckle, and piece of padding plays a role in keeping your child restrained during a crash. The harness distributes crash forces across the strongest parts of the body.
The chest clip keeps the straps positioned correctly. The buckle has to release cleanly in an emergency. If you mess with any of those components, you’re not just dealing with a stain, you’re dealing with a potential safety failure.
Most parents don’t realize how fragile the harness webbing actually is. It’s made of polypropylene, a material that handles tension really well but hates harsh chemicals. Bleach breaks down the fibers.
Fabric softener coats them with a waxy layer that can cause the straps to slip in a crash. Even soaking the webbing in water can weaken it if the inner core absorbs moisture and doesn’t dry fully.
The plastic shell and foam padding have their own vulnerabilities. Harsh cleaners can degrade the foam’s energy absorbing properties over time. Hot water can warp the plastic.
Direct sunlight can make it brittle.
Manufacturer specifications indicate that improper cleaning is one of the most common reasons warranty claims get denied. If your car seat manual says “spot clean only” and you throw the cover in a machine, you’ve just voided any protection you had.
Aggregate reviews from certified child passenger safety technicians confirm the same pattern. The seats that fail recheck appointments most often have harnesses that were cleaned with the wrong products or covers that were machine dried and shrunk. It’s not a rare problem.
The takeaway here is simple. Treat every cleaning session like you’re maintaining a piece of safety equipment. Because that’s exactly what you’re doing.
What’s Actually Safe to Clean? (And What’s Not)
Before you pick up a rag, you need to know which parts of the car seat can handle cleaning and which parts can’t. This is where most parents make their first mistake. They treat everything like it’s machine washable.
Let’s break it down by component.
The Cover
Most car seat covers are removable and machine washable. But that doesn’t mean you should just throw it in with your regular laundry.
Check your manual first. Some covers are hand wash only. Some can go in the machine on a gentle cycle with cold water.
Almost none of them can go in the dryer. Heat shrinks the fabric and can warp the padding inserts.
If your manual says machine washable, use cold water, a mild detergent, and the delicate cycle. Skip the fabric softener and any stain pre-treaters that contain bleach. Air dry flat away from direct sunlight.
The Harness Straps
This is the part you cannot cut corners on.
Harness webbing should never be fully submerged in water. Never put it in a washing machine. Never soak it in any cleaning solution.
The correct method is simple. Dampen a soft cloth with cold water and a tiny amount of mild soap. Wipe the straps down gently.
Then go over them again with a clean damp cloth to remove any soap residue. Let them air dry completely flat.
If the straps are stained and wiping won’t fix it, do not scrub harder. The friction can fray the fibers. You’re better off dealing with a stain than compromising the structural integrity of the webbing.
The Buckle
Buckles get gross fast. Crumbs, dried milk, and general baby grime collect in the crevices and cause the mechanism to stick. You’ve probably experienced the frustration of pressing the release button and getting nothing.
Most buckles can be removed from the harness for cleaning. Check your manual for the specific method on your model. Once it’s off, rinse it with warm water and use a toothpick to gently clear out any debris.
Do not soak it. Do not use soap inside the mechanism. Soap residue can actually make the buckle stick worse.
After cleaning, shake out any excess water and let it dry completely before reinstalling.
The Plastic Shell and Foam
These are the easiest parts to clean. The plastic shell can be wiped down with a damp cloth and a mild soap solution. The foam padding should be spot cleaned and air dried.
Never submerge foam. It holds water like a sponge and can take days to dry fully. Moisture trapped inside the foam is a perfect breeding ground for mold.
Here’s a quick reference table to keep straight.
| Component | Safe Cleaning Method | What to Avoid |
|---|---|---|
| Cover (removable) | Machine wash cold or hand wash, air dry | Dryer, bleach, fabric softener, hot water |
| Harness straps | Damp cloth with mild soap, air dry | Submersion, machine wash, bleach, scrubbing |
| Buckle | Remove, rinse with water, toothpick debris | Soap inside mechanism, soaking |
| Buckle (no removal) | Damp cloth wipe, toothpick in crevices | Any liquid inside the release button |
| Plastic shell | Damp cloth with mild soap | Bleach, abrasive scrubbers, hot water |
| Foam padding | Spot clean, air dry flat | Submersion, machine wash, heat |
If you’re unsure about any component, the manual is your final authority. Keep it somewhere accessible.
The Step-by-Step Guide to Cleaning a Baby Car Seat (Without Breaking It)
Now that you know what you’re working with, here’s the exact process. Follow this order and you’ll avoid the common mistakes that turn a simple cleaning into a warranty-voiding mess.
Step 1: Read the Manual
I know. Nobody reads the manual. But this is the one time you really need to.
Every car seat brand has slightly different instructions. Graco might say something different from Chicco or Britax. Some seats allow machine washing.
Some don’t. Some have buckles that pop out easily. Others require a paperclip and some patience.
Find the manual online if you’ve lost the paper copy. Scan the cleaning section. Write down any warnings specific to your model.
Step 2: Remove the Seat from the Car
Uninstall the car seat completely. You need clear access to all the components. Take it inside where you have good lighting and a flat surface to work on.
Step 3: Remove the Cover
Most covers are attached with elastic loops, plastic clips, or a combination of both. Some require you to unthread the harness straps through designated slots. Take pictures with your phone as you go.
You’ll thank yourself when it’s time to put everything back together.
Work slowly. Forcing a clip or yanking on the fabric can tear the cover or break the attachment points.
Step 4: Remove the Buckle and Chest Clip
If your model allows buckle removal, take it off now. The chest clip usually slides off easily. Set both pieces aside.
Step 5: Hand Wash or Machine Wash the Cover
Follow your manual’s instructions. If machine washing is allowed, use cold water, the delicate cycle, and a small amount of mild detergent. If hand washing is recommended, fill a sink or basin with cold water, add a few drops of mild baby detergent, and gently agitate the cover.
Rinse thoroughly. Soap residue can irritate your baby’s skin.
Step 6: Air Dry the Cover Completely
Do not put the cover in the dryer. Do not use a space heater or hair dryer. Lay it flat on a drying rack or hang it in a well ventilated area.
Direct sunlight is okay for drying but avoid long exposure if your cover has dark colors that could fade.
Drying time varies. A thin cotton blend cover might dry in four to six hours. A thick padded cover with foam inserts can take 24 hours or more.
Step 7: Clean the Harness Straps
While the cover is drying, move to the straps. Dampen a microfiber cloth with cold water. Add a drop of mild detergent if needed.
Wipe each strap from top to bottom. Then wipe again with a clean damp cloth to remove any soap.
Let the straps air dry flat. Do not hang them. Gravity can pull moisture into the inner webbing and create uneven drying.
Step 8: Clean the Buckle
Rinse the buckle under warm running water. Use a toothpick to pick out any visible debris from the crevices. Shake out excess water and set it aside to dry.
If your buckle is stuck and won’t release, do not force it. Check for visible debris first. If that doesn’t work, consult your manual for a specific cleaning method.
Some buckles require a vinegar solution rinse (not soaking) to dissolve mineral buildup from formula residue.
Step 9: Wipe the Plastic Shell
A damp cloth with mild soap is all you need. Pay attention to the harness slot openings and any crevices where crumbs tend to collect. Dry with a clean cloth.
Step 10: Let Everything Dry Fully
This is the step most people rush. Do not reassemble the car seat until every single component is bone dry. Moisture trapped under the cover or inside the foam leads to mold.
Step 11: Reassemble and Reinstall
Refer to the pictures you took earlier. Thread the harness through the correct slots. Reattach the cover.
Install the buckle and chest clip. Reinstall the seat in your car following your manual’s instructions.
Once everything is back in place, do a pinch test on the harness straps. You should not be able to pinch any slack at the shoulder when your child is buckled in.
How to Clean the Harness Straps (The Most Common Mistake)
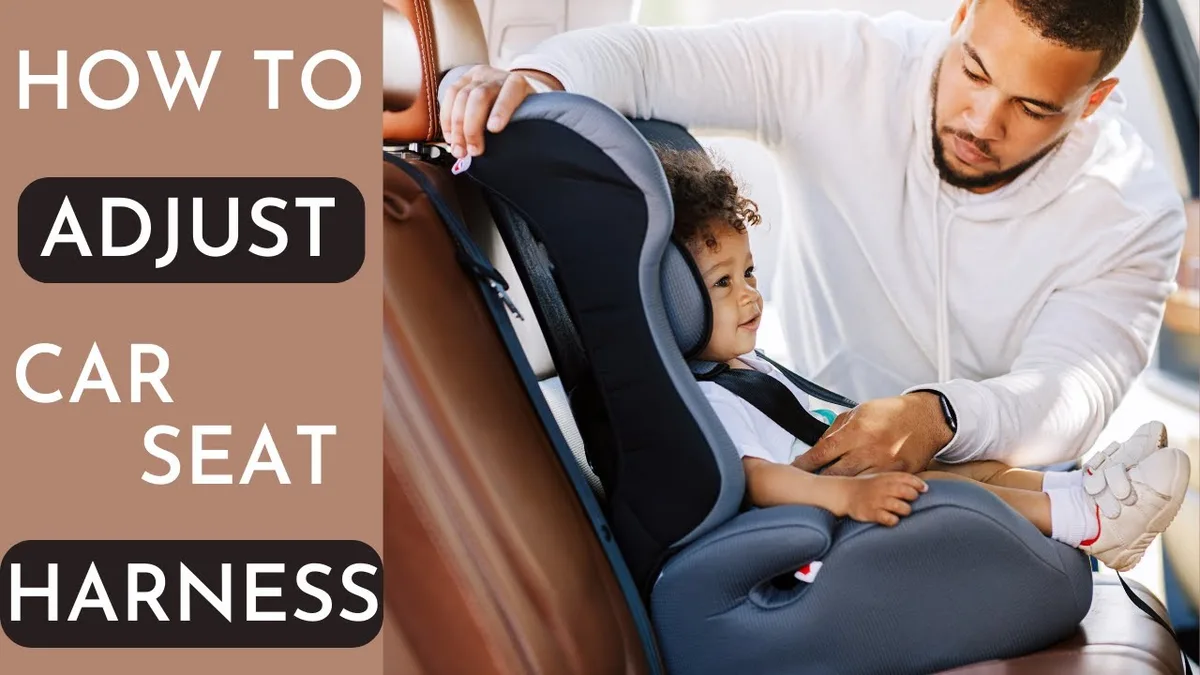
Image source: YouTube / The Mom and Baby House (YouTube thumbnail, fair use)
If there is one thing I want you to remember from this entire article, it’s this section. The harness straps are the single most critical safety component of the entire car seat. And they are also the part that gets ruined most often.
Here is what happens. A parent sees formula crusted onto the strap. They think, “I’ll just soak it in the sink with some dish soap.” Then they let it dry.
The strap looks clean. But the damage is already done.
The webbing’s internal structure has been compromised. The fibers may have weakened. Soap residue may be trapped inside, creating a slick surface that affects how the straps grip during a crash.
According to the American Academy of Pediatrics, harness straps should never be submerged in water or cleaned with anything other than mild soap and water. The same guidance appears in virtually every car seat manual on the market.
If your straps are truly beyond cleaning, do not try to salvage them. Contact the manufacturer and order replacement straps designed for your specific model. Never use universal straps or aftermarket alternatives.
Some parents ask about using baby wipes on the straps. The answer is no. Baby wipes contain moisturizers and cleaning agents that leave residue on the webbing.
Stick to a damp cloth.
If your child has an accident and the straps are soaked in vomit or diarrhea, the process is the same. Wipe clean. Damp cloth.
Air dry. Do not soak.
One more thing about the harness that surprises people. The straps should never be twisted when you thread them through the slots. Twisted straps distribute crash forces unevenly and can cause injury.
If you had to remove the straps for cleaning, double-check that they are perfectly flat and straight before reinstalling.
This also applies to the chest clip. It needs to sit at armpit level, not sliding down or riding up. A misplaced chest clip can allow your child to slip out of the harness in a crash.
The harness is the part of the car seat that literally holds your child in place. Treat it with respect.