You open the app and check the care label. It says “machine wash cold, tumble dry low.” But that small tag doesn’t tell you the whole story. The way you wash a Lovesac Supersac cover depends on the fabric, the stain, and your washing machine’s capacity.
Getting it wrong can shrink the cover permanently, and a shrunken cover won’t zip back over the fill.
We researched Lovesac’s official care guidelines, cross-checked them against the FTC Care Labeling Rule (which requires that sewn-in tag for a reason), and pulled together the most reliable methods. As of 2026, the Supersac cover remains one of the larger removable covers on the market, and its cleaning process is surprisingly forgiving once you know the basics. Let’s walk through it step by step.
Quick Answer
Wash the Lovesac Supersac cover in cold water on a gentle cycle. Use a mild detergent, never fabric softener. Air dry or tumble dry on low heat.
Remove the fill before washing. Pre-treat stains with a gentle spot remover. Re-zip the cover over the dry fill.
Know Your Cover: Fabric Type Changes Everything
Before you touch the washer, identify the fabric. The Supersac cover comes in several materials, and each one reacts differently to water, heat, and friction.
CordUe. This is the classic corduroy option. It’s durable and hides minor dirt well, but the ribbed texture can pill if you wash it against rough items. Cold water and a gentle cycle keep the ridges intact.
Avoid heavy agitation.
Faux fur. The plush pile looks gorgeous, but it’s sensitive. Hot water can mat the fibers permanently, and the dryer can melt synthetic strands. If you own a faux fur cover, treat it like a delicate garment.
Wash it alone, cold, and air dry it completely.
Microsuede. This fabric is forgiving. It withstands regular washing well, but it shows watermarks if you hand-spot it. When you spot clean microsuede, blot gently with a damp cloth and let the whole area dry evenly.
Machine washing avoids those marks.
Chenille. Chenille has a soft, textured weave that loves to trap pet hair and crumbs. It also dislikes heat. Stick to cool water and air drying.
The texture will stay plush instead of turning stiff or matted.
Here’s a quick reference:
| Fabric | Water Temp | Cycle | Drying |
|---|---|---|---|
| CordUe | Cold | Gentle | Low heat or air dry |
| Faux fur | Cold | Delicate | Air dry only |
| Microsuede | Cold | Gentle | Low heat or air dry |
| Chenille | Cold | Delicate | Air dry only |
The care label inside the zipper pocket lists the exact fabric and instructions. If the label is faded or missing, check the Lovesac website using the style code printed near the seam.

Image source: Bing (Web (fair-use with source credit))
What You’ll Need to Do This Right
Washing a Supersac cover is a two-person job in most homes. The cover alone can weigh five to eight pounds depending on fabric, and it takes up a lot of space in the drum. Gather these supplies first.
- A front-loading washer or a top-loader with a large capacity (4.5 cubic feet or more)
- A mild, liquid laundry detergent free of bleach and optical brighteners
- A gentle stain pre-treatment spray (check it’s safe for the specific fabric)
- A clean, dry space for air drying, or a low-heat dryer setting
- A vacuum with a brush attachment for pre-wash debris removal
If your washer is on the smaller side, don’t force it. A cover crammed into a small drum won’t agitate properly, and soap residue gets trapped in the fold. Consider taking the cover to a laundromat with larger machines.
Many people who own Supersacs in small apartments do exactly that. It’s the difference between a truly clean cover and one that comes out stiff.
Before washing, give the cover a good vacuum. Run the brush attachment across the entire surface, especially in seams and corners. Crumbs, pet hair, and coins can hide in the confounded folds.
That debris leads to streaks and can even damage the washer’s pump if it’s something sharp.
Need a hand understanding the different sack sizes? It’s worth checking how the Supersac compares to smaller options before you invest in extra covers, especially if you’re comparing bean bag dimensions.
Step-by-Step: How to Wash Your Lovesac Supersac Cover
Let’s get practical. Follow these steps in order, and you’ll avoid most common mistakes.
Step 1: Unzip and Remove the Fill Properly
Unzip the cover fully, all the way around. The zipper runs along the bottom or lower seam, depending on the generation of your Supersac. Open it slowly so the fill doesn’t burst out.
Lift the shredded memory foam fill out in sections. It comes in a DuraPouch liner, which keeps the foam contained. Pull that liner out carefully.
You want to keep the fill completely dry. Wet foam takes days to dry and can develop a musty smell if it stays damp.
Set the fill somewhere clean and dry. A plastic trash bag or a large canvas tote works well as a temporary cover while the outer cover washes.
Step 2: Pre-Treat Stains Before Washing
Check the cover for visible stains. Food spills, makeup, and pet accidents all need pre-treatment. Spray the stain with a gentle stain remover and let it sit for ten to fifteen minutes.
Do not scrub hard, especially on faux fur or chenille. Scrubbing breaks the fibers.
For oily stains, a drop of dish soap worked into the spot helps break down the grease. Blot, don’t rub. Rinse the area with a little cool water before the full wash.
Step 3: Load the Washer Without Damaging the Cover
Place the cover in the washer alone. Do not toss in towels or sheets to “balance” the load. The cover is heavy and can shift, causing the machine to thump.
Washing it solo prevents friction against zippers or buttons from other garments.
Make sure the zipper on the cover is fully closed. An open zipper can snag the fabric or the washer drum and tear the cover.
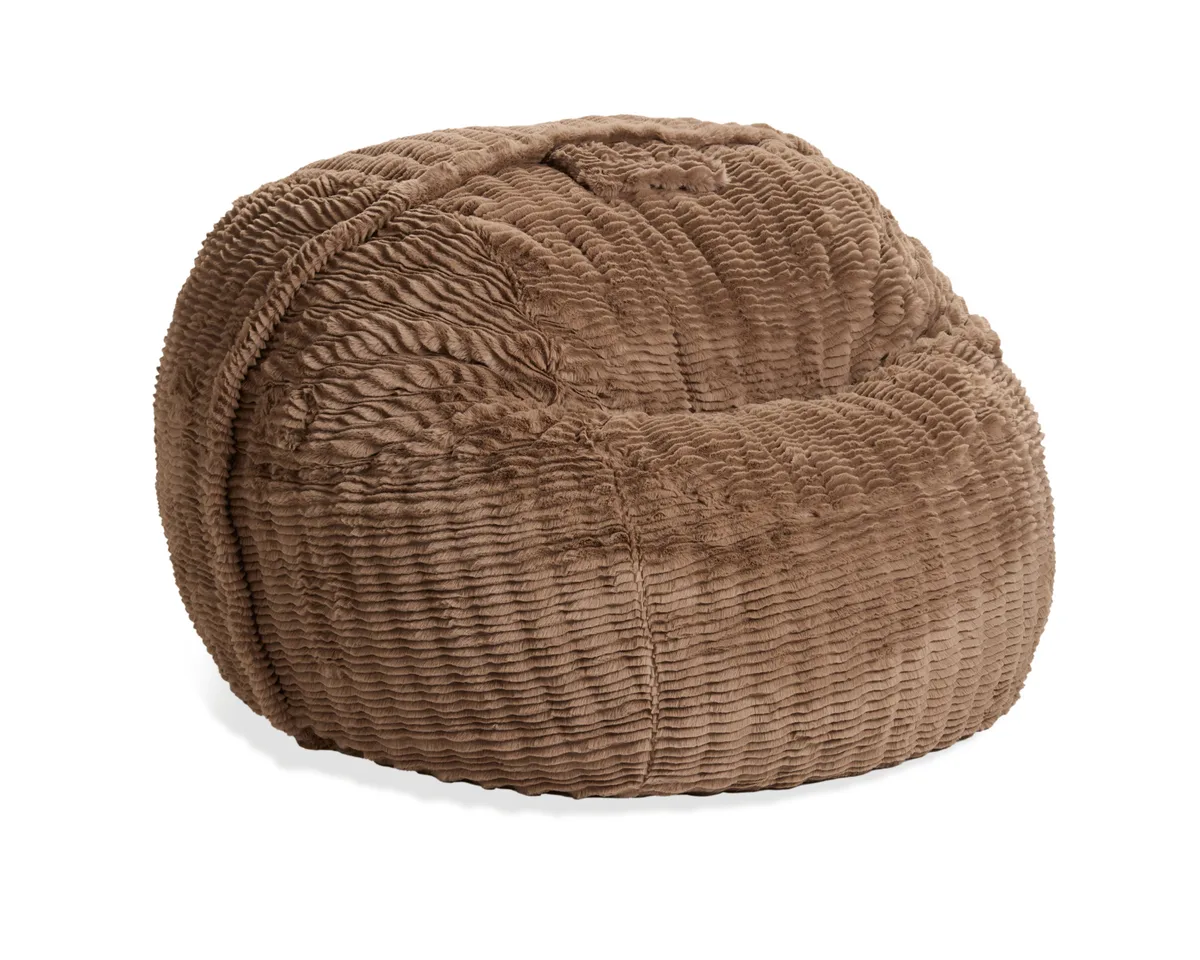
Image source: Bing (Web (fair-use with source credit))
Step 4: Choose the Right Cycle and Settings
Set the washer to cold water. Warm or hot water can shrink the fabric, especially CordUe and faux fur. Use the gentle or delicate cycle.
This reduces agitation and protects the weave.
Use a small amount of liquid detergent. About a tablespoon is plenty. Powdered detergents don’t always dissolve fully in cold water, leaving white streaks on dark fabrics.
Skip fabric softener entirely. It coats the fibers and makes the cover less absorbent, plus it also traps odors over time.
Run an extra rinse cycle if your machine has one. This flushes out any remaining soap, which is critical for covers used by kids and pets.
Step 5: Dry the Cover Without Shrinkage
Drying is where most covers get ruined. Heat shrinks the fabric and makes zipping the cover back on impossible.
Air drying is the safest option. Lay the cover flat on a clean, dry surface, or drape it over a sturdy drying rack. Flip it occasionally so both sides dry evenly.
Depending on humidity, expect 24 to 48 hours for a full dry. High-pile fabrics like faux fur take longer.
If you must use a dryer, use the lowest heat setting. Keep the cycle short, around twenty minutes, then pull the cover out while it’s still slightly damp. Finish it by hanging or laying flat.
Check the cover every ten minutes. Overheating causes permanent shrinkage.
Drying is also the time to fold the cover while it’s still warm. This helps with the next step.
How to Get the Cover Back On Without a Fight
Reinstalling a freshly washed cover can feel like wrestling a sleeping giant. But there’s a technique that works every time.
Start with the fill in place, shaped loosely. Lay the cover out on the floor with the zipper facing up. Turn it inside out if you can, which is a neat trick.
Gather the corners of the cover in your hands, like you’re putting a pillowcase on a pillow, and slide it over one end of the sac.
Work the cover gradually, smoothing wrinkles as you go. Sliding your hands over the outside flattens the foam and eases the last sections into place. Once the cover is on, zip it closed.
It may look a little loose for the first hour. That’s normal.
Fluff the sac by squeezing and patting the entire surface. Give the foam a few minutes to expand back into the corners. If you used a dryer, the cover may have shrunk slightly, making the zip tight.
If it won’t close, don’t force the zipper. Check the fill’s shape and redistribute any clumps.
If the cover simply won’t fit after washing, that’s a shrinkage problem. The cover may have shrunk in the wash, or the fill may have shifted. Try reshaping the fill first.
If that doesn’t help, you may need to replace the cover, and you want to understand how the true cost of these sacs adds up before buying a replacement.
A trick for stubborn zippers: pinch the fabric on both sides of the zipper tab and pull the cover material toward the zipper, not the zipper toward the fabric. This reduces tension and lets the teeth align properly.
Let the sac sit for a couple of hours before regular use. The foam needs time to regain its loft. Sit on it too soon and you’ll feel the clumps of foam shifting under the fresh cover.