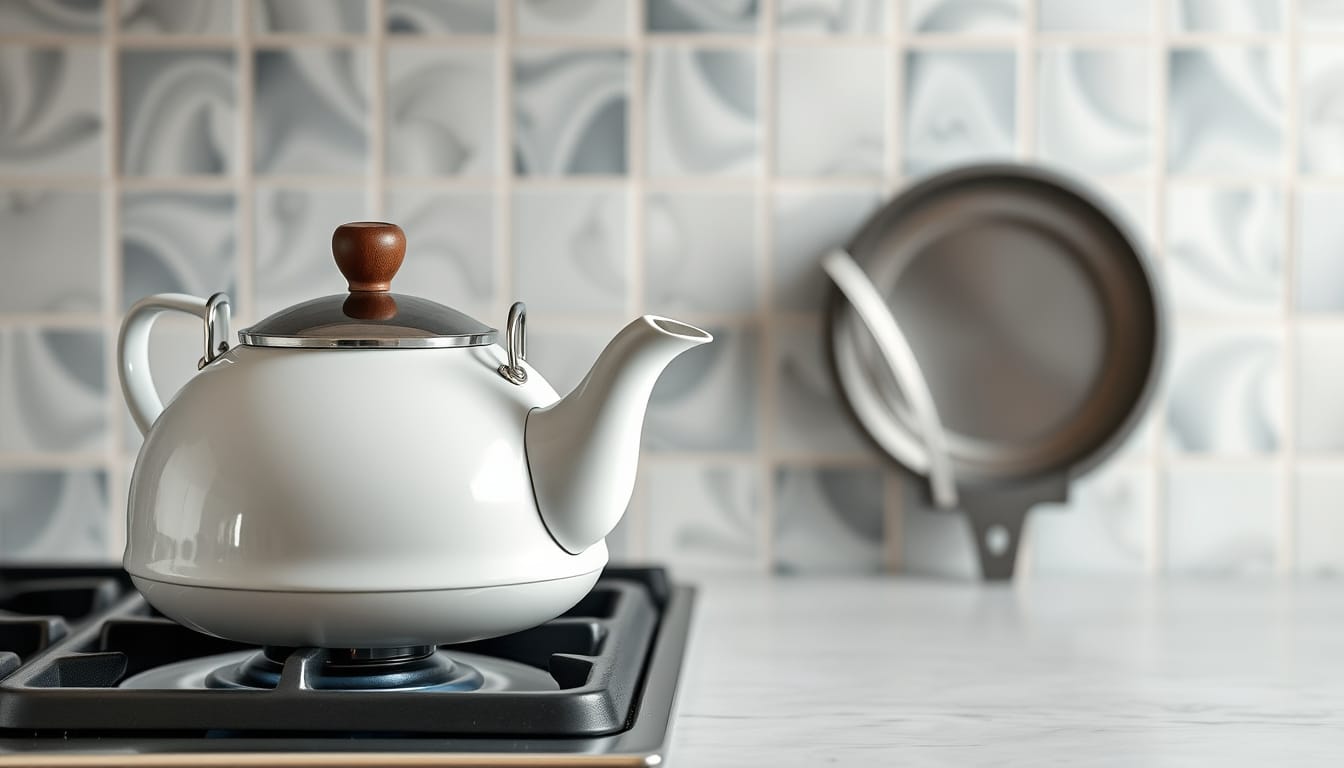
Your coffee maker just quit, or you’re packing for a camping trip, and a kettle is right there waiting. Learning how to make coffee in a kettle is really that simple. You’re about four minutes away from a solid cup, with no machine required.
Specialty Coffee Association standards put the ideal extraction window between 195°F and 205°F (90°C to 96°C). Most kettles boil well past that, so temperature control is the real skill. As of 2026, the best approach is simple: match the method to your kettle type.
The Problem: Your Coffee Maker Broke, Your Kettle Works Fine
It’s 7 AM, the drip machine sputters its last, and you’ve got a bag of dark roast staring back at you. Before you panic-buy a replacement, look at the kettle sitting on your counter or stovetop. That’s your backup brewer.
A kettle isn’t just for tea. It’s a fully functional coffee brewer when you know what you’re doing. Aggregate reviews of budget brewers suggest a simple kettle brew can actually beat many machines under $100 on flavor clarity, because you control every variable yourself.
This method also covers emergencies. Power outage, hotel room, office kitchen with only a kettle? You’re set.
If you’re planning for iced coffee later, the same immersion base works there too, or you can check our iced coffee maker guide for cold-brew setups. But first, the hot brew.
The Quick Answer: A Simple 4-Minute Kettle Brew
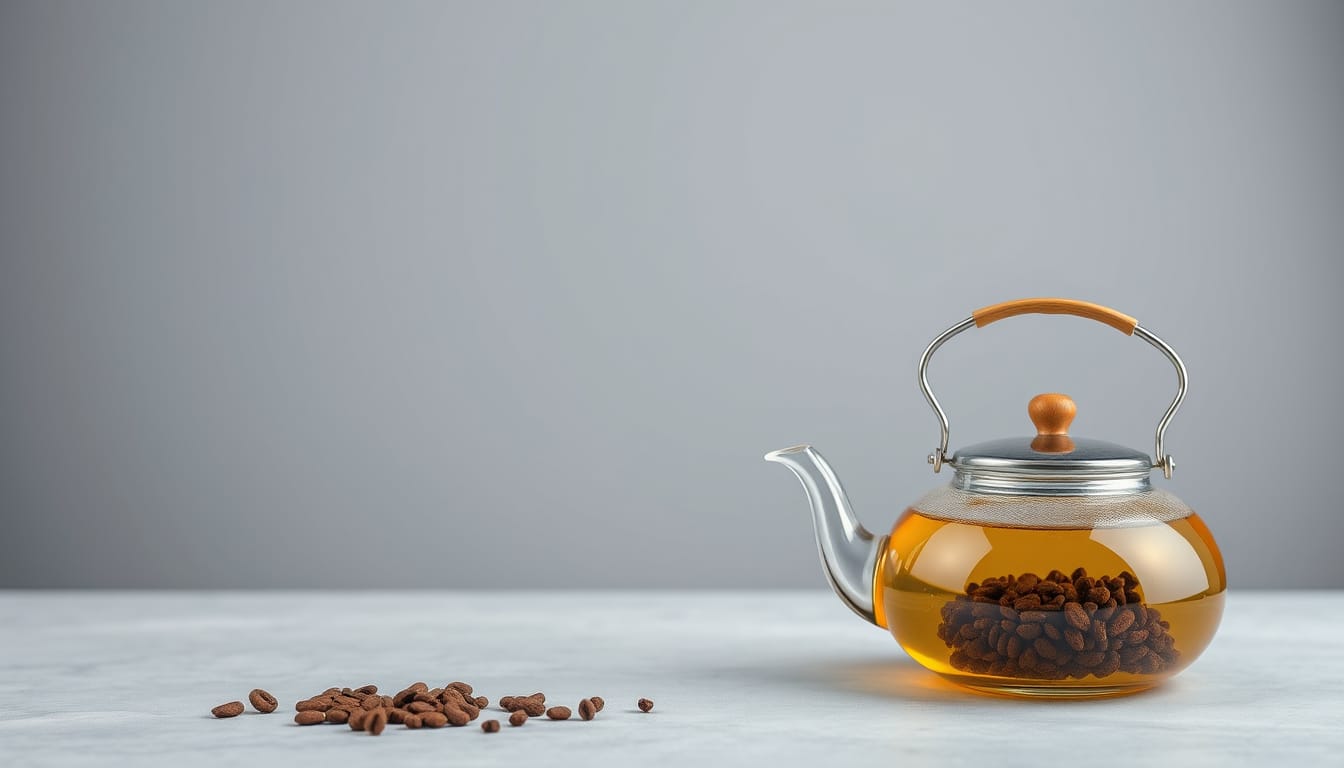
Boil water, then let the kettle rest for 30 seconds. Add coarse grounds at a 1:15 ratio and stir. Steep for 4 minutes, then strain and pour.
The ideal range is 195°F to 205°F. For a 12-ounce mug, use about 24 grams of coffee.
No special tools needed beyond the kettle you own. The 1:15 ratio means one gram of coffee per 15 grams of water. Simple math, consistent results.
What Kind of Kettle Do You Have? (Pick Your Branch)
Your kettle type decides which brewing method works best. Here’s the quick breakdown, straight from the specs.
| Kettle Type | Best Method | Temperature Control |
|---|---|---|
| Standard electric | Immersion | No, boils only |
| Stovetop whistling | Immersion or Turkish | No |
| Gooseneck electric | Pour-over | Yes, on some models |
| Camping kettle | Cowboy or Turkish | No |
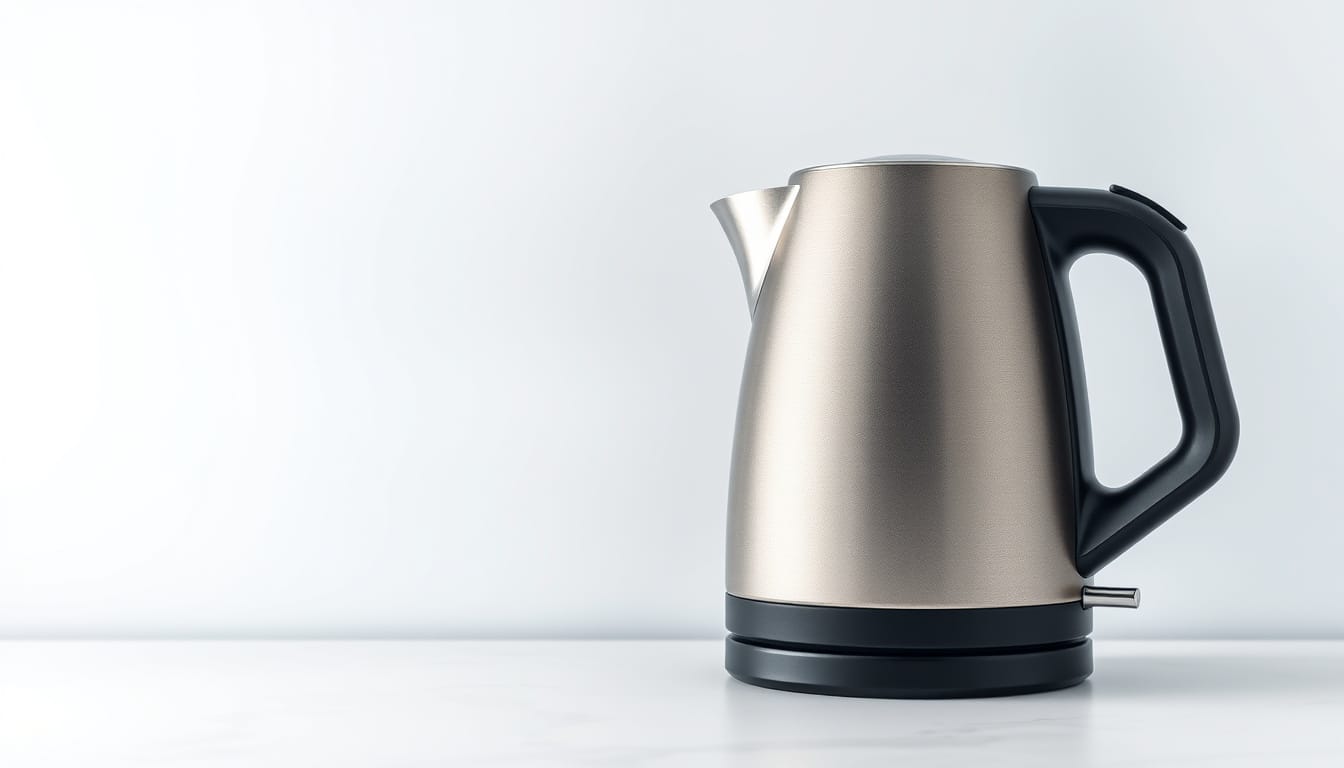
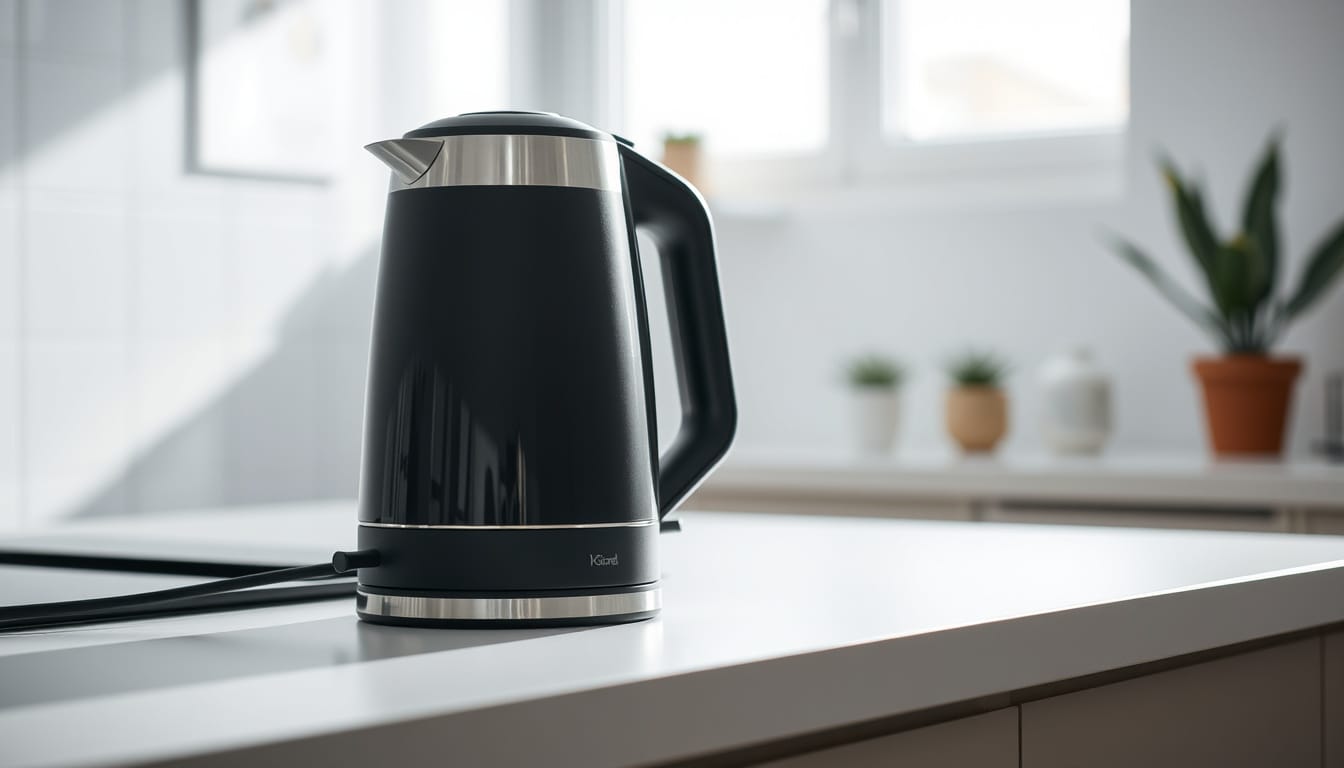
Standard electric kettle. The most common type. It boils water fast and shuts off automatically. No dial for temperature, so you rely on resting time after the boil.
For the full mechanics, our electric kettle guide covers how these appliances work. This type pairs best with the immersion method below.
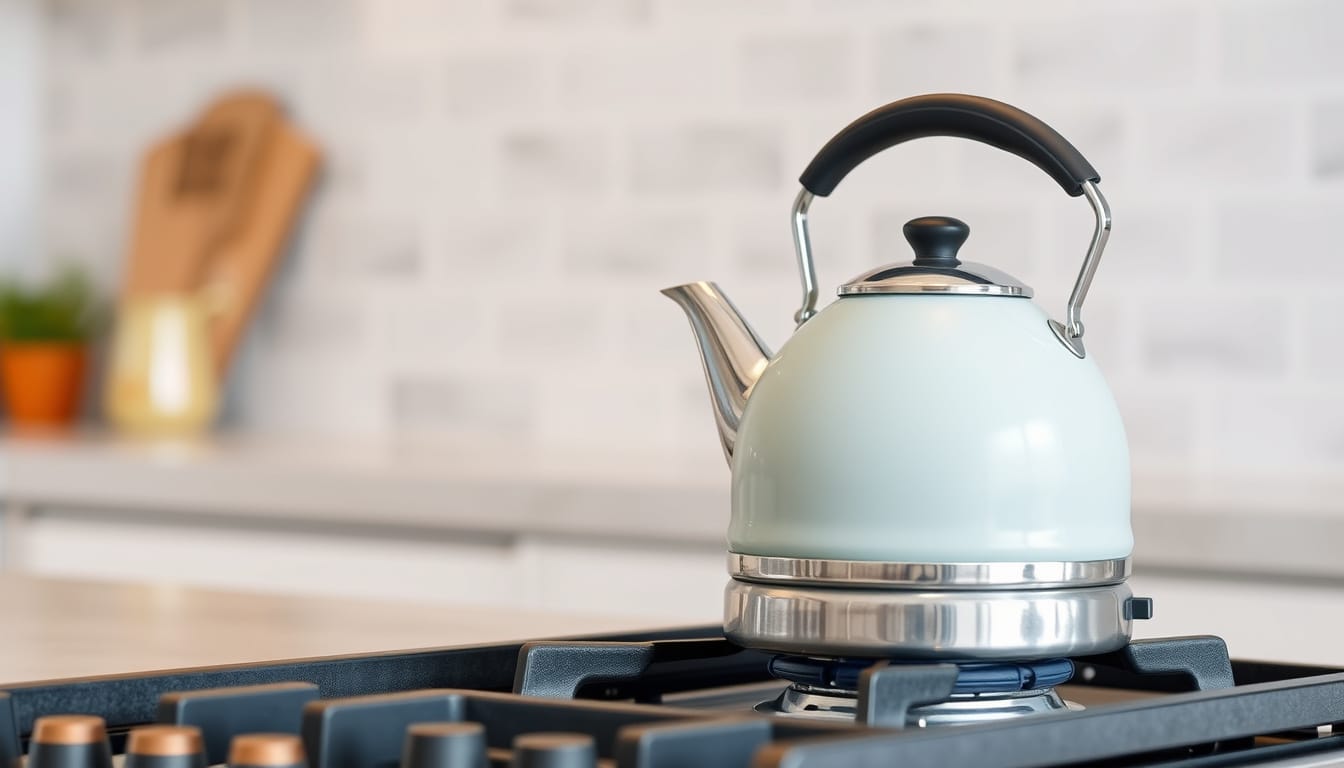
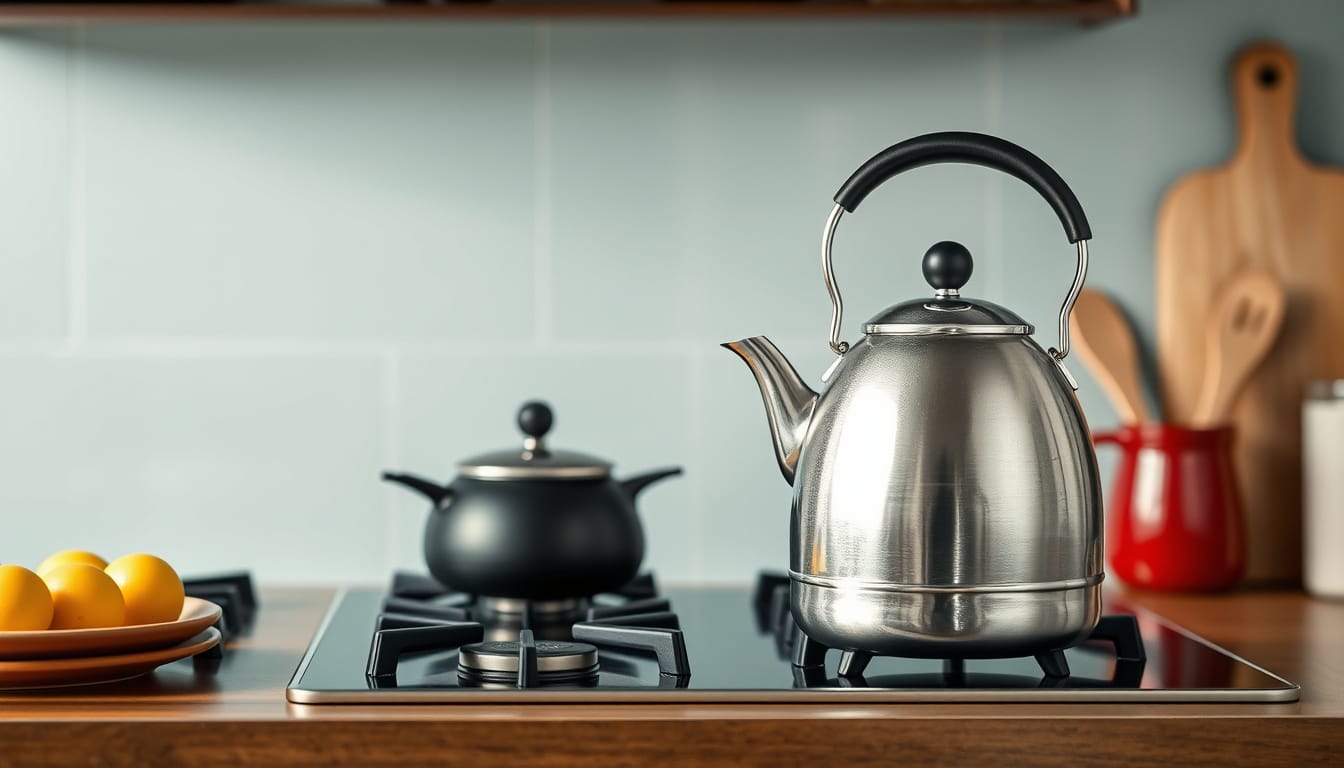
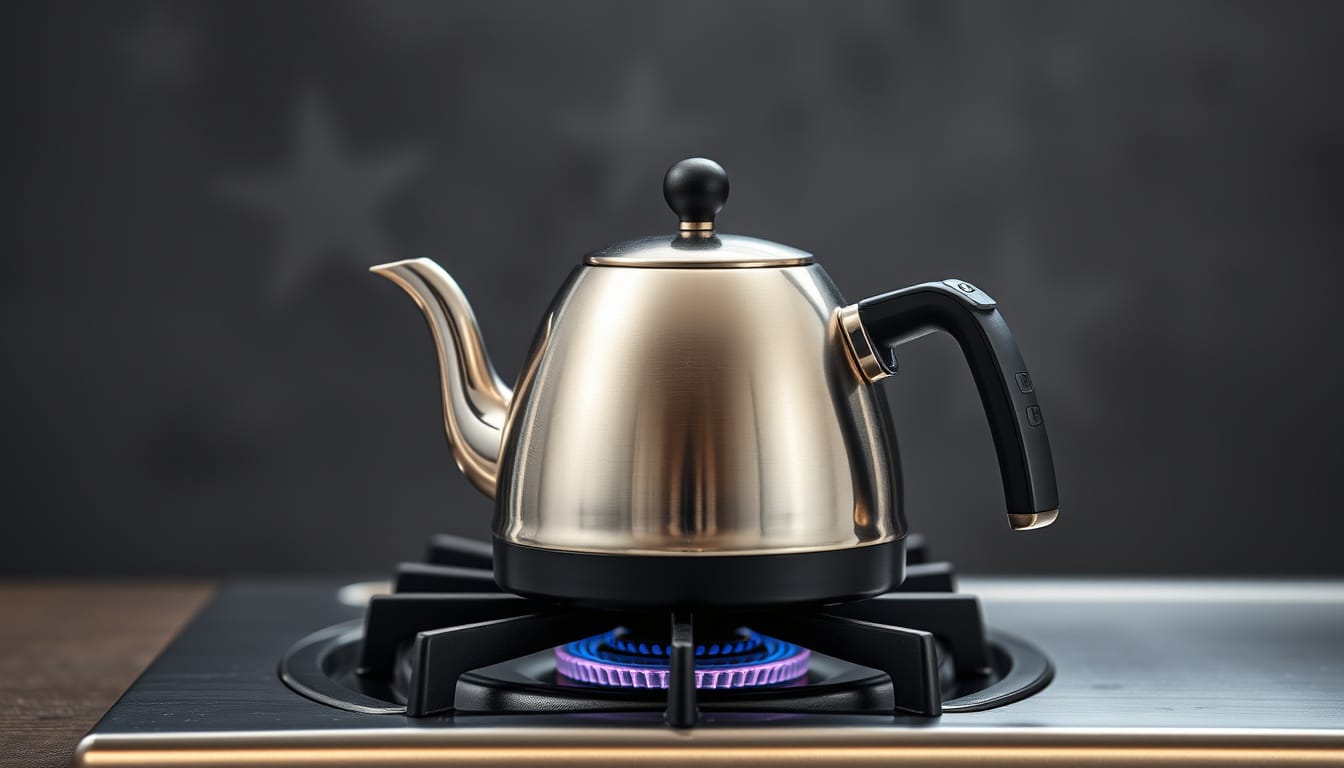
Stovetop whistling kettle. Classic and dependable. The whistle tells you when water boils, but that’s the only signal you get. If you’re shopping for one, we’ve got whistling kettle picks for gas stoves.
This kettle also handles Turkish coffee nicely if you have a fine grind around.
Gooseneck kettle. The curved spout gives you a slow, controlled pour. That makes it ideal for pour-over brewing. Some electric models include variable temperature settings, which is a real advantage.
We’ve compiled the best electric kettles for coffee that offer this feature.
Camping kettle. Usually a simple metal pot that sits directly on a campfire or camping stove. No whistle, no temperature dial, just heat. It pairs best with the cowboy method, which we’ll cover later in this guide.
If your kettle has plastic parts inside and you’re thinking about upgrading, look for no-plastic electric kettles for peace of mind. Whatever type you own, the next two variables matter the most.
Water Temperature and Grind Size: The Variables That Change Everything
Two factors make or break a kettle brew: water temperature and grind size. Get these right, and the rest falls into place.
Temperature. Boiling water sits at 212°F (100°C) at sea level. That’s too hot for coffee grounds. It scorches them and pulls out harsh, bitter compounds.
The sweet spot is 195°F to 205°F. If your kettle has no temperature control, boil then wait. Electric kettles need about 30 seconds of rest.
Stovetop kettles cool faster, so wait roughly 20 seconds after the whistle stops.
Use this if/then logic:
- If the water is boiling, you get over-extraction and bitterness.
- If the water is below 190°F, you get weak, sour coffee.
- If the water sits in the 195°F to 205°F range, you get a balanced cup.
Grind size. The grind needs to match your brew time.
- Coarse grind, like sea salt: best for immersion, 4-minute steep.
- Medium grind, like sand: works for pour-over.
- Fine grind, like powder: for Turkish coffee only.
If you’re working with pre-ground coffee, aim for the coarse side. Fine grounds in a kettle turn a good brew into a muddy, bitter mess. The Specialty Coffee Association publishes official brewing standards that go deeper into ratios and temperature science if you want the full picture.
The Immersion Method: The Best All-Rounder for Standard Kettles
If your kettle is a standard electric or stovetop model, the immersion method is your go-to. It’s forgiving, needs no special gear, and produces a clean, full-bodied cup.
Here’s the step-by-step.
- Boil your water. Fill the kettle with fresh, filtered water and boil it fully.
- Rest the kettle. Turn it off and wait 30 seconds for electric models, about 20 seconds for stovetop. This drops the temperature into the right range.
- Add coffee grounds. Use coarse grounds at a 1:15 ratio. For a 12-ounce mug, that’s 24 grams of coffee to 360 grams of water.
- Stir gently. Give it a quick stir so every ground gets saturated. This kickstarts the extraction.
- Steep for 4 minutes. Set a timer. Don’t wander off, the clock matters here.
- Strain and pour. Pour through a fine-mesh strainer, or wait 2 extra minutes for grounds to settle, then pour slowly.
The steep time is the biggest variable. Four minutes gives a balanced cup. Go longer and you drift toward bitterness.
Shorter, and you’ll taste sourness instead.
What if you don’t have a strainer? Let the grounds settle. Pour slowly, and stop when you reach the sludge at the bottom. That sediment is normal with this method.
It’s the cowboy-style tradeoff for not owning a filter, and it’s perfectly drinkable.
The Pour-Over Method: For Gooseneck Kettle Owners
If you own a gooseneck kettle, you’ve got the right tool for a controlled pour. This method delivers a cleaner, brighter cup than immersion because the water passes through the grounds once. It’s closer to what you’d get from a dedicated pour-over setup.
The gooseneck spout matters. It lets you pour in a slow, steady stream instead of dumping water all at once. That control directly affects extraction quality.
Step-by-step pour-over:
- Heat water to 200°F. Use the variable-temperature setting if your kettle has one. Otherwise, boil and rest for 20 seconds.
- Add medium-fine grounds. Use a 1:16 ratio for this method. That’s 20 grams of coffee to 320 grams of water for a single mug.
- Wet the grounds. Pour just enough water to saturate them. Stop immediately.
- Bloom for 30 seconds. The grounds will bubble and release trapped CO₂. This is normal and necessary.
- Pour in stages. Add water in three slow, circular pours. Keep the stream steady and centered.
- Let it drip through. The brew should finish draining in about 3 minutes total.
If you don’t own a pour-over cone, you’re still fine. Hold a fine-mesh strainer over your mug and pour the slurry through it. The result won’t be as clean as a paper filter, but it’s a solid approximation.
Our spec guide to electric kettles for coffee lists variable-temperature models that make this method much easier. A kettle with a 195°F to 205°F setting takes the guesswork out entirely.
The Cowboy Method: For Camping and Emergencies
This is the original kettle brew. It’s rugged, forgiving, and needs almost nothing beyond fire and ground coffee. The cowboy method uses the kettle as both brewer and serving vessel.
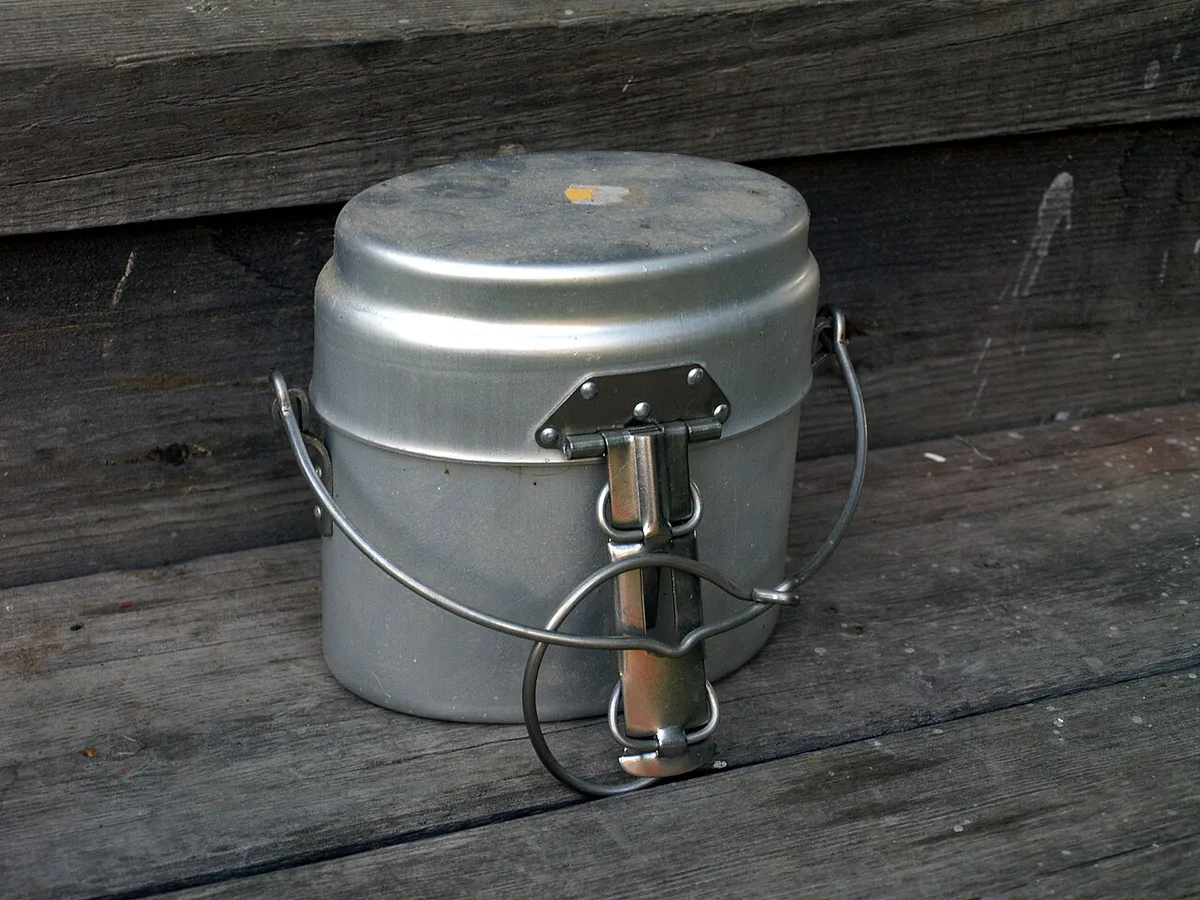
Image source: Wikimedia Commons / Santeri Viinamäki (CC BY-SA)
Here’s how it works:
- Fill the kettle with cold water. Use roughly 12 ounces per serving.
- Boil it hard. On a camp stove or campfire, bring the water to a full rolling boil.
- Remove from heat. Let it sit for 30 seconds so the temperature drops below boiling.
- Add coarse grounds. Use about 2 tablespoons per 12 ounces of water.
- Stir once, then wait 4 minutes. Don’t stir again, that just churns up fines.
- Tap the kettle gently. This helps settled grounds drop to the bottom.
- Pour slowly and steadily. Stop before you reach the sludge at the bottom.
A few hard truths about cowboy coffee:
- Some grounds will escape. That’s part of the deal.
- Drizzle a tiny bit of cold water over the top right before pouring. It helps sink floating grounds.
- The result is strong, earthy, and bold. If that’s not your style, cowboy coffee isn’t for you.
For backpacking, a lightweight camping kettle with a nesting cup is a smart buy. It pulls double duty for coffee and dehydrated meals.
If you’re on a glass-top stove at home and the campground is a distant memory, the cowboy method still works on any heat source. Just watch your stove’s surface requirements, and check our kettle guide for glass-top stoves if you need a compatible model.
The Turkish Method: A Fine-Grind Alternative (if Using a Cezve)
Turkish coffee takes a different path entirely. It relies on a fine, powder-like grind and a special pot called a cezve or ibrik. The kettle method we’ve covered so far uses coarse grounds and a filter.
Turkish coffee skips the filter altogether.
What you need:
- A cezve or small kettle
- Ultra-fine coffee grounds
- Cold water
- Optional: sugar and cardamom
The process:
- Add cold water to the cezve. Use about 3 ounces per cup.
- Stir in 1.5 teaspoons of fine grounds. Plus sugar now if you want it.
- Place on low heat. Never boil hard.
- Watch for foam. When the foam rises but water hasn’t boiled, lift the pot off the heat.
- Rest for 10 seconds, then return to heat. Repeat this two more times.
- Pour slowly into the cup. Foam goes on top.
- Let it settle for 2 minutes. The grounds will sink to the bottom.
The result is intense, thick, and sip-able. You don’t drink the sediment. You stop sipping when you reach the sludge.
Turkish coffee requires more attention than immersion brewing. You’re watching the pot constantly, pulling it on and off the heat. It rewards patience with a rich, syrupy cup that has no equal.
If you’re using a regular stovetop kettle instead of a cezve, the method still works. Just use a smaller batch and pay close attention to the foam. It’s easier to control with a proper cezve, though.
Filtering Options: How to Keep the Sludge Out
The biggest complaint with kettle coffee is the muddy sediment at the bottom of the cup. That’s called fines, tiny coffee particles that slip through whatever you’re using to strain. You have a few solid options, ranked by convenience.
Best: fine-mesh stainless strainer. This catches the bulk of the grounds. It’s reusable, dishwasher-safe, and costs about $10. Hold it over your mug and pour through.
Good: paper filter and a funnel. For the cleanest cup, line a small funnel with a paper filter. Pour slowly. This catches nearly all fines and leaves oils behind too.
You’ll need to go slow to avoid overflow.
Decent: settling method. If you have no strainer at all, let the kettle rest for 2 extra minutes after brewing. The grounds sink naturally. Pour slowly and steadily, stopping when you see sediment approaching the spout.
Not great: cheesecloth or clean cotton cloth. These work in a pinch, but they absorb the coffee oils that carry flavor. You’ll get a cleaner cup, just flatter.
How to choose:
- If you like body and texture, skip the paper filter.
- If you want a clean, tea-like cup, use the paper filter.
- If you’re camping, a mesh strainer is the lightweight winner.
Common Kettle Coffee Mistakes and Quick Fixes
Most bad kettle coffee comes from four predictable mistakes. Fix these and you’ll pull out of the weeds quickly.
Mistake 1: Using boiling water directly. This scorches the grounds and produces a bitter, burnt taste. Always rest the kettle for 20 to 30 seconds after boiling before adding coffee.
Mistake 2: Grinding too fine. Fine grounds extract too quickly, flooding the cup with harsh notes. Use coarse or medium-coarse. If your coffee tastes astringent, the grind size is the likely culprit.
Mistake 3: Guessing the ratio. Too much coffee and you get over-extraction. Too little and you get weak, watery brew. Use a scale or a consistent scoop.
Weigh your first few batches until you have a feel for it.
Mistake 4: Steeping too long. Four minutes is plenty. Beyond six minutes, you’re pulling out bitter compounds, which gives the cup an unpleasant metallic edge. Use a timer for consistency.
Quick troubleshooting table:
| Problem | Cause | Fix |
|---|---|---|
| Bitter, burnt taste | Water too hot | Rest the kettle 30 seconds |
| Sour, sharp taste | Water too cool | Boil fully before resting |
| Weak, watery body | Not enough coffee | Increase to 1:15 ratio |
| Muddy sediment | Fine grinds | Use coarser grind or strain better |
| Grounds floating | Pre-ground fines | Tap kettle, pour slowly |
If you’re consistently struggling with flavor, the kettle isn’t the issue. It might be your grinder. Blade grinders create uneven particles, which brew unevenly.
A burr grinder gives a consistent size, a better extraction, and a smoother cup.
Cleaning and Descaling: Keep Your Kettle Coffee-Ready
Coffee oils leave a sticky film on the kettle interior. Limescale builds up from hard water and clings to that film. Clean your kettle weekly if you use it daily.
For descaling, fill with equal parts water and white vinegar. Heat it to boiling, then let it sit for 30 minutes. Rinse thoroughly afterward.
For stubborn scale, use citric acid powder dissolved in water, following the manufacturer’s directions. Never use soap inside an electric kettle base. That ruins the heating element.
If you’re shopping for a new model without plastic components, our plastic-free kettle guide covers safer materials. After each brew, rinse the kettle immediately with hot water. That single habit prevents most buildup.
The Final Decision Guide: Match Your Kettle to the Best Method
Here’s the short version of everything we’ve covered. Match your kettle type to the right brewing style, and you’ll get a solid cup every time.
| Kettle Type | Best Method | Grind Size | Steep Time |
|---|---|---|---|
| Standard electric | Immersion | Coarse | 4 minutes |
| Stovetop whistling | Immersion or Turkish | Coarse or fine | 4 minutes |
| Gooseneck variable | Pour-over | Medium-fine | 3 minutes total |
| Camping | Cowboy | Coarse | 4 minutes |
If you want the cleanest cup, go with a gooseneck and pour-over. If you want versatility, lean on the immersion method with a standard kettle. If you’re outdoors, the cowboy method is your friend. If you enjoy fine grinds, Turkish coffee is worth the attention.
Start with immersion. It’s the most forgiving and needs no extra gear beyond a kettle you already own. Once you’ve dialed that in, experiment with the other methods.
Frequently Asked Questions
Can you brew coffee directly in an electric kettle?
Yes, you can add grounds directly, but it’s messy. The immersion method works perfectly in a standard electric kettle. Use a coarse grind and steep for four minutes.
Remove the kettle from heat before adding coffee.
How long should coffee steep in a kettle?
Steep for four minutes for a balanced cup. Anything beyond six minutes brings out bitter, harsh compounds. Use a timer for consistency.
Shorter steeps produce sour, under-extracted coffee.
Why does my kettle coffee taste bitter?
Mostly because the water is too hot or the grind is too fine. Rest the kettle after boiling to drop the temperature. Switch to a coarser grind if needed.
Also check your ratio, too much coffee causes over-extraction.
Is it safe to boil coffee in a stovetop kettle?
Yes, it’s safe. Use moderate heat and never let the kettle boil dry. Coffee oils will build up, so clean it thoroughly after each use.
A whistling kettle works the same way for coffee as it does for tea.