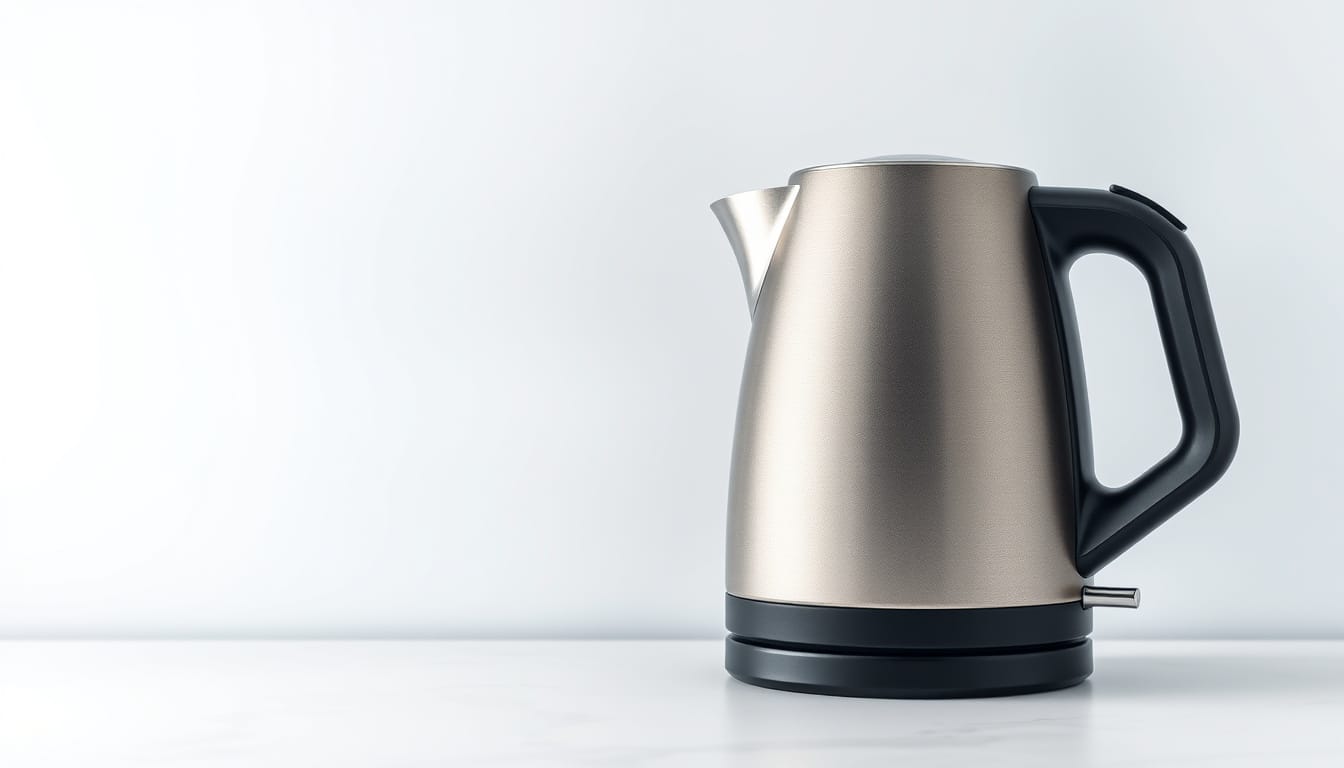
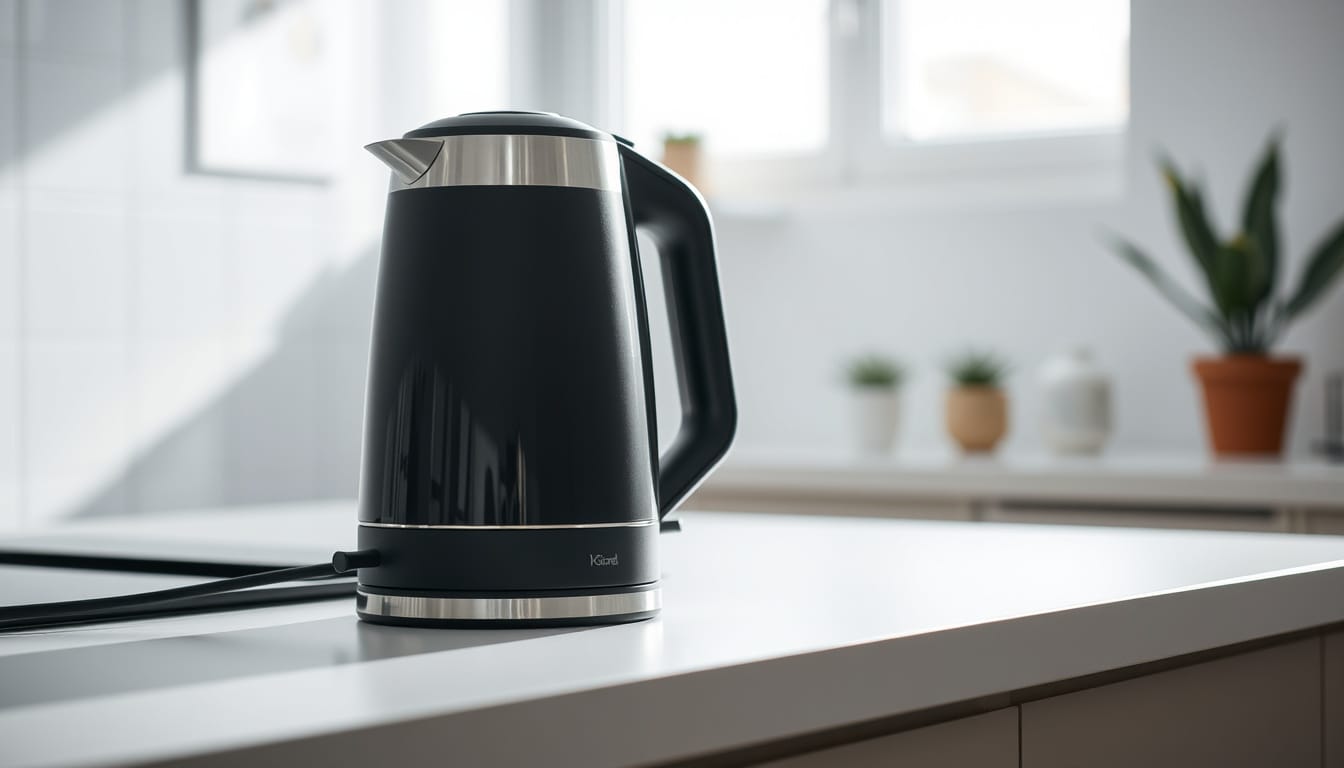
Ever wonder how do cordless tea kettles work? The honest answer is that they’re not cordless at all. The kettle body lifts free, yes.
But the part that actually heats the water stays plugged into the wall.
Most models pull between 1500 and 3000 watts, and as of 2026, safety certifications like UL and ETL require an automatic shut-off. That safety switch alone gives you a peek into the clever engineering inside the base. Once you see the parts, the whole process clicks.
Let’s dig in.
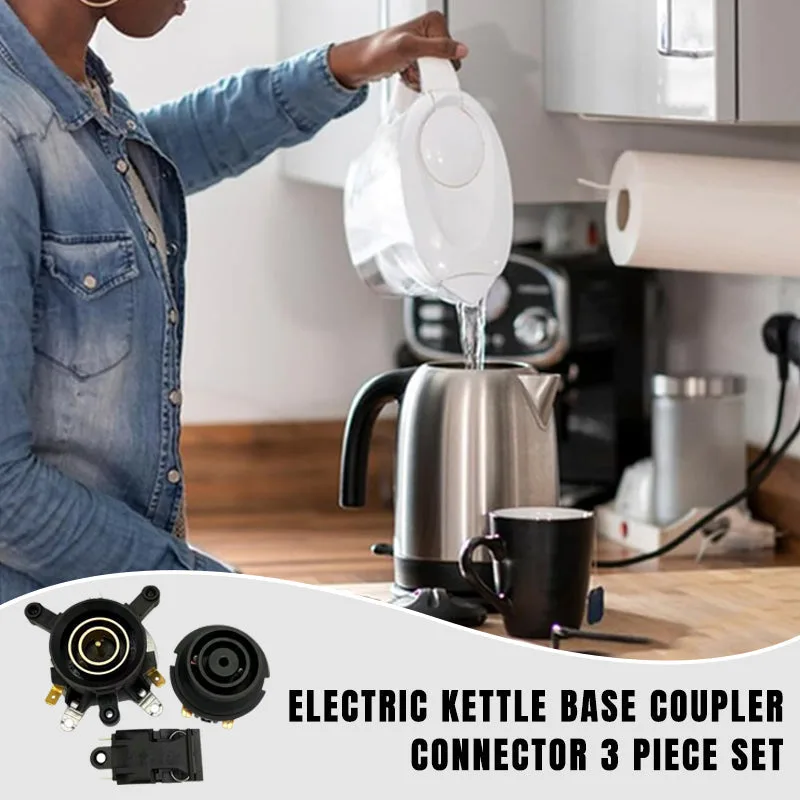
Image source: Bing (Web (fair-use with source credit))
The “Cordless” Reality Check: The Key Misconception to Clear Up First
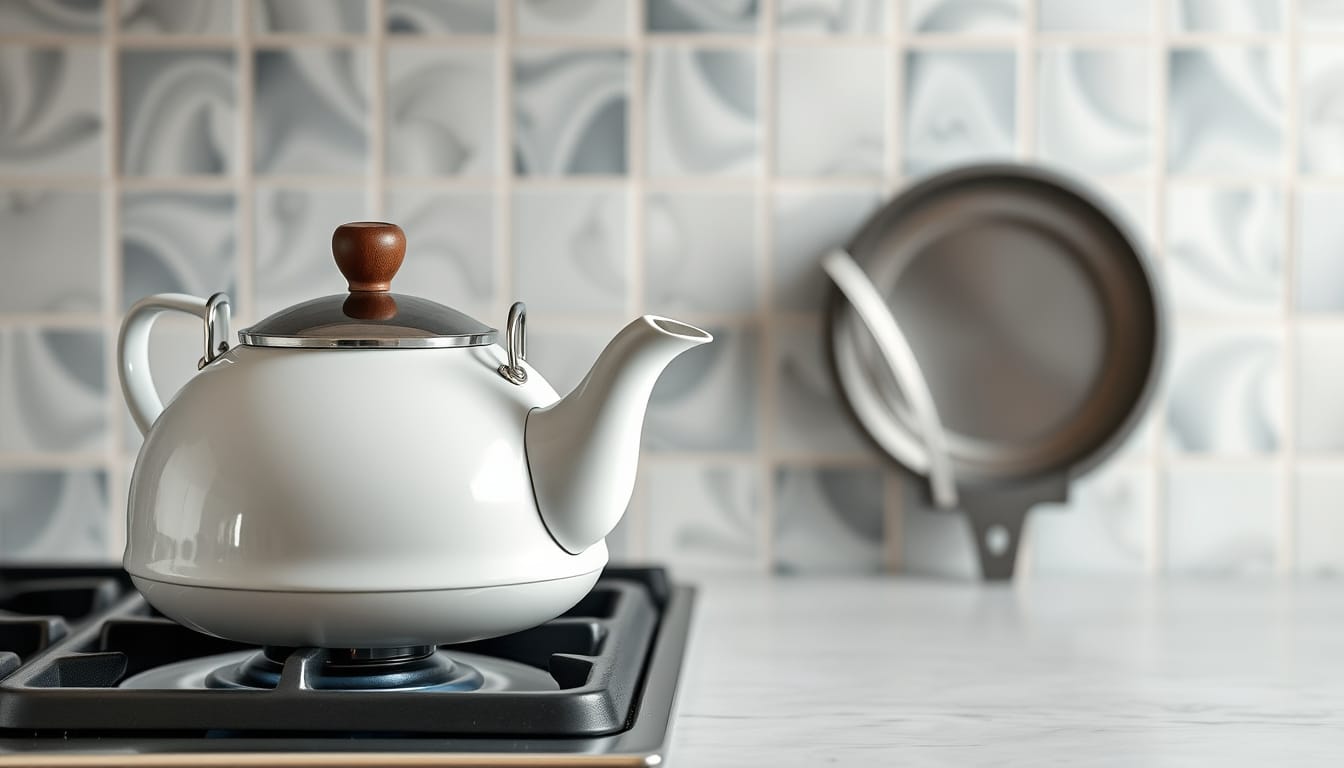
Before we talk about magic, let’s talk about the plug. A cordless tea kettle has two pieces. The base is the part that lives on your counter and connects to the wall outlet.
The kettle is the container you lift and pour.
When you drop the kettle onto the base, metal contacts line up and complete the circuit. That’s it. The word “cordless” only describes the pouring part.
It doesn’t mean battery-powered, and it doesn’t mean wireless. It just means the cord stops at the base, so you’re not wrestling a trailing cable while you pour.
The system is basically two simple halves. The base supplies power. The kettle converts that power into heat.
If you want to understand the whole family of electric kettles first, it helps to start with the broader basics of electric kettles.
Why This Guide Needs Visuals: How to Think About the Components
Here’s the thing about kettles: the important parts are hidden. You can see the spout, lid, and handle. The heating element, thermostat, and safety switch are all tucked out of sight.
That’s why a visual approach helps so much. A photo or diagram makes the internal layout obvious in seconds.
Think of it as four components working together. The power base connects to the wall. The connector ring passes electricity from the base to the kettle.
The heating element turns that electricity into heat. The steam sensor knows when to turn everything off. You don’t need to memorize every detail.
Just recognize which part does which job.
Here’s the base connector you’ll be looking for. It’s the ring of metal contacts at the center of the base.
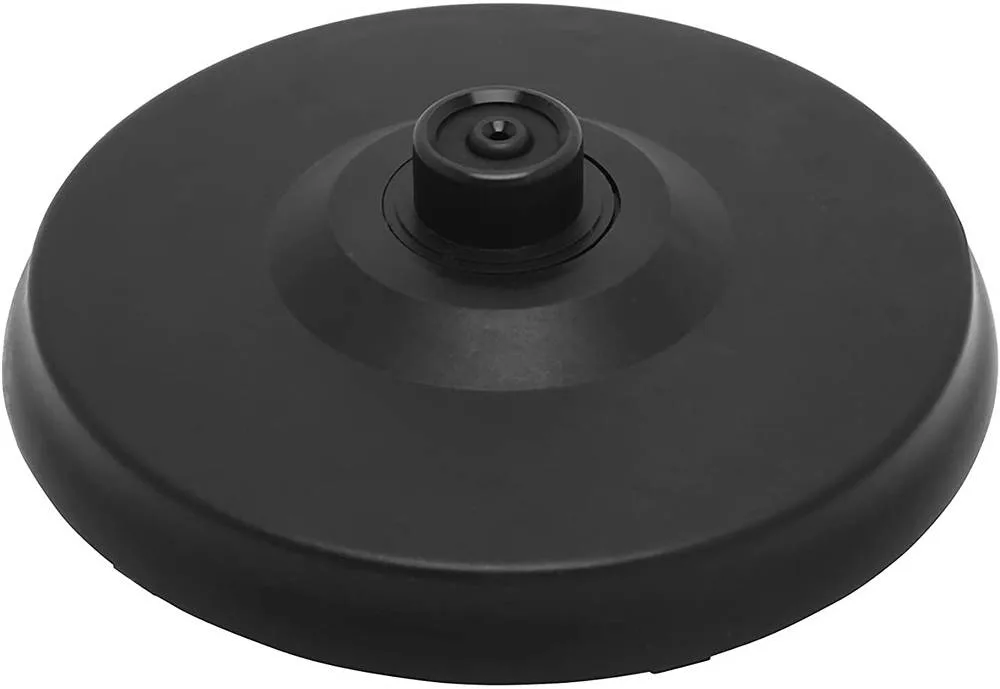
Image source: Bing (Web (fair-use with source credit))
That ring is why you can set the kettle down at any angle. It has multiple contact points around a full circle. As long as the center pin touches its socket, power flows.
This design is what makes the “set it any way” feature possible.
Step-by-Step Visual Breakdown: A Power Journey Through the Kettle
Now let’s follow the power from the wall to the water. It’s a short trip, but every stop matters.
Power Starts at the Wall
Your kettle’s cord plugs into a standard outlet. From there, electricity travels through a short cord into the base. The base doesn’t store energy.
It only passes it along. Think of the base as a middleman.
The Magnetic Connector Ring
The next stop is the connector ring. Most modern kettles use spring-loaded pins, sometimes called pogo pins. These pins press against flat contacts on the underside of the kettle.
The spring pressure ensures a solid connection even when the kettle shifts slightly. And because the contacts run in a full circle, you never need to align the handle.
The Heating Element Inside
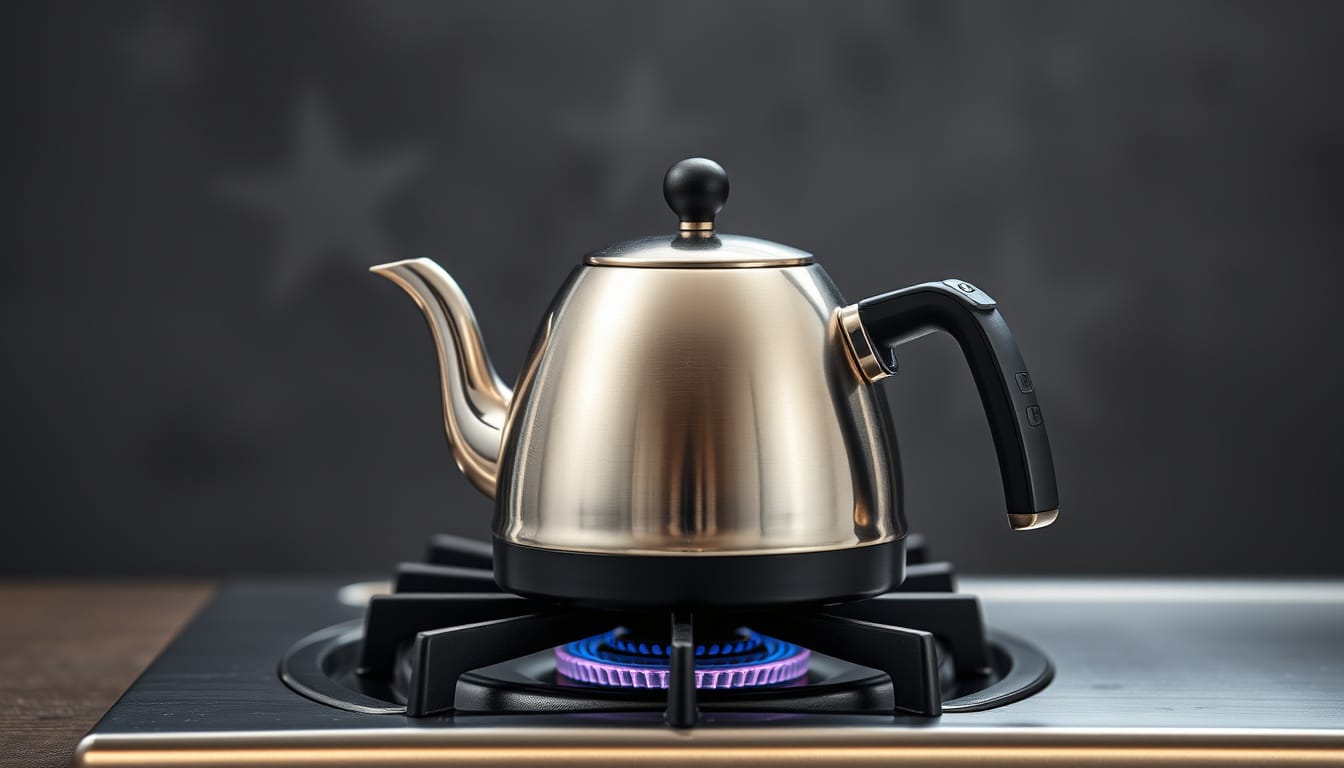
Once through the connector, electricity reaches the heating element. On many kettles, this is a flat disc concealed inside the floor of the kettle. It looks like a smooth stainless steel plate, but underneath sit resistive coils.
When current flows through those coils, they heat up. The heat transfers straight into the water through the metal floor.
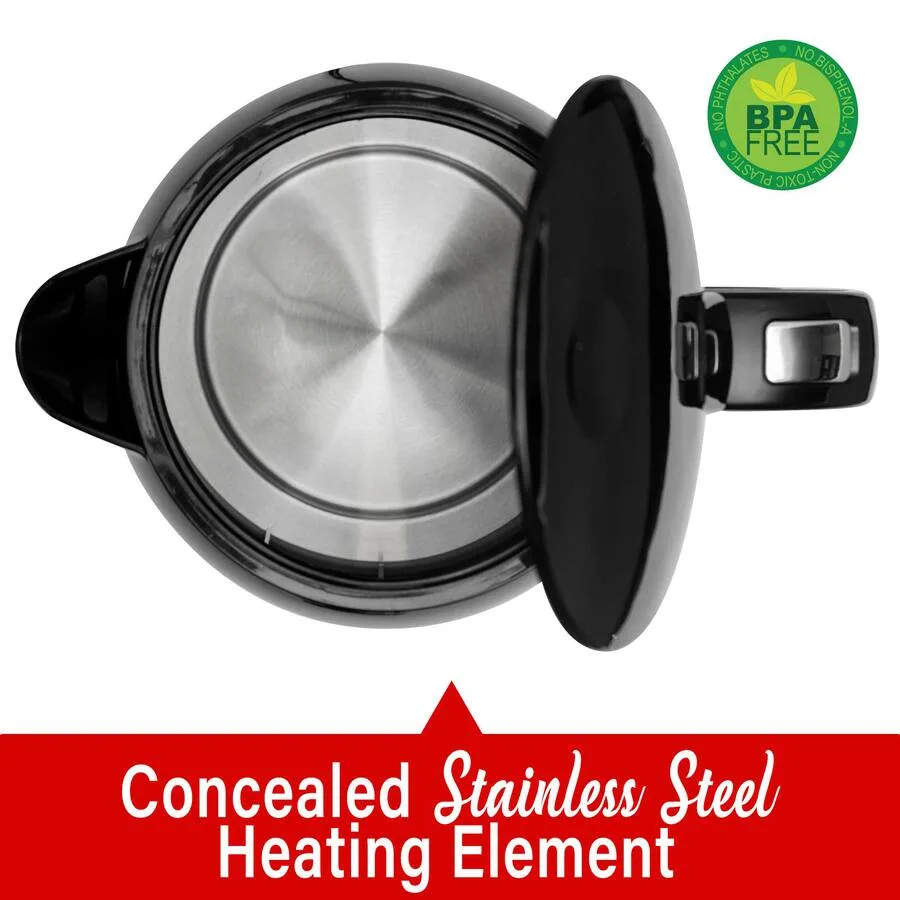
Image source: Bing (Web (fair-use with source credit))
Some budget models use an exposed heating element that pokes up into the water. They boil faster but are harder to clean. Concealed elements, by contrast, are easier to wipe down and less likely to trap scale.
The Steam Sensor and Shut-Off
The final stop is the safety system. A small channel inside the spout routes steam down to a bimetallic strip near the top of the kettle. When the water boils, steam flows through the channel and heats the strip.
The strip bends as it warms, and at a certain point it trips a switch. That switch cuts power to the heating element. That’s your automatic shut-off.
The same strip also provides boil-dry protection. If someone turns the kettle on with no water, there’s no steam. But the element still gets hot.
That heat can also bend the strip, which kills power before the kettle melts down. It’s not the intended trigger, but it’s a decent fail-safe.
The Boil Cycle Clock: Key Visual Cues at Each Second
Understanding the shut-off is easier if you know what the kettle looks like as it heats. There’s a predictable sequence of visual cues.
At the start, small bubbles cling to the bottom. Around 160°F, they begin to rise. Once the water reaches a full rolling boil, you’ll see large bubbles churning across the surface.
That’s the moment steam starts rushing up the spout channel.
The bimetallic strip responds to that steam in a few seconds. When it bends enough, it releases a catch or pushes a switch. The power cuts, the light goes off, and the bubbling stops quickly.
This whole trip from cold to off takes about three to five minutes for a 1.7-liter kettle at 1500 watts. That’s why typical boil times vary so much between models.
If you’re brewing a French press, you’ll want the water off the boil before pouring. A standard kettle’s auto shut-off stops the heating. The cooling then happens on its own.
For a slower, more controlled pour, you might prefer French press options with a gooseneck spout.
Attribute Tracker: How to Identify a Good-Format vs. a Dangerous Kettle
Now that you know how the parts work, you need to know which configurations are actually safe and practical. Not every kettle is built the same way.
| Attribute | What to Look For | Why It Matters |
|---|---|---|
| Interior material | Food-grade stainless steel or borosilicate glass | Resists scale and won’t leach into boiling water |
| Base connection | 360-degree pivot with spring-loaded pins | Keeps a stable contact from any angle |
| Cord storage | Built-in wrap under the base | Keeps counters tidy and prevents cord strain |
| Shut-off type | Steam-triggered with boil-dry protection | The difference between a safe unit and a hazard |
| Lid seal | Rubber gasket with a snug fit | Prevents steam from channeling around the sensor |
The biggest red flag is a kettle without a certified safety approval. Look for a UL mark or an ETL mark on the base. These certifications mean the kettle passed standard safety tests for household electrical appliances, including the requirements set by Underwriters Laboratories.
If it doesn’t have one, walk away.
That doesn’t mean every certified kettle is perfect. In our research across verified buyer reviews, flimsy lid hinges and weak magnetic connections top the list of complaints. The connector ring is a wear part, after all.
After a few years of daily use, the spring pins can lose tension. When that happens, the kettle may cut out mid-boil or refuse to heat.
The fix is usually a new base, not a new kettle. Many manufacturers sell replacement bases. But if you’re buying new, pay attention to the base build quality first.
You can always replace a kettle later.
Material choices matter too. Some budget kettles use plastic interiors that can absorb odors and, in rare cases, warp. For more on the safest builds, see our guide on plastic-free builds.
And if you’re leaning toward pour-over coffee, you’ll want a spout with more control. That’s a separate design with its own trade-offs, which we cover in our gooseneck-specific roundup.