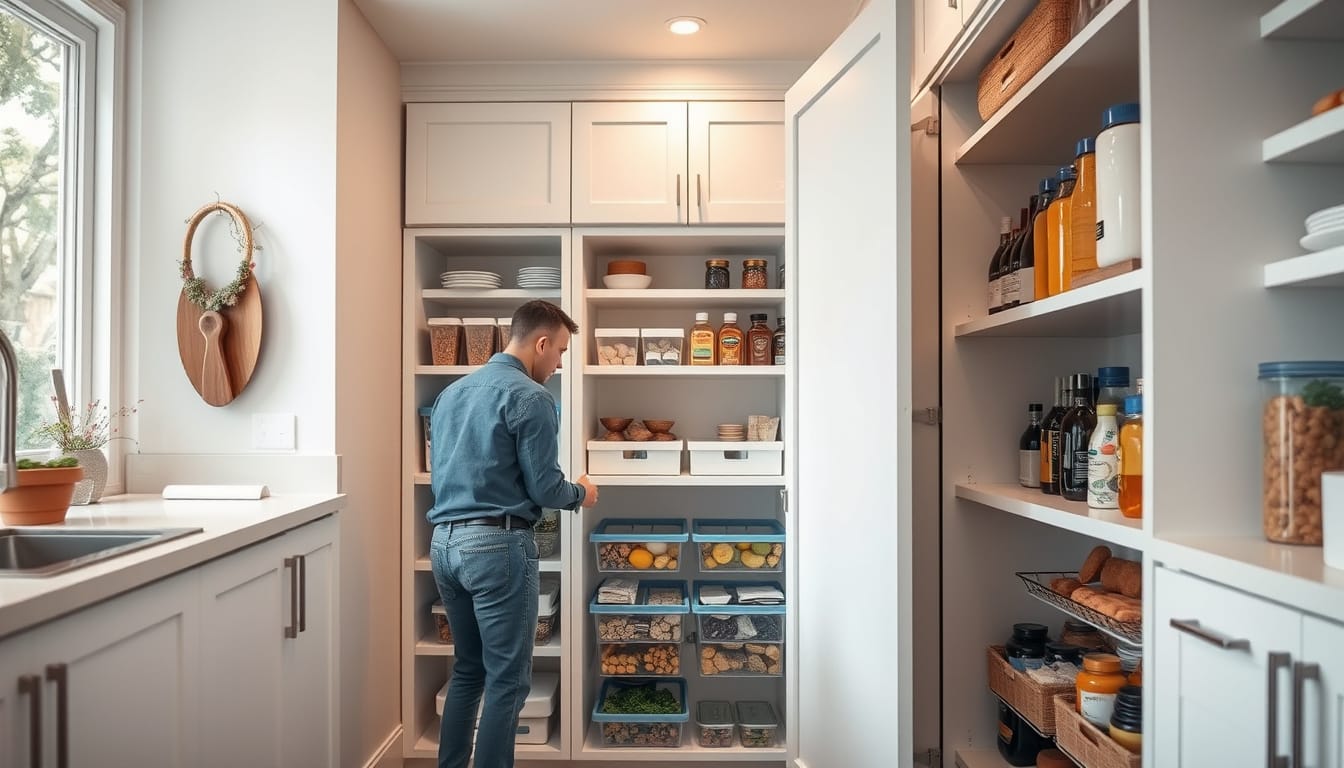
You’ve stared at your pantry shelves and felt that wave of defeat. The half-empty bags of rice. The three open boxes of pasta.
The can of black beans you swear you just bought, now buried somewhere behind the backup bottle of soy sauce. It’s chaos, and it’s costing you time and money.
Learning how to organise your pantry isn’t about making it look like a magazine spread. It’s about building a system that actually works for the way you cook and shop. In our research, well-organized households report cutting food waste by roughly 25 to 30 percent, according to findings from the USDA Cooperative Extension system.
That’s real money back in your pocket. Let’s walk through the process step by step, starting with the one question most people skip entirely.
Quick Answer
Organise your pantry by first measuring your shelf dimensions. Then decide your cooking style. Choose containers after you know your space and habits.
Group items by meal zone, not food type. Label everything and maintain a weekly five-minute reset.
The Real Reason Your Pantry Falls Apart (And What Actually Works)
Most pantry projects fail before they even start. People buy pretty containers first, then try to force their stuff into them. That’s backward.
The right order is measure first, plan second, buy containers third.
Here’s what actually happens in real kitchens. You come home from the grocery store. You’re tired.
You shove the new box of crackers in front of the old one. The old one gets forgotten, goes stale, and gets tossed three months later. Multiply that by every item in your pantry.
That’s how you lose money and feel frustrated every time you open the door.
A functional pantry system solves one core problem: visibility. If you can’t see what you have, you can’t use it. You end up buying duplicates, letting food expire, and wasting space on things you already own.
The research backs this up. Per the USDA’s food storage guidelines, dry goods stored in proper airtight containers at stable temperatures below 70°F maintain quality two to three times longer than items left in original packaging. That’s not a small difference.
That’s the difference between rice that lasts a year and rice that goes rancid in six months.
The fix isn’t complicated. It just requires a system. And the first step of that system has nothing to do with containers.
Step 1: Know Your Pantry Type (Because Your Shelves Dictate Everything)
You cannot organise a space you haven’t measured. I know, it sounds boring. But this single step determines whether your organisation project succeeds or becomes another Pinterest fail.
Grab a measuring tape. You need three numbers for each shelf.
Measuring Your Shelves the Right Way (Don’t Skip This)
Shelf depth tells you what size containers fit. Standard kitchen cabinet shelves are 12 inches deep. Walk-in pantries often have 16- to 18-inch deep shelving.
Measure from the back wall to the front edge.
Shelf height determines what can stand upright. Survey every shelf. The space between the shelf and the one above it varies.
A cereal box needs roughly 11 inches. A standard 15-ounce can needs about 5 inches. A wine bottle needs about 13 inches.
Write these numbers down.
Shelf width tells you how many containers fit side by side. This is where most people mess up. They buy containers that are too wide, leaving unusable gaps on both ends.
Here’s the rule: buy square or rectangular containers, not round. A 4-inch-wide square container on a 24-inch shelf fits exactly six across with no wasted space. Round containers leave crescent-shaped gaps that do nothing.
If you’re working with a cabinet pantry rather than a walk-in, the measurement process is the same. We’ve covered the specifics of cabinet layouts in our guide on how to organise a cabinet pantry, which walks through the same measuring approach for smaller spaces.
The Weight Limit Reality Check
This is the painful lesson nobody talks about. Pantry shelves have weight limits. Wire shelving in rental apartments is notorious for sagging under heavy canned goods.
Particle board shelves warp over time.
Standard wire shelving supports roughly 150 to 200 pounds per shelf when properly installed. But that assumes even weight distribution. Piling fifteen cans of tomatoes on one square foot concentrates the load and causes sagging.
Your move: put heavy items on lower shelves. Canned goods, bulk rice bags, and glass jars of sauce belong at waist level or below. Upper shelves get light items: pasta boxes, snack bags, empty containers.
Step 2: Decide Your Cooking Style (This Determines Your Zones)
This is where most home organisation advice goes wrong. There’s no universal pantry layout that works for everyone. Your system must match your actual habits, not the habits of the photo on Instagram.
Ask yourself one honest question: how do you actually use this pantry?
The Bulk Buyer System (Costco Shopper)
You buy family-size bags of rice, bulk packs of canned tomatoes, and the giant box of granola bars. Your pantry fills up fast. You need space efficiency above all else.
Your system prioritizes vertical storage. Use shelf risers to double your usable space. Store bulk bags in large clear bins at the bottom.
Transfer smaller daily use portions to containers at eye level.
The danger here is the back of the shelf graveyard. Bulk buyers lose more food to expiration than anyone else. You need a rotation system.
New items go behind old items. Always.
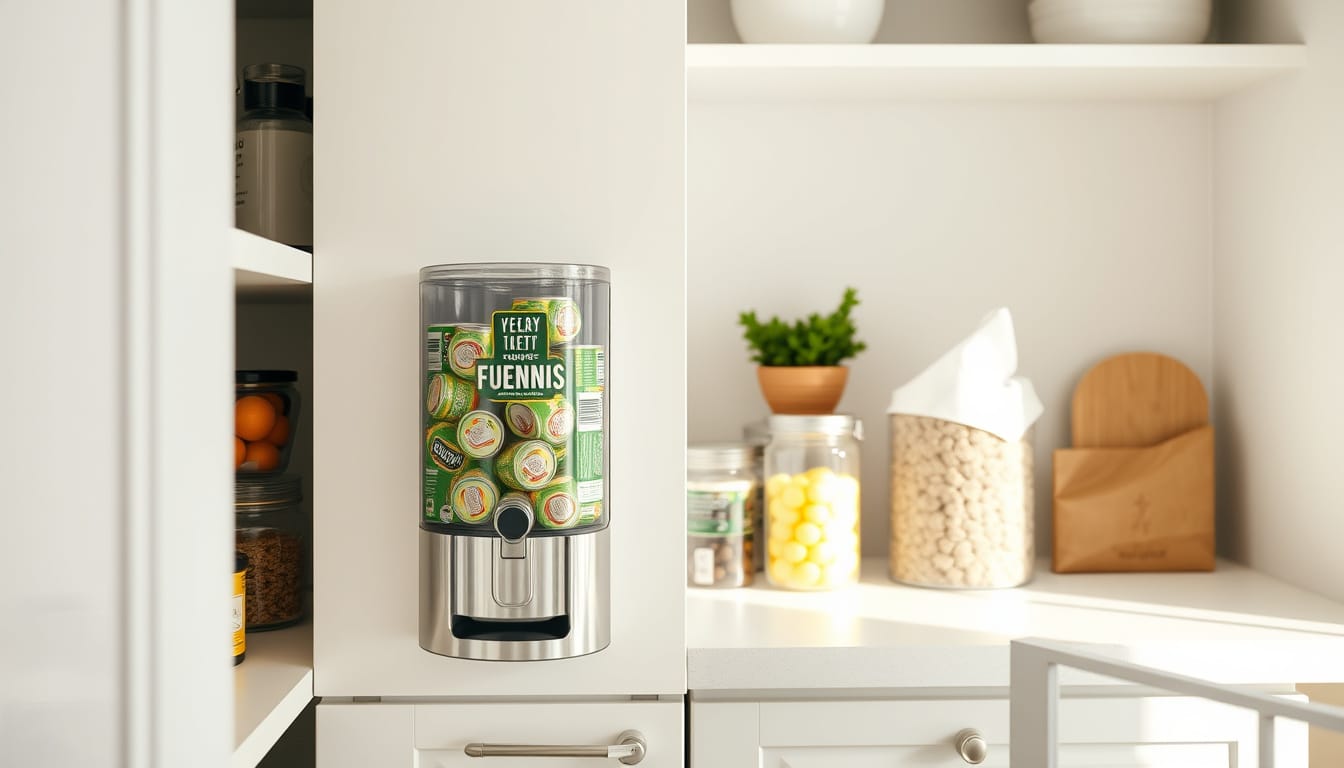
We’ve looked at how dispensers can help with this specific problem, since they automatically rotate cans on a first-in, first-out basis. That single tool solves the bulk buyer’s biggest headache.
The Daily Cook System (Fresh Ingredients, Quick Access)
You cook from scratch most nights. Your pantry sees heavy traffic. You need fast access to oils, spices, grains, and canned staples.
Your system prioritizes reach. The things you use daily go between shoulder and waist height. Spices belong on a tiered rack so you can see every label at a glance.
Oils and vinegars go on a lazy Susan so you can spin to find the one you need.
The danger here is clutter from constant use. Daily cooks pull things out and don’t always put them back neatly. Your system needs forgiveness.
Use wide, open bins rather than tight-fitting containers. Leave breathing room so items aren’t jammed in.
The Snack and Grab System (Kids, Office, Minimalist)
You use the pantry for snacks, breakfast bars, and the occasional box of pasta. You need speed and simplicity.
Your system prioritizes zones for different people. Bottom shelf for kids. Middle shelf for adults.
Top shelf for overflow. Use clear bins labeled by snack type: chips, granola bars, fruit pouches, crackers.
The danger here is the snack explosion. Kids pull out a bag, eat half, and shove the open bag back in. Solve this with smaller individual portion containers in a dedicated snack bin.
The open bag goes in the bin. When the bin empties, you know it’s time to restock.
The Food Prepper System (Meal Prep Ready)
You batch cook on Sundays. You need to grab ingredients fast and know exactly what you have.
Your system prioritizes grouping by recipe. Keep all taco ingredients in one zone: tortillas, seasoning packets, canned beans, canned tomatoes. Keep all breakfast ingredients together: oats, syrup, dried fruit, nuts.
The danger here is overcomplicating. It’s tempting to make too many micro zones. Stick to four or five meal categories max.
Anything more becomes maintenance hell.
Step 3: Choose Your Storage Method Based on Your Answers
You’ve measured your space. You know your cooking style. Now you decide how to store things.
This decision tree has four branches. Read through them and pick the one that matches your situation.
The Zone Method: Grouping by Meal, Not by Food Type
Best for: food preppers and daily cooks.
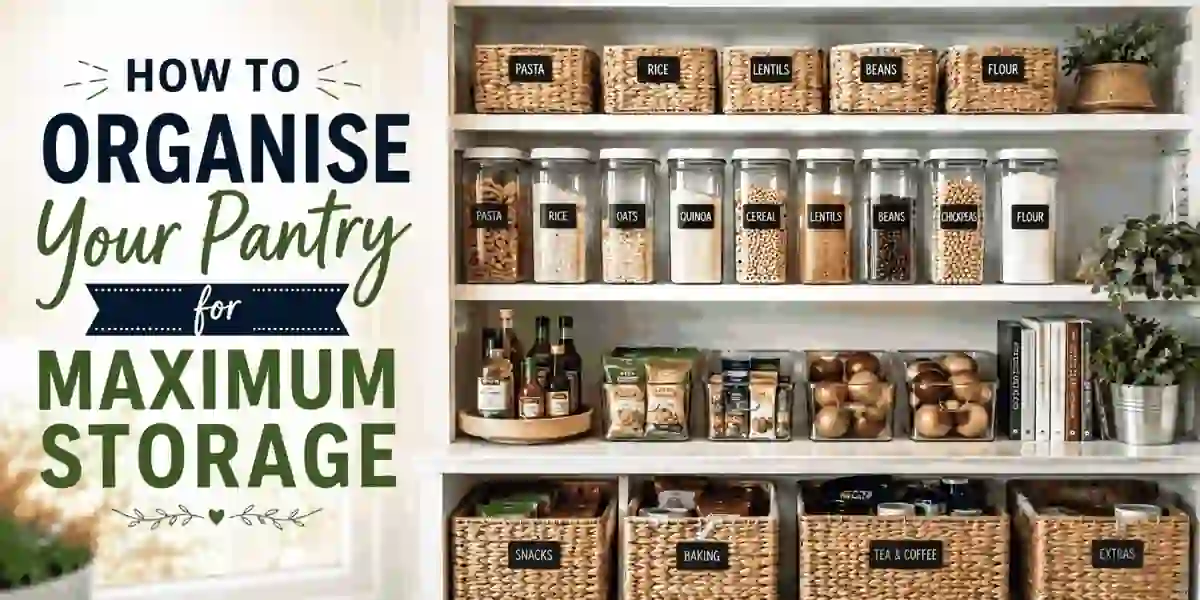
Group items by how you use them together, not by what they are. Your baking zone has flour, sugar, baking powder, vanilla, and chocolate chips in one spot. Your breakfast zone has oats, syrup, dried fruit, and nuts together.
This works because your brain thinks in meals. When you want to make pancakes, you look in one zone and find everything. You don’t run across the pantry for sugar, then back for flour, then sideways for vanilla.
The FIFO Method: First In, First Out for Bulk Buyers
Best for: Costco shoppers and anyone buying in quantity.
FIFO stands for first in, first out. When you restock, put new items behind older ones. This ensures you use the oldest stock first.
The easiest way to enforce FIFO is with a can dispenser. Drop new cans in the top slot. They roll down to the front as you pull from the bottom.
No thinking required.
For dry goods, label each container with the purchase date. When you fill a container, write the month and year on the lid with a dry-erase marker. Six months later, you know exactly what needs using.
The Container First Method: Measure, Buy, Transfer
Best for: anyone with limited shelf space.
This is the most common approach. Measure your shelves. Buy containers that fit the dimensions exactly.
Transfer dry goods from original packaging into containers.
The key metric here is container width. Common pantry containers come in 4-inch and 6-inch widths. A 4-inch-wide container fits three across on a 12-inch shelf.
A 6-inch-wide container fits two across. Choose based on what you store most.
For pasta, use 2 quart containers. For rice and flour, use 4 quart. For snacks, use 1 quart.
This ratio covers 90 percent of what most people store.
The Opaque vs. Clear Container Decision
Clear containers let you see contents at a glance. This is usually the right choice. But opaque containers have one real advantage: they block light.
Light degrades certain foods over time. Oils go rancid faster. Spices lose potency.
Flour can develop off flavors.
The rule: use clear containers for high turnover items you use within a month. Use opaque or dark glass containers for long-term storage items like bulk flour and oils.
What Actually Goes Inside: The Essential Container Buying Guide
Container shopping is where people overspend and underperform. You don’t need matching sets of fifteen different sizes. You need about five sizes in a consistent shape.
Square containers beat round containers for space efficiency. A round container wastes roughly 21 percent of the shelf space around it. A square container uses nearly 100 percent.
On a 24-inch shelf, square containers give you about five extra inches of usable storage compared to round ones.
Glass vs. Plastic vs. Stainless Steel: The Honest Trade-Offs
| Material | Pros | Cons | Best For |
|---|---|---|---|
| Glass | Non-porous, no staining, clear visibility, no chemical leaching | Heavy, breakable, expensive | Daily use items, oils, vinegars |
| Plastic (BPA free) | Lightweight, shatterproof, cheap | Can stain, can absorb odors over time | Dry goods, snacks, bulk storage |
| Stainless steel | Indestructible, blocks light completely | Expensive, can’t see contents | Long-term storage, bulk flour, oils |
For most people, a mix works best. Use glass for items you access frequently and want to see. Use plastic for bulk bins that sit on lower shelves.
Use stainless steel only if you’re storing for longer than six months.
The Right Size Ratios for Common Staples
- 1 quart container: pasta, cereal, snack mixes (holds roughly 1 pound of pasta)
- 2 quart container: rice, oats, flour (holds roughly 2 pounds of rice)
- 4 quart container: bulk flour, sugar, large snack bags (holds roughly 4 pounds of flour)
- 8-quart container: bulk rice, dog food, emergency storage
Buy containers in multiples of these four sizes. You’ll cover every common pantry item with no wasted space.
What You Actually Need vs. What Looks Pretty on Instagram
Social media pantry photos are aspirational. They’re not realistic for daily life. Here’s what you can skip.
Skip the uniform container set that costs three hundred dollars. Your containers don’t need to match perfectly. They need to fit your shelves and seal properly.
Skip the custom labels if you don’t want them. A piece of masking tape and a Sharpie work just as well. Function beats aesthetics every time.
Skip the tiered spice rack if you only use four spices regularly. Store the common ones in a small basket. Put the rest in a drawer or deep bin.
What you actually need: four to six square containers in the sizes above, one to two shelf risers, one lazy Susan for oils, and one can dispenser if you buy canned goods in quantity. That’s it. That’s the minimal viable pantry system.
If you’re working with tight space, the same principles apply to any small storage area. We’ve applied similar thinking to small bathroom storage, where every inch counts and the same zone-based approach keeps things accessible.