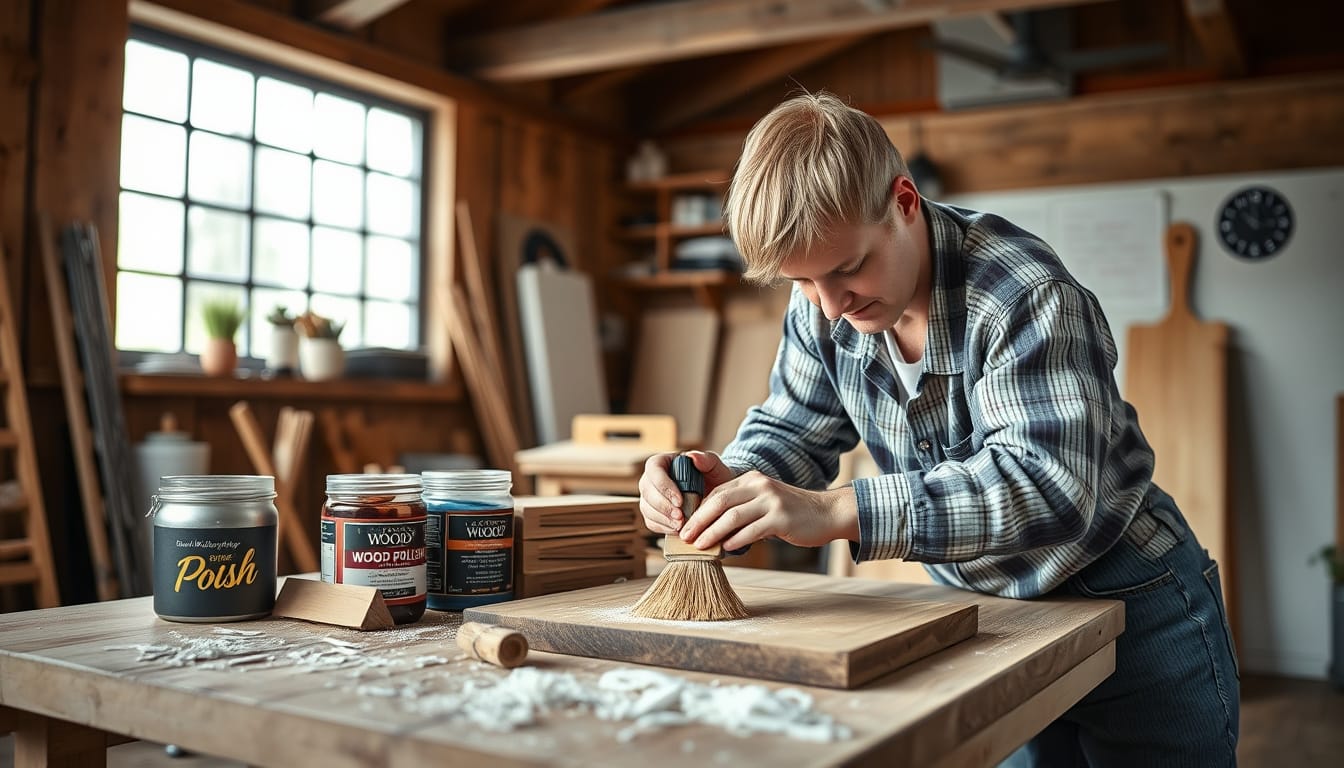
Wood Polish DIY can restore a worn surface by cleaning, smoothing, and renewing the wood’s finish without a full refinishing job. It works best when the existing coating is intact and only looks dull, hazy, or uneven. He can also use it to bring back depth on varnished furniture, cabinets, and trim. The reality is that streaks and haze usually come from rushing, using the wrong product, or applying too much polish. With careful prep and thin, controlled passes, the finish can look even and clean. This approach suits most homes because it uses common supplies, light abrasion, and a predictable drying time.
Wood Polish DIY is a method to restore the wood’s finish
Wood Polish DIY is a controlled process that targets surface grime and minor dullness while preserving the existing finish. First, the method removes dust, oils, and residues that prevent polish from laying flat. Then it levels small surface imperfections so light reflects more evenly. Many finishes respond well when the coating is not peeling or deeply damaged.
The key idea is that polish is not a filler. It does not rebuild missing varnish or hide deep scratches. If the wood is bare, flaking, or stained through, the DIY route should shift to sanding and refinishing. For intact finishes, wood polish DIY can improve clarity and sheen by combining cleaning agents with mild lubricants and conditioners. It also helps reduce the “cloudy” look that can appear after wiping with the wrong cleaner.
He should treat the process as finished maintenance, not a shortcut. A consistent technique produces the best results because it limits trapped residue and avoids overworking the surface. When the finish is stable, even a small change in cleaning and application can make the wood look newly cared for.
Wood polish DIY succeeds when it cleans first and polishes in thin layers, not when it tries to mask damage.
What supplies and steps prevent streaks and haze?
Wood Polish DIY needs a few simple supplies that control residue and friction. He should use a pH-neutral cleaner or a finish-safe wood cleaner, plus two clean microfiber cloths. One cloth is for cleaning and one is for final buffing. For haze control, a small foam applicator pad helps keep pressure even. If the surface is rough, fine abrasive such as 2000-grit wet/dry paper may be used lightly on sealed finishes.
Good streak prevention starts with surface prep. He should vacuum or dry-dust first, then wipe with a damp cloth and the cleaner, and finally remove all cleaner with a second wipe. After that, polish should be applied to a cloth or pad, not poured onto the wood. The polish amount should be small enough that it spreads without pooling. He should work with the grain and stop when the surface looks uniformly wet, not when it looks “fully coated.”
Drying time matters as much as product choice. He should let the polish haze briefly, then buff with a fresh microfiber cloth using light pressure. If the cloth drags, it likely contains residue, so it should be swapped. When haze persists, the cause is usually excess product or incomplete cleaning. A quick re-clean and a thinner second pass often fixes it.
Thin application plus a clean final buff is the most reliable way to prevent streaks and haze in wood polish DIY.
Which DIY polish approach fits your wood type?
Wood Polish DIY should match the finish type because products act differently on different coatings. For waxed surfaces, he should use a wax-compatible polish and avoid heavy solvents that can soften wax. For varnished or polyurethane finishes, a non-greasy polish and gentle buffing work best. For oil-finished wood, polish should focus on cleaning and conditioning rather than heavy film-formers. If the sheen looks patchy, the wood may be unevenly conditioned, which calls for careful, small-area work.
He can choose an approach by observing the surface. If the wood feels slick and shows a hard shine, it is likely sealed, so light polishing and fine buffing are appropriate. If the wood looks matte and drinks in moisture, it is likely oil-finished, so conditioning and minimal abrasion are safer. If the finish is sticky, he should stop and identify the cause before polishing again. Sticky surfaces can indicate contamination, failed prior treatments, or trapped cleaner.
The application method also depends on the wood type. On sealed furniture, he can use a foam pad for even distribution and then buff quickly. On oil-finished pieces, he should apply a small amount to the cloth, spread thinly, and allow it to penetrate before buffing. Testing on a hidden spot prevents surprises and helps confirm the correct sheen level.
He should match the polish method to the finish, because the wrong chemistry is the fastest path to smears and dullness.
FAQ: Wood Polish DIY
Can wood polish DIY be used on scratched or damaged finishes?
Wood polish DIY can improve the appearance of intact finishes, but it does not repair deep scratches or peeling coating. If the scratch catches a fingernail or the finish has lifted, sanding and refinishing are usually the more reliable fix.
Why does my wood look hazy after polishing?
Haze usually comes from too much product, incomplete cleaning, or buffing with a dirty cloth. He should re-clean with a finish-safe cleaner, use less polish, and buff with a fresh microfiber cloth in light pressure passes.
Is it better to polish by hand or with a machine?
Hand polishing is safer for most DIY users because it limits heat and overworking. A machine can help on large, sealed surfaces, but it increases risk of uneven sheen if the pad, speed, or pressure is not controlled.
Get a clean sheen with the right prep and thin, controlled polishing
Wood polish DIY produces the best results when prep is thorough, and polish is applied in thin layers. He should clean first, remove all residue, and then spread a small amount of polish with even pressure. After a short haze period, he should buff with a clean microfiber cloth to lift residue and align the finish surface. Product choice should match the wood’s finish type, since waxed, varnished, and oil-finished surfaces respond differently. When the technique is controlled, and the cloth stays clean, the wood typically regains clarity, depth, and a uniform sheen.